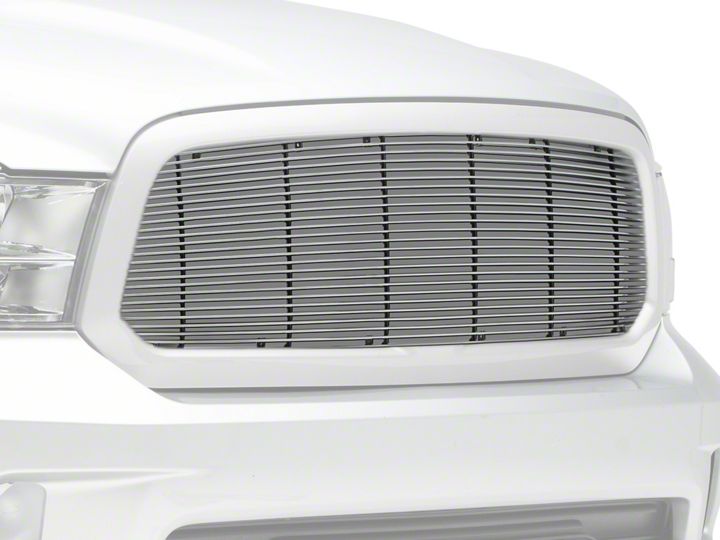
How to Install T-REX Billet Series Upper Grille Insert - Polished (13-18 RAM 1500, Excluding Rebel & Sport) on your Dodge RAM
Installation Time
45 minutes
Tools Required
- Screwdriver
- Flat Screwdriver
- Diegrinder
- 3/16 Drillbit and Drill
Shop Parts in this Guide
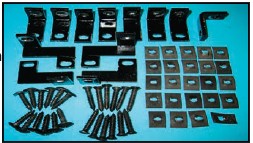
PARTS LIST:
(1) Billet Grille
(8) L-Brackets (1”5/16 x 1/2)
(12) #8 1’ Screws
(2) Left L-Bracket Extentions
(12) #8 Six Head Screws
(2) Right L-Bracket Extentions
(24) Flatnuts
PLEASE READ AND UNDERSTAND ALL INSTRUCTIONS BEFORE ATTEMPTING INSTALLATION.
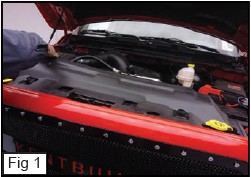
• Remove Clips to Remove the Plastic Cover. (Fig. 1)
• Remove the Grille Shell.
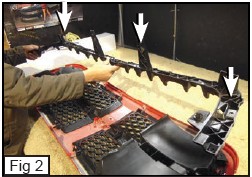
• Remove the Plastic Grille Support. (Fig. 2)
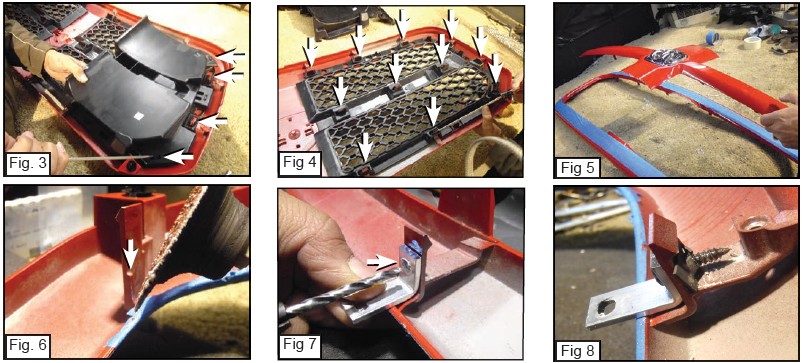
• Unclip the Plastic Grille Covers with a Flat Screwdriver. (Fig. 3)
• Unclip the Grilles from the Grille Shell and Remove. (Fig. 4)
• With a Diegrinder, Start Cutting the Center and Vertical Bars on the Grille Shell as close to the Outer Grille Shell as possible. (Fig. 5)
• On the Corner Tabs on Top of the Grille Shell, There is a small tab on the long Tab, Cut that Small Tab Off. (Fig. 6)
• With the 3/16 Drill, Place the L-Brackets onto the Tabs around the Grille Shell and Drill through the Hole. (Fig. 7)
• Place the #10 Screw Through the Hole you Drilled and Place a Flatnut Behind. (Fig. 8)
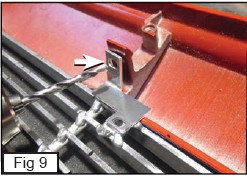
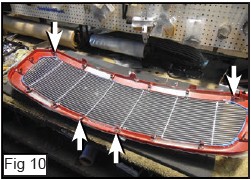
• Place the L-Bracket Extentions onto the Top Corner Tabs and Middle Tabs on the Grille Shell and Drill Through the Holes. (Fig 9 & 10)
• Place the Billet Grille onto the Grille Shell. (Fig. 11)
• Place the #8 Screw onto the Brackets that are on the Billet Grille. (Fig. 12)
• From behind the Grille, Place Flatnuts onto the #8 Screws. (FIg. 13)
