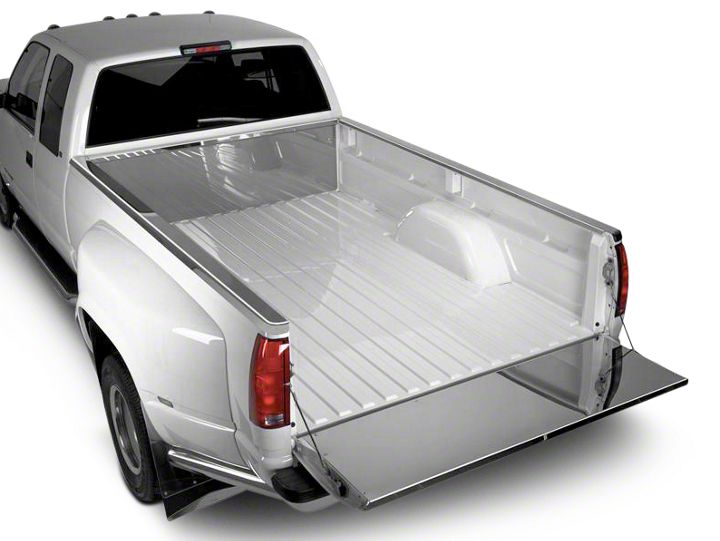
How to Install Putco 2-Piece Stainless Steel Full Tailgate Protector on your Dodge Ram
Shop Parts in this Guide
PLEASE READ ALL INSTRUCTIONS BEFORE BEGINNING INSTALLATION AND BE SURE TO CHECK TO SEE THAT ALL PARTS AND HARDWARE ARE INCLUDED.
Step 1: Open your tailgate and place tailgate protector and plate on the tailgate to check for proper fit, if the protector does not seem to fit properly, call Putco for assistance.
NOTE: The protector and plate should overlap at the top of the tailgate with the plate under the protector. The hole should line up so that one screw goes through the protector and the plate.
Step 2: Remove the protective covering from the surface of your tailgate protector and plate.
Step 3: Press firmly on the tailgate protector so that it properly seats on the tailgate and using a drill (corded or cordless) and a Phillip’s screw bit fasten the tailgate protector to the tailgate with the self-tapping screws provided. HINT: Start with one outside mounting hole, then go to the other outside mounting hole and work your way inward.
Step 4: Put a screw into each of the holes of the plate.
Note: PUTCO recommends applying a high quality automotive wax to maintain the original appearance on your new tailgate protector.


