FREE 1 to 3-Day Delivery on Orders $119+ Details
How to Install Husky Rear Wheel Well Guards (14-18 Sierra 1500) on your GMC Sierra
Installation Time
30 minutes
Tools Required
- Phillips Head Screwdriver
- T-15 Torx bit / Driver

Shop Parts in this Guide
TOOLS REQUIRED:
• Phillips Head Screwdriver
• T-15 Torx bit / Driver
VEHICLE PREPARATION:
Your vehicle’s rear fender wells should be cleaned prior to the installation of your
new Husky Wheel Well Guards.
Installation
Read all directions thoroughly prior to the installation of your Wheel Well Guards.
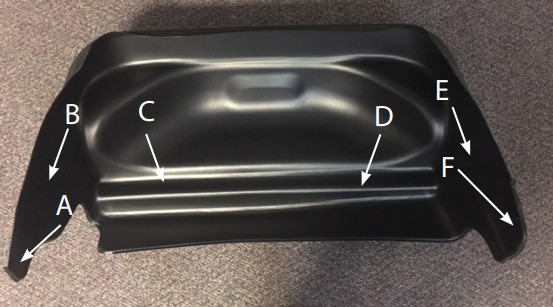
A, B, C, D, E and F are pre-drilled fastener locations for installation.
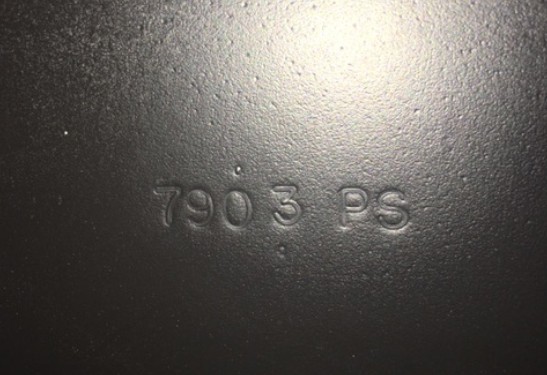
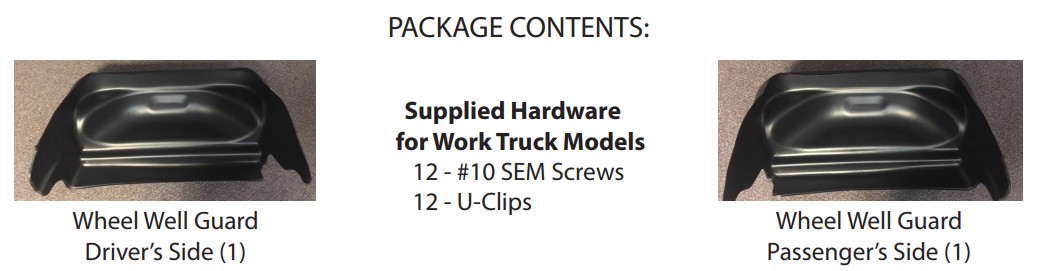
1. Check part number on the top of the Wheel Well Guard and identify DS & PS to determine which side to install.
• 7903 DS installs on the driver’s side.
• 7903 PS installs on the passenger’s side.
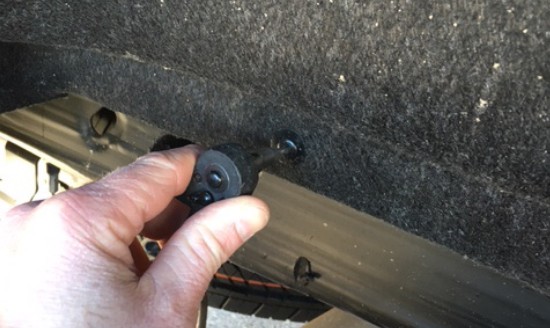
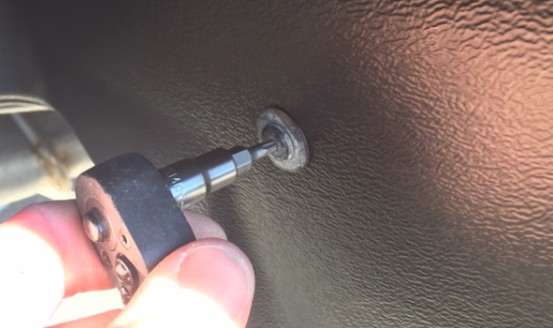
2. Remove the factory Torx head screws that hold the factory carpeted wheel well liner in place and remove the factory wheel well liner.
Note: If your Sierra was not equipped with factory wheel well liners skip to step 3.
3. If your truck was not equipped with factory wheel well liners install a u-clip at locations C and D by clipping the u-clip over the tab and aligning with the factory hole.
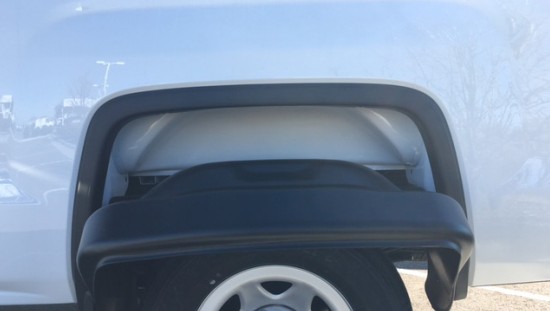
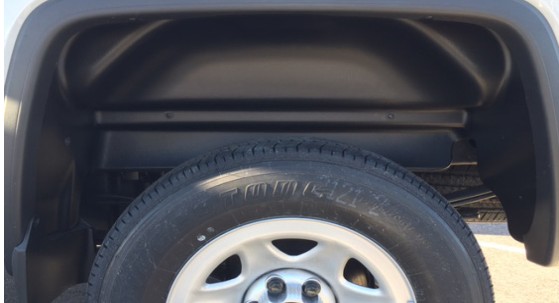
4. Insert the Wheel Well Guard into the fender opening.
NOTE: It is not necessary to remove the tire.
5. Push the Wheel Well Guard up into the fender opening.
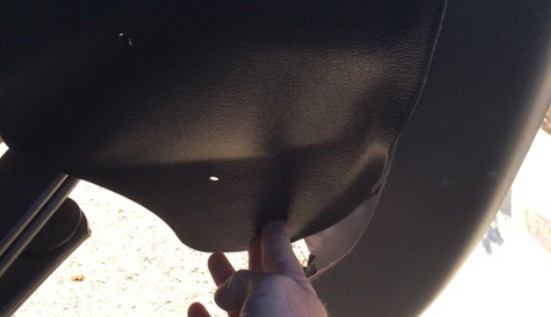
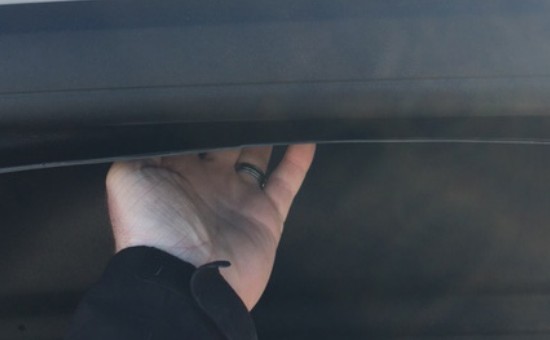
6. Insert the lower flap sections of the Wheel Well Guard into the fender well behind the fender well lip. Perform this step for both the front and rear lower flap sections. Well Guard lip is tucked behind the metal fender well lip of the
truck
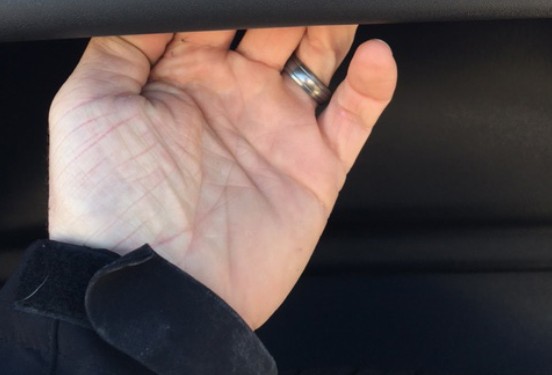
7. Tuck the remaining portion of the Wheel Well Guard behind the fender lip all the way around the fender well opening.
8. Install the factory Torx head screws at locations A, B, C, D, E and F.
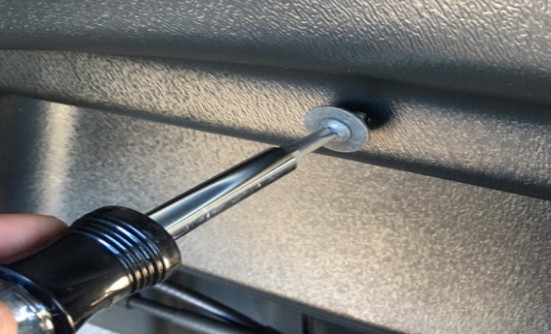
9. If your vehicle was not equipped with a factory wheel well guard, install the supplied SEM screws at locations C and D through the Wheel Well Guard and into the u-clips that are clipped over the sheet metal.
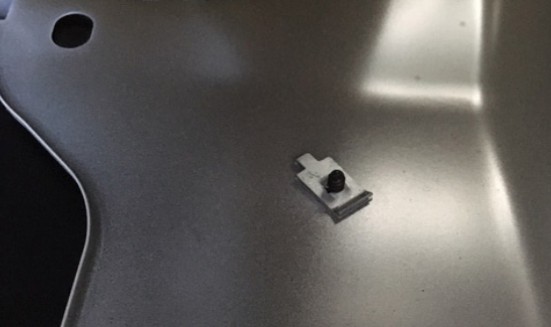
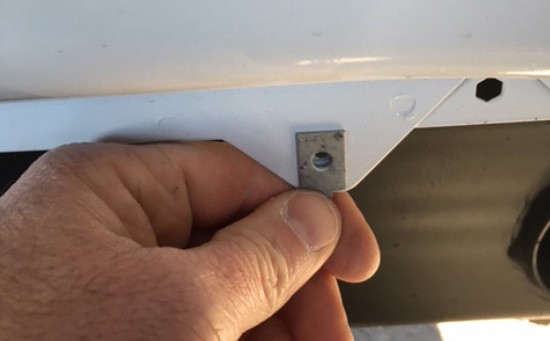
10. At locations A, B, E, and F install a SEM screw through the Wheel Well Guard and hole in the sheet metal and into the supplied u-clip on the backside on the metal.
Note: The u-clip does not clip over the metal at these locations. It is used on the backside of the metal like a nut.
11. Repeat steps 1-10 on the opposite side.
Congratulations,
You have now successfully installed your new Husky Liners Wheel Well Guards. If you
have any questions please call us at 1-800-344-8759.