How to Install AFE Mach Force XP 3 in. Cat-Back Exhaust System - Single Side Exit on your Ram
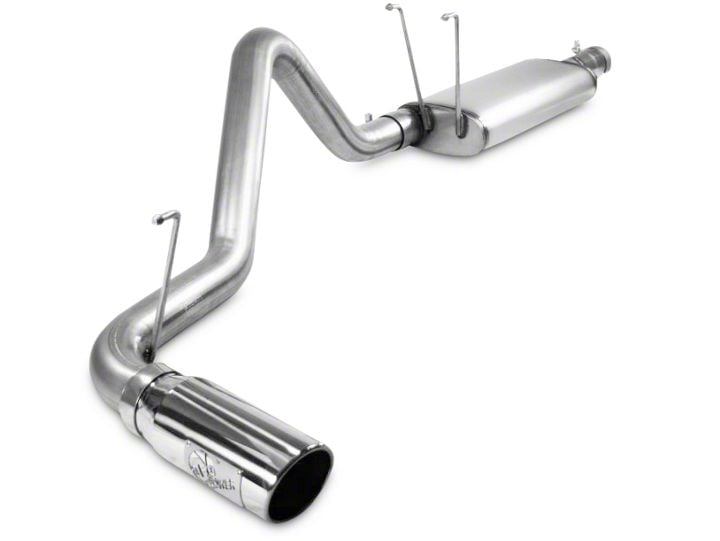
Shop Parts in this Guide
Step 1: (Read Instructions prior to installation) Remove your stock exhaust from the rear of your truck working your way forward. It may be necessary to cut the pipes if the slip joints are stuck. Do not cut the pipe after the cat. You will be using this slip connection. Take caution not to damage the factory isolation mounts, as they will be reused. It is recommended to not fully tighten the clamps until the entire system is installed.
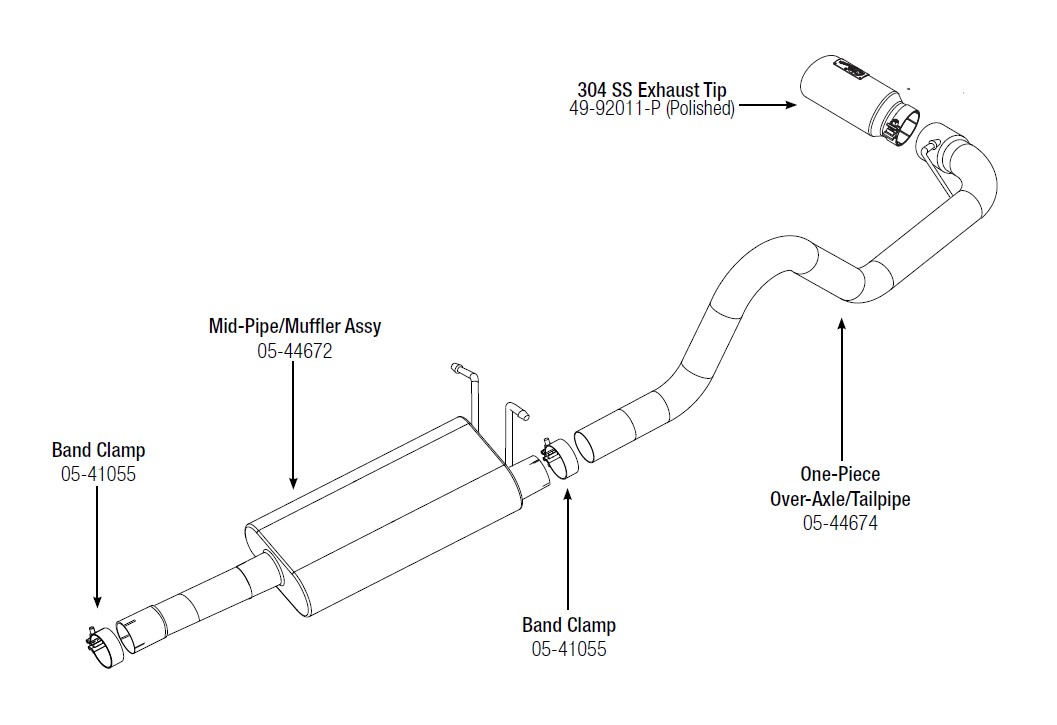
Step 2: For faster installation spread the new exhaust components along the side of your vehicle according to the diagram shown.
Step 3: Install the Muffler assembly using the existing isolation mounts. Install the midpipe after the cat using the supplied 3” band clamp. Use the midpipe that best fits your application. The 3” band clamps will be used for the muffler connection.
Step 4: Now install the overaxle tailpipe using the supplied 3” band clamp and existing rear isolation mount.
Step 5: Install the tip as desired and tighten all clamps while adjusting the tubes for best fit & clearance. Your installation is now complete. It is recommended to retighten all parts after 50-100 miles.
NOTES:
• aFe recommends that the tailpipe be at least 1/2”-1” away from any body panels to avoid heat related body damage. Tighten and secure.
Caution: Allow time for your vehicle to cool down prior to installation. When working on or under your vehicle proceed with caution. Exhaust systems reach high temperatures and may cause serious burns. Wear protective safety equipment; eye goggles and gloves to ensure a safe installation. aFe recommends professional installation on our products.
