How to Install Curt Manufacturing Brake Control Harness on your Sierra
Shop Parts in this Guide
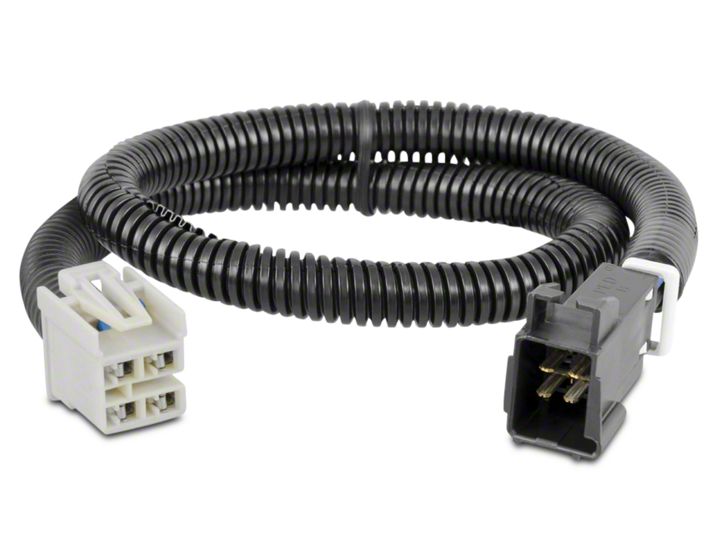
BRAKE CONTROL HARNESS
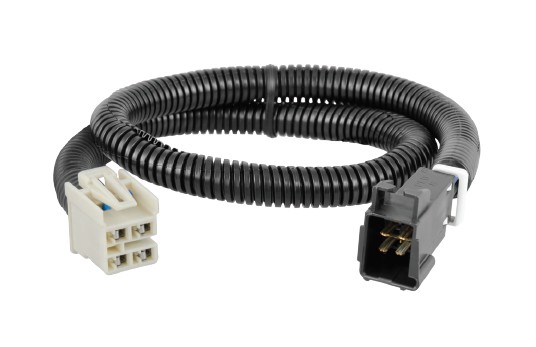
NOTICE
All steps must be followed to ensure the CURT brake control harness will function properly. Once installed, test for proper function by following the brake control unit instruction manual.
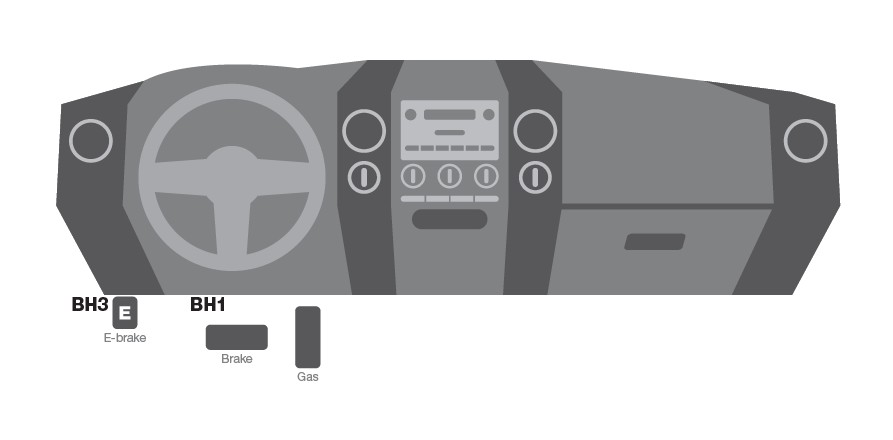
LOCATION GUIDE
Representative vehicle shown below
BH1 - Under dash, left of steering column, near emergency brake pedal
BH3 - Under dash, in junction box left of steering column
INSTALLATION / SAFETY INSTRUCTIONS
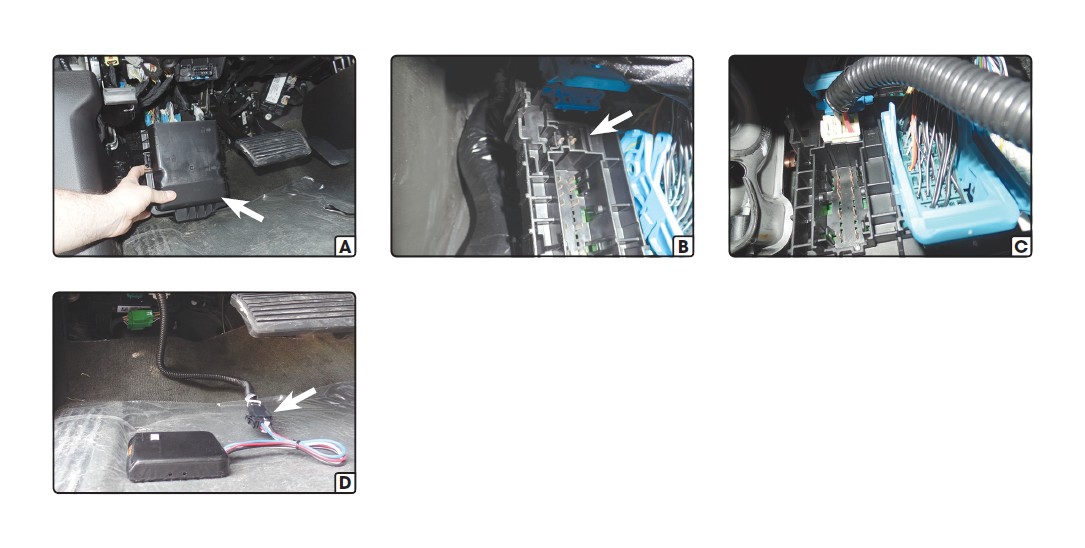
Step 1: Locate the black electrical junction box under the dash, to the left of the steering column. Remove the box cover and locate the empty vehicle connection point (A,B).
Step 2: Insert the connector on the CURT brake control harness into the vehicle connection point. Make sure the connector is fully inserted with locking tabs in place (C).
Step 3: Insert the brake control harness's black connector into the brake control's quick plug connector (D). Secure the brake control harness with the provided cable ties, avoiding any pinch points.
Step 4: Complete the installation using the brake control instructions. Mount the unit as directed and perform test procedures as instructed in the brake control user manual.
