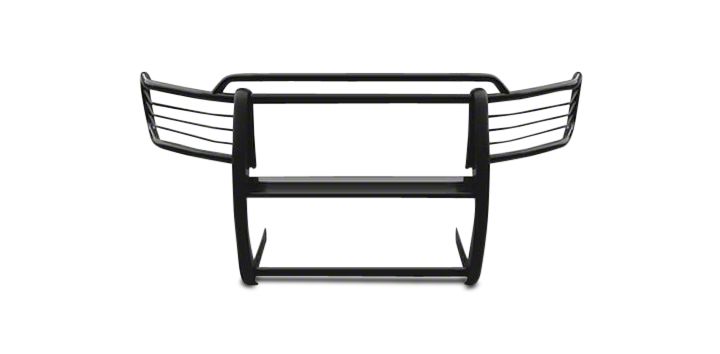
How to Install Black Horse Off Road Grille Guard - Black (02-05 All) on your Dodge RAM
Shop Parts in this Guide
INSTALLATION INSTRUCTIONS1ST STAGE
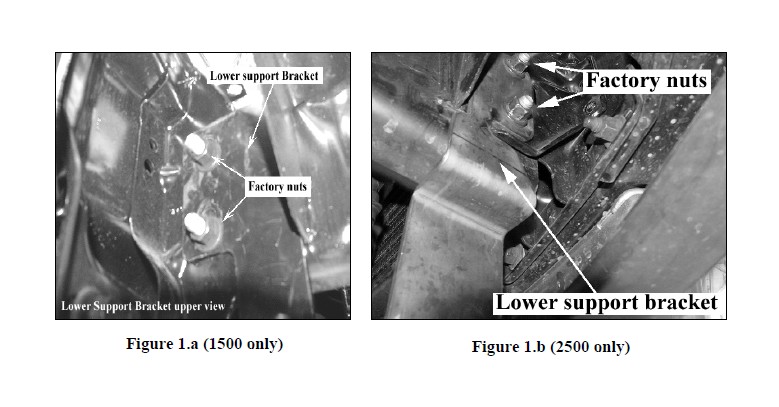
Step One: Locate the left and right lower support brackets. Remove the two left side factory bumper nuts and place the left bracket into position. Secure with the factory nuts as shown in Fig.1.a (or) Fig 1.b Repeat this process for the other side.
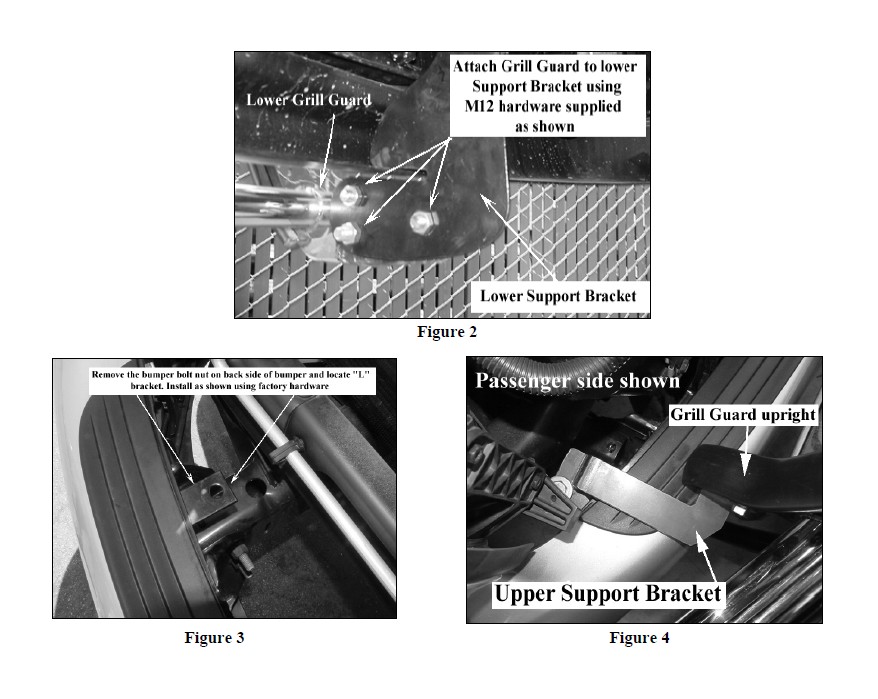
Step Two: Loosely attach the Grille Guard to the lower support brackets with the M12 hardware as shown in Fig.2
Step Three: Open the hood to gain access to the top bumper bolts and remove the factory nuts. Orient the Upper Support L-Brackets as per Fig 3. Secure with factory nuts. Orient the Upper Support Brackets as per Fig 4 and secure to the LBrackets with the M10 hardware provided.
Step Four: Attach the Upper Support Brackets to the Grille Guard with the remaining M10 hardware.
Step Five: After checking for proper clearance and alignment of the Grille Guard on the vehicle fully tighten all hardware.
Please take care when assembling and installing this product to protect the finish and your investment. To protect your investment, wax this product after installing. Regular waxing is recommended. Do not use any type of polish or wax that contains abrasive that could damage the finish.
INSTALLATION INSTRUCTION2nd STAGE
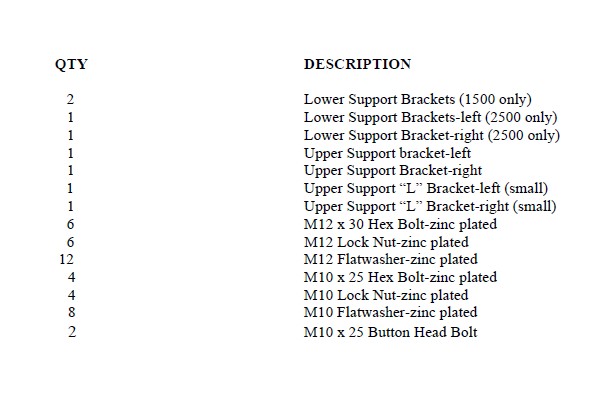
Step One: Locate hardware. Check contents with the hardware listed below.

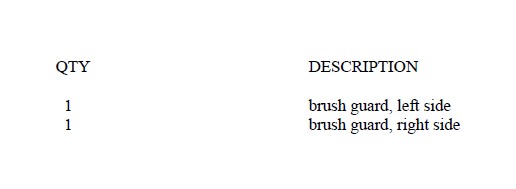
Step Two: Securing brush guards to center section. Locate the following item’s listed below.
Assemble the brush guards to the center section of the guard as shown in illustration below. Use the hardware from step one to secure the parts together. Be sure to fully tighten all hardware at this time. Proceed ahead to stage four of the instruction sheet.
INSTALLATION INSTRUCTION3rd STAGE
Step One: Locate hardware. Check contents with the hardware listed below.
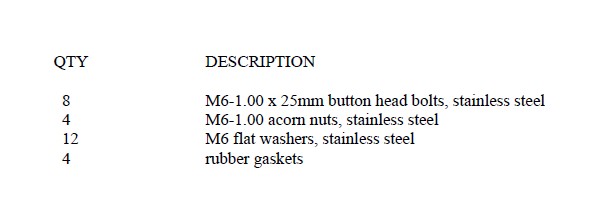
Step Two: Securing wire insert to brush guards. Locate the following item’s listed below.

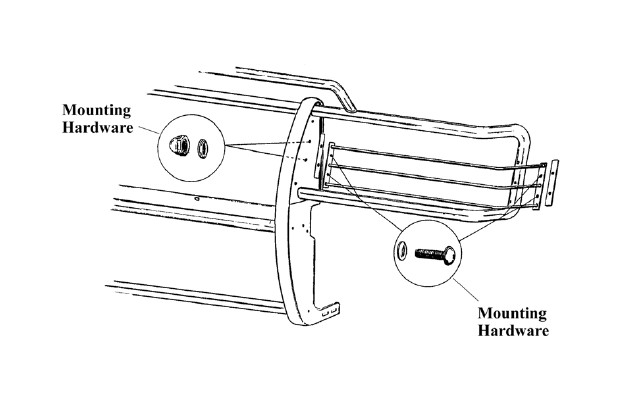
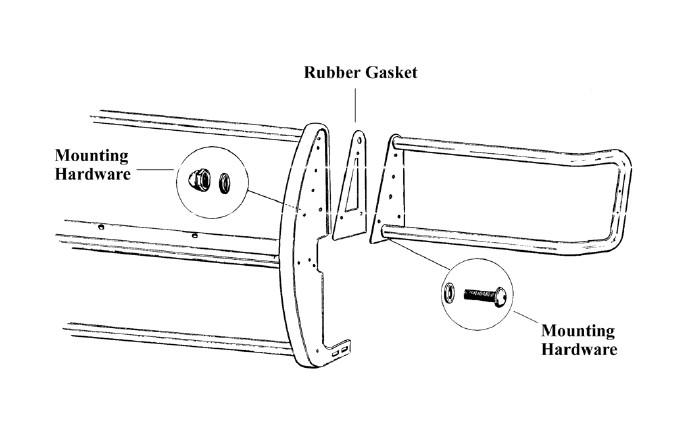
Attach one rubber gasket to each end of the wire guard. Peel the paper backing off the rubber gasket. Place the gasket on the end of the bracket and press firmly till the gasket is secured in place.
Position the wire insert on the driver's side of the vehicle. Align the two holes in the bracket with the two holes in the brush guard as shown in illustration below. Using the hardware listed in step one, secure the wire insert to the brush guard. Be sure to fasten both ends before fully tightening hardware. Repeat this procedure on the opposite side of the vehicle. Be sure to use all hardware supplied and tighten all bolts.
