How to Install Airaid PowerAid Throttle Body Spacer on your Ram
Shop Parts in this Guide
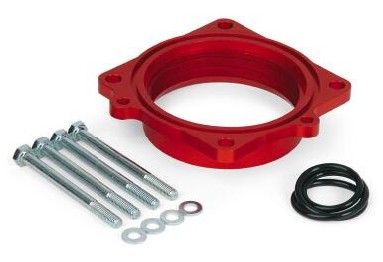
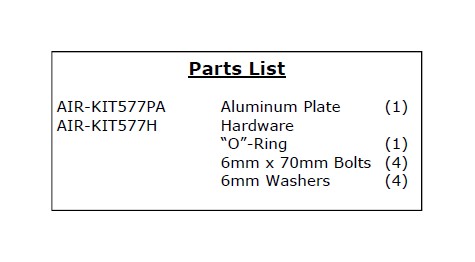
Installation Instructions. Read Me!
1. DISCONNECT NEGATIVE (-) BATTERY CABLE.
2. Loosen the hose clamp and remove the air tube from the throttle body air box.
3. Disconnect the air temperature sensor connector attached to the air box.
4. Loosen the two bolts that secure the air box using a 10mm socket.
5. Remove the oil filler cap (for clearance if needed) and carefully pull and remove the air box. * Be careful not to drop anything in the oil filler pipe.
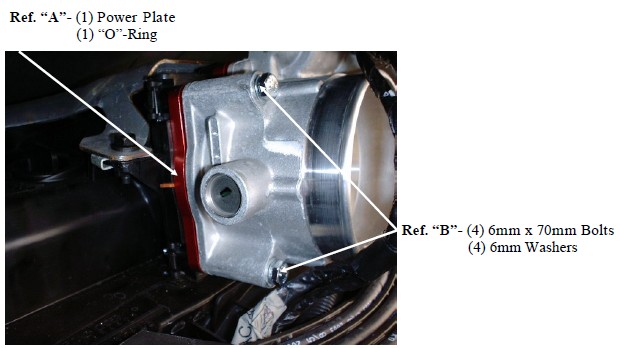
6. Using an 8mm socket, loosen (4) bolts mounting throttle body to intake manifold. Remove throttle body. Ref. “A”
7. Clean surface of intake manifold and throttle body being sure not to damage the factory o-ring seal.
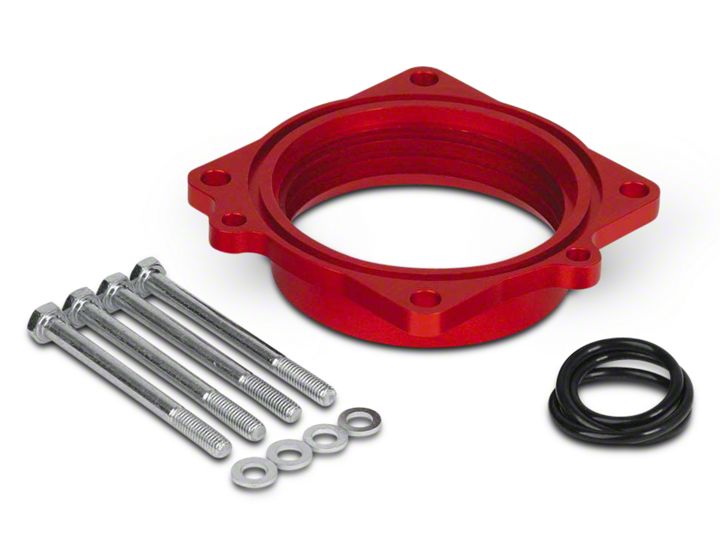
8. Install the provided 0-ring seal into the groove of the PowerAid spacer.
9. Locate PowerAid spacer on intake manifold. Note: Two locating pins on intake manifold must line up properly to the holes in the PowerAid spacer. The PowerAid spacer O-ring must face the throttle body. Ref. “A”
10. Using the (4) bolts and washers provided, mount the factory throttle body on PowerAid spacer. Note: Tighten all four bolts evenly to insure proper seal. Ref. “B”
11. Reinstall the throttle body air box making sure that the orange ring is in place on the throttle body. * The air box is a tight fit so you will need to work it into place and hold it while tightening the two 10mm bolts.
12. Reconnect the air temperature sensor connector attached to the air box. Inspect all components and hose clamps for proper fit and function.
13. Reconnect negative battery cable. Enjoy!
The sound of power...The “whistle” means its working!
Included with your Poweraid Spacer is a sticker with a California Air Resources Board (C.A.R.B.) Executive Order (EO) number. This sticker must be placed in plain view inside of the engine compartment. Failure to do so may prevent you from passing a smog inspection.
