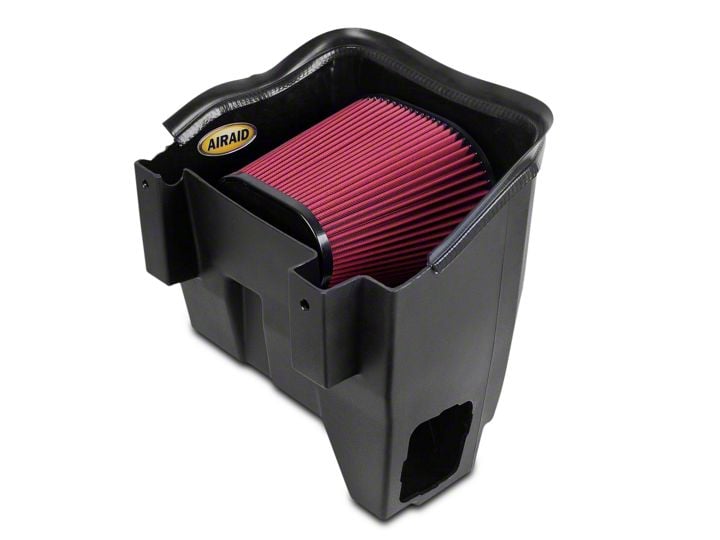
How to Install Airaid MXP Series Cold Air Intake w/ SynthaFlow Oiled Filter on your Ram
Shop Parts in this Guide
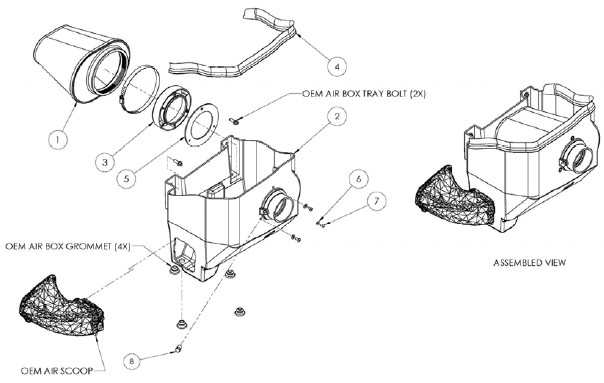
Component Identification
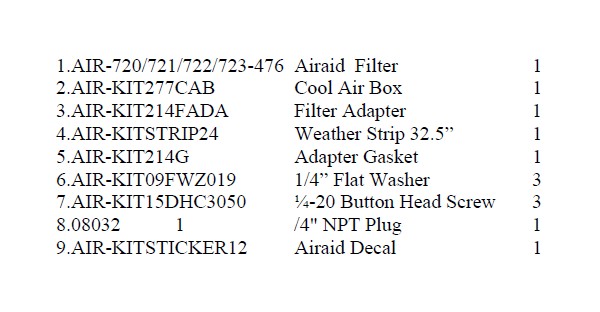
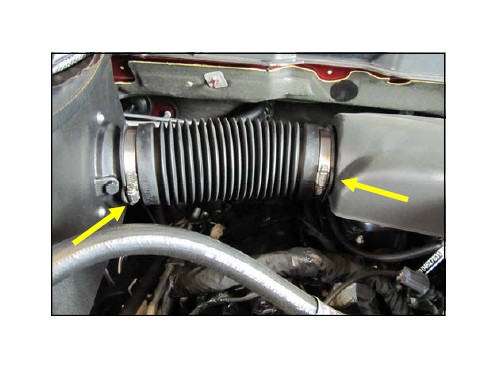
1.Disconnect The Negative Battery Terminal! Loosen one hose clamp at each end of the air intake tube and remove it from the vehicle.
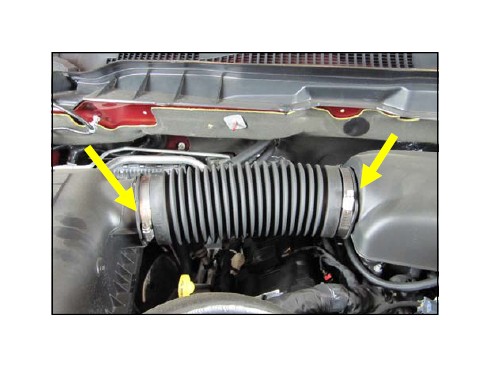
2. Remove the two fender bolts in the air box cradle. The bolts will be reused in step #10
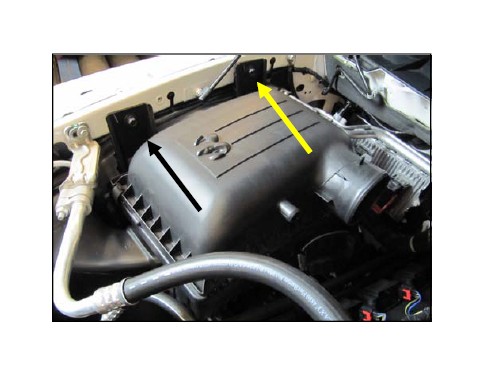
3. Rock the air box back and forth as you are lifting it straight up to remove it from the vehicle. It is only held in by grommets.
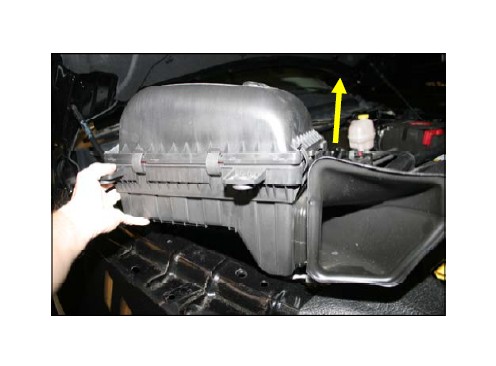
4. Remove and save four grommets from the bottom of the factory air box. They will be reused in step #5
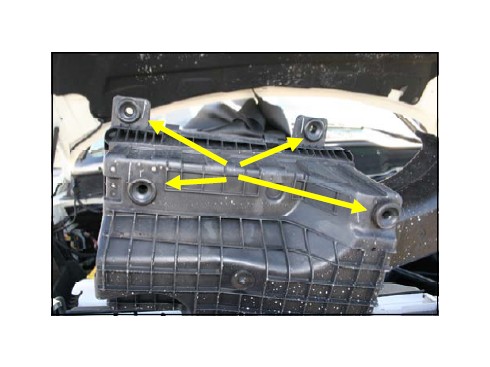
5. Transfer the 4 factory air box grommets into the Airaid Cool Air Box as shown. Note: Two of the holes do not receive grommets.
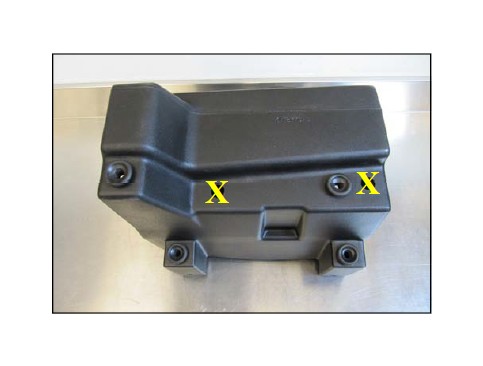
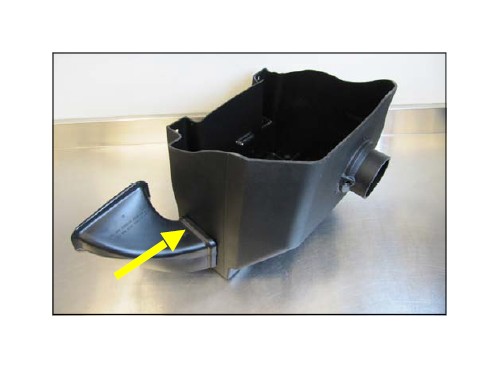
6. Transfer the scoop from the factory air box into the Airaid Cool Air Box as shown.
7. Prepare the Filter Adapter (#3 ) for installation by mating it to the Adaptor Gasket (# 5) and aligning the bolt holes.
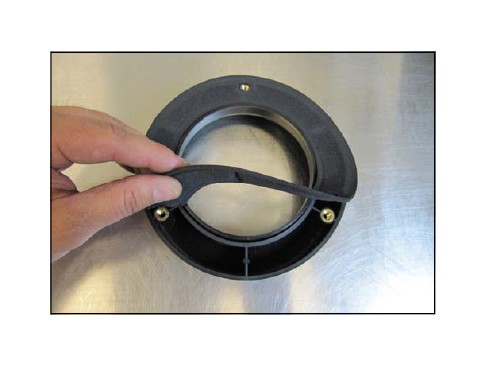
8. Mount the Filter Adapter and Gasket inside the Cool Air Box as shown using the three sets of 1/4-20 Button Head Screws (# 7) and 1/4” Flat Washers (#6).
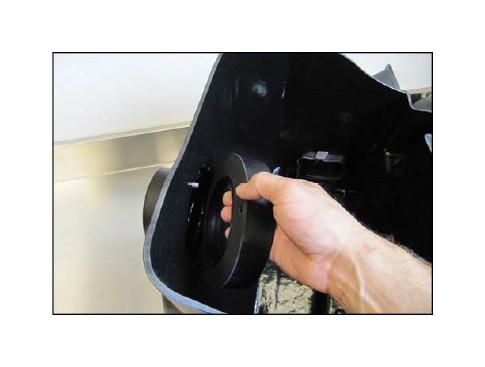
9. Install the 1/4” Plug (#8) into the Cool Air Box snout as shown.
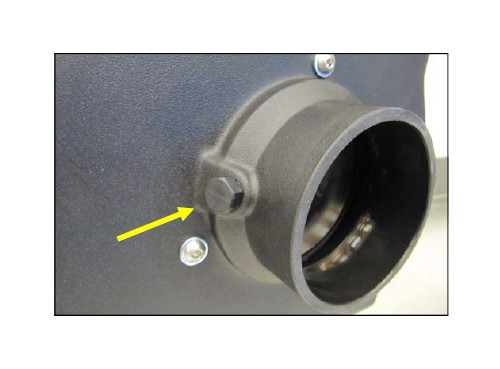
10. Set the Airaid Cool Air Box into the cradle and secure it using the factory hardware removed in step #2.
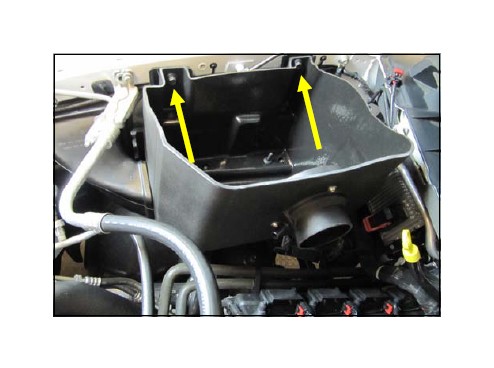
11. Reinstall the factory air intake tube and tighten the two hose clamps.
12. Install the Airaid Premium Filter onto the Filter Adapter inside the Cool Air Box. Install the Weatherstrip onto the Cool Air Box as shown, with the contour rolling away from the Filter. Apply the Airaid Bubble Decal inside the Airbox as shown.
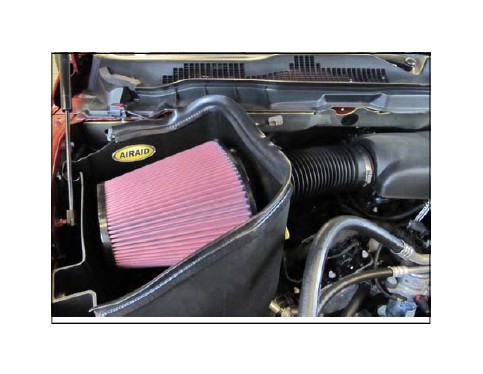
13. Double check your work! Make sure there is no foreign material in the intake path. Make sure all clamps, hoses, bolts, and screws are tight. Double check the hood clearance!
Reconnect the negative battery cable!
