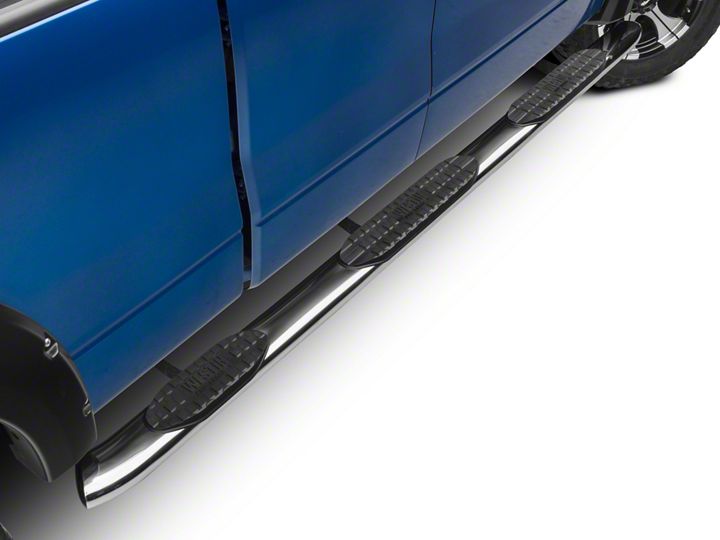
How to Install Westin ProTraxx 5 Oval WTW Step Bar - Stainless Steel on your F-150
Shop Parts in this Guide
.png)
PROCEDURE
1. Remove contents from box, verify if all parts listed are present and free from damage. Carefully read and understand all instructions before attempting installation.
Failure to identify damage before installation could lead to a rejection of any claim.
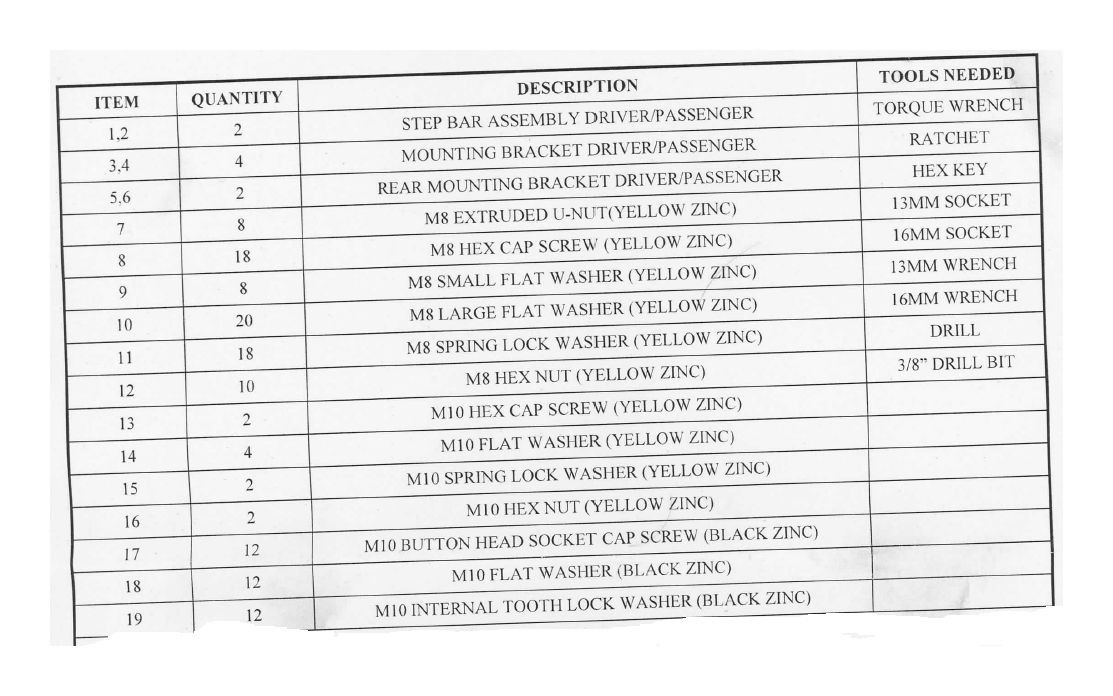
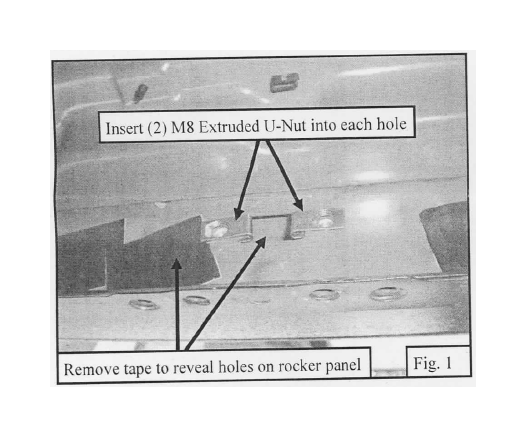
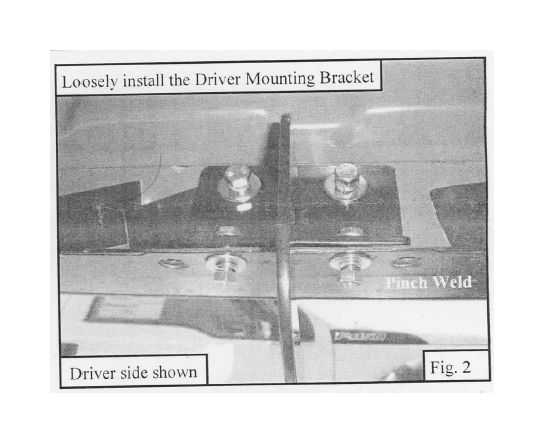
2. Start installation on the driver's side. On the rocker panel locate and remove the tape covering the holes. Insert (4) M8 extruded u-nut into the two holes in rocker panel. See Fig. 1. Locate the (2) Mounting Driver Bracket (Item 3) and loosely install it to the previously installed M8 extruded u-nuts, using (2) M8 hex cap screw, (2) M8 spring lock washer, and (2) M8 large flat washer. Loosely install the Mounting Driver Bracket to the pinch weld using (2) M8 hex cap screw, (2) M8 large flat washer, (2) M8 small flat washer, (2) M8 hex nut, and (2) M8 spring lock washer. Put the large flat washer on the outside of the pinch weld and the small flat washer on the inside of the pinch weld. Repeat for the other mounting driver bracket. See Fig. 2 & Driver Mounting Bracket Assembly. (Note: The mounting cradles face the rear of the vehicle.)
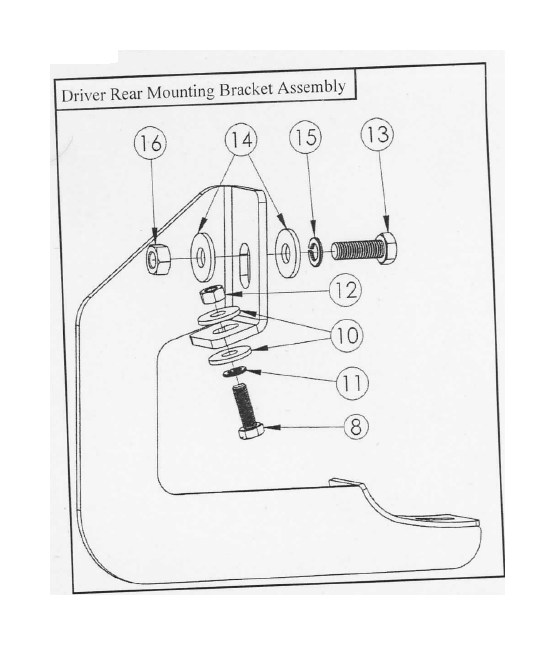
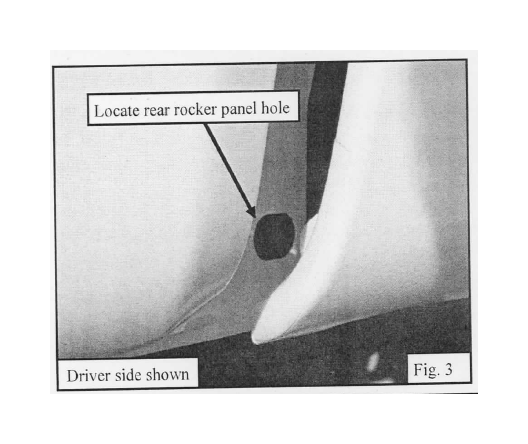
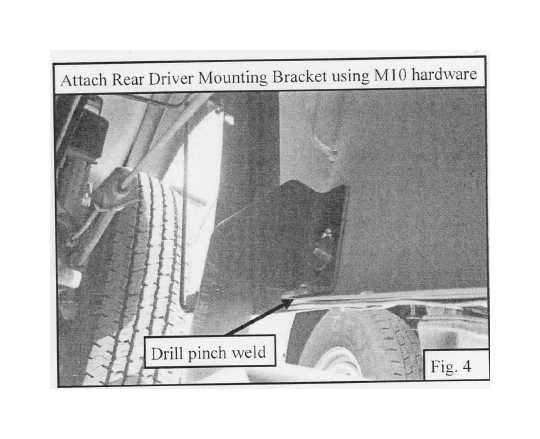
3. Moving to the rear of the rocker panel, locate the factory hole. See Fig. 3. Locate Driver Rear Mounting Bracket (Item 5). Using the supplied M10 hardware, loosely install the bracket to the rocker panel factory hole. See Fig. 4. Align the bracket with the pinch weld and drill a hole through the pinch weld using a 3/8" drill bit. Remove any metal debris. Loosely secure the bracket to the pinch weld using (1) M8 hex cap screw, (1) M8 spring lock washer, (2) M8 large flat washer, and (1) M8 hex nut. See Driver Rear Mounting Bracket Assembly.
4. Locate the Driver Step Bar Assembly (Item 1) and align it with the brackets. See Fig. 5.
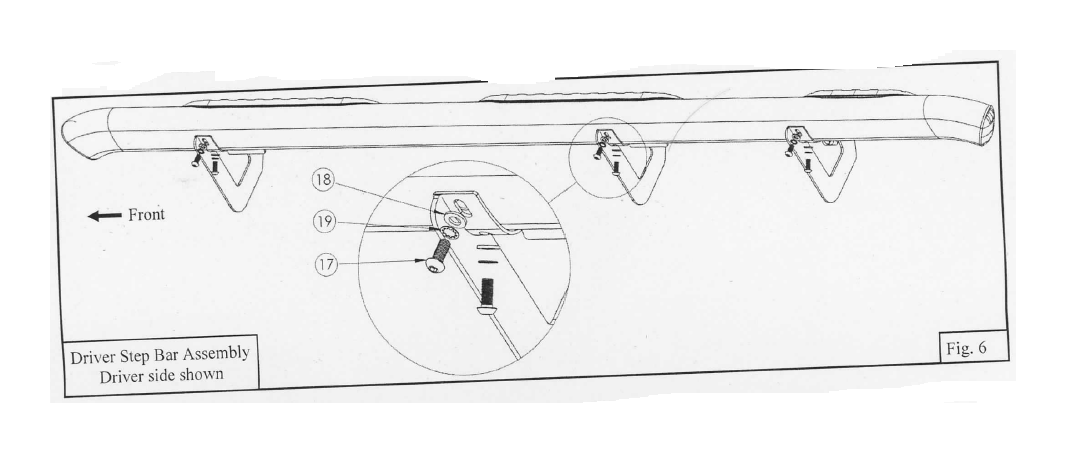
5. Loosely install the Driver Step Bar Assembly using supplied M10 hardware (black zinc/stainless steel). See Fig. 6.
6. Align and adjust the step bar and brackets as necessary then tighten and torque all fasteners as follows: M8 to 20 ft-lbs, M10 30 ft-lbs.
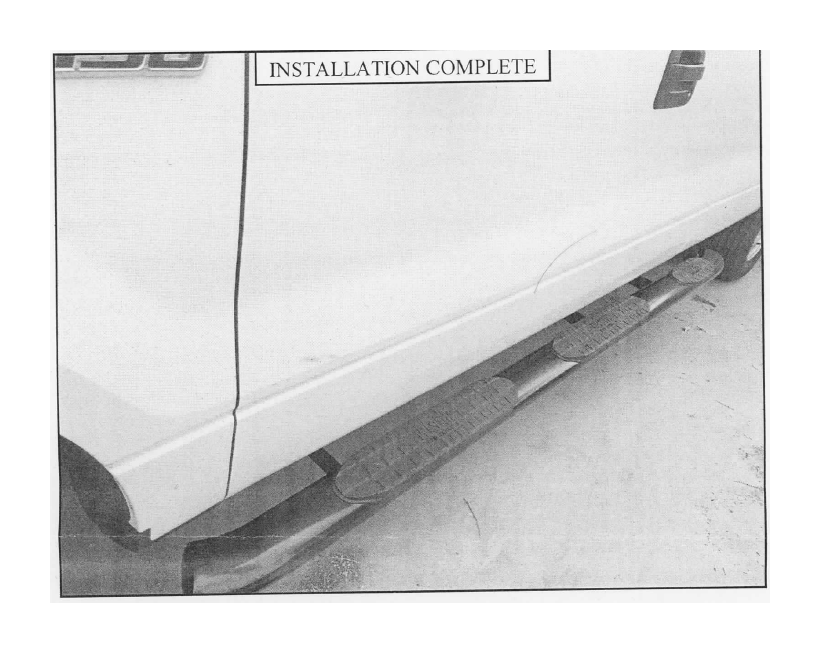
7. Repeat for the passenger side.

.png)
