Guaranteed 12/24 Delivery Still Available see item page for details! available on most items - Details
How to Install Weathertech Front No Drill MudFlaps - Black (15-18 F-150, Excluding Raptor) on your Ford F-150
Installation Time
25 minutes
Tools Required
- Hex Key (Included)
- Philips Screwdriver
- Ratchet & 3/8" Socket
- Razor Knife
- Trim Clip Remover (Optional)

Shop Parts in this Guide
Please Note. These MudFlaps were installed on a F-150 equipped with the Factory/OEM Fender Flares.
Installation Instructions
1. Park your F-150 on level ground and full turn the wheels to the Left or Right.
2. Thoroughly clean the Wheel Well Lip where the mud flaps will be installed.
3. Locate the Plastic Rivet that is under the Front Fender and use a Razor Knife to cut the backside of the Rivet Head.
a) Use the include Hex Key or a Screwdriver to help push the rivet through the hole, if you are unable to push it through, use a Trim Clip Remover to pull out the plastic rivet.

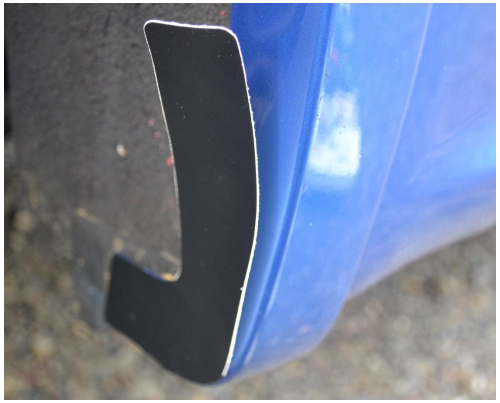
4. Apply the included Protective Film to the wheel well lip.
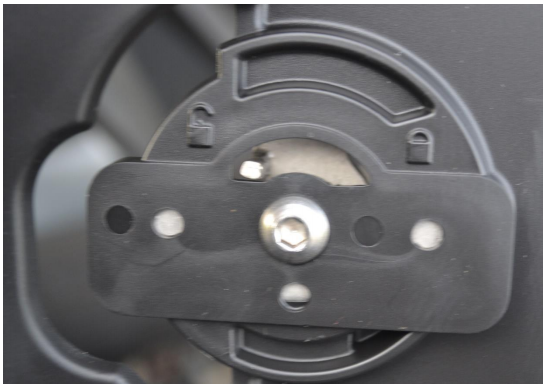
5. Grab your MudFlap and make sure the QuickTurn Fastener is in the Unlock Position.
6. Attach the MudFlap to the Wheel Well Lip.
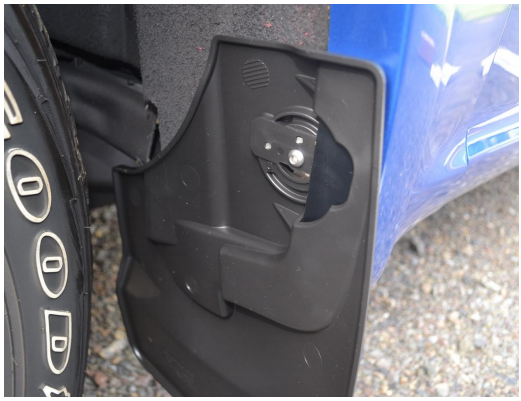
7. Make sure the Tab on the MudFlap is facing towards the outside of the vehicle.
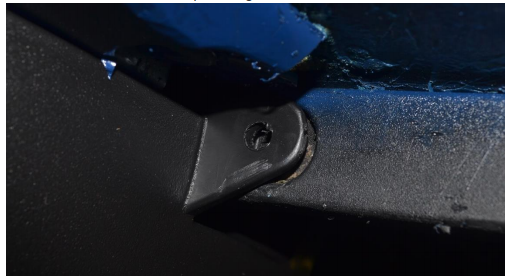
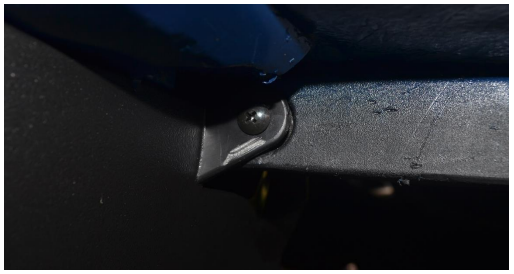
8. Install the included bolt through the tab on the MudFlap and the hole where you removed the Plastic Rivet. Then install the included washer and nut on the backside and loosen tighten the hardware.
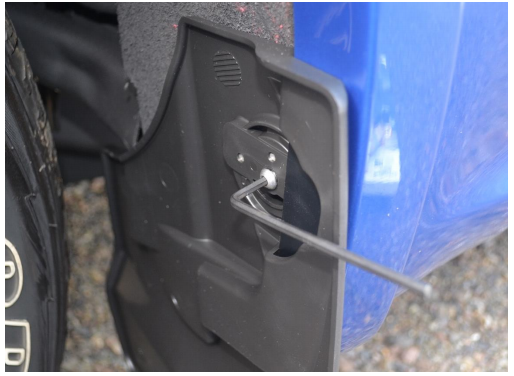
9. Apply pressure to the MudFlap against the Fender and rotate the QuickTurn Fastener with the included Hex Key. The Fastener will eventually be turned to the “Locked” position and stop. Keep turning the Fastener to tighten the MudFlap to the fender.
10. Go back to the Bolt where the Plastic Rivet was removed, then tighten the hardware, without over doing it.
11. Repeat Steps 2-10 on the opposite side and the installation of your WeatherTech’s Front No-Drill MudFlaps is complete.
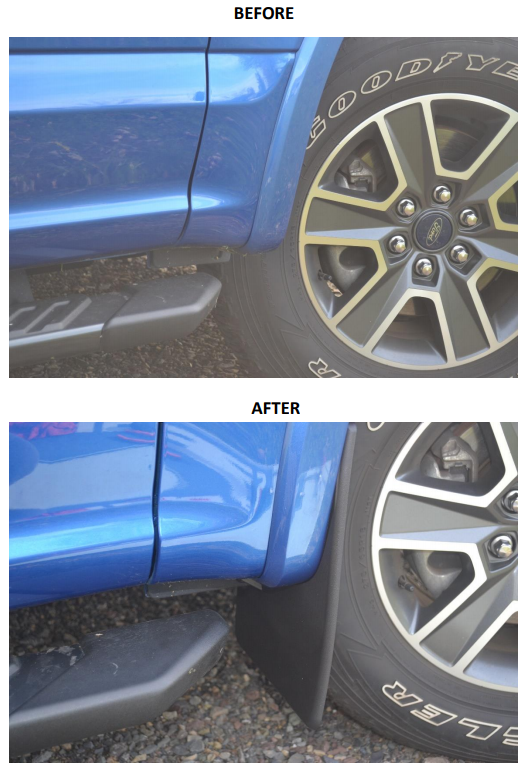
Installation Instructions Written by AmericanTrucks Customer on 11/6/17.
