How to Install Tuffy Under Rear Seat Lockbox (15-17 SuperCrew, SuperCab) on your Ford F-150

Shop Parts in this Guide

PLEASE READ ALL INSTRUCTIONS THOROUGHLY BEFORE STARTING INSTALLATION
1. Flip both rear seat bottoms up so they are secured in the upright position.
2. Starting on one side, use the 13mm Socket to remove the OEM outer seat mount bolt(secures the seat to the floor). This should allow the seat mount to move enough to slip the #11 Bracket under the mount.
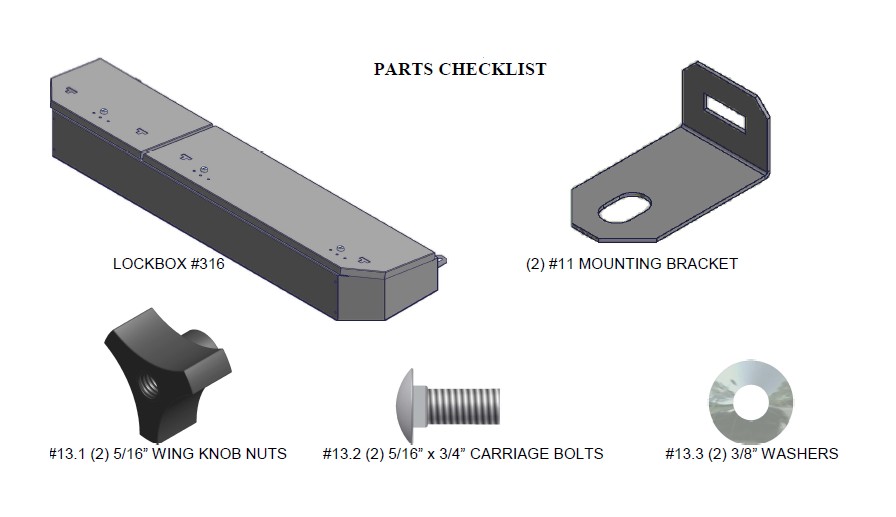
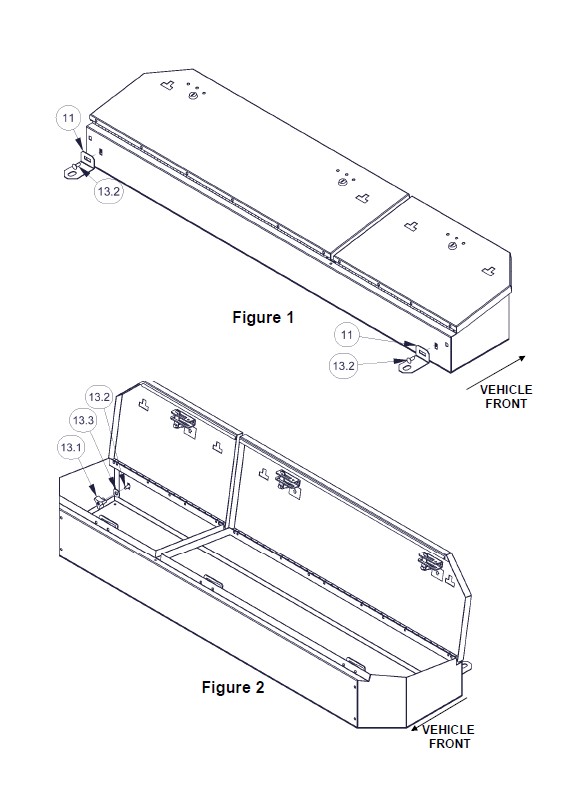
3. Place a #13.2 Carriage bolt through one of the #11 bracket as shown in Figure 1, and slip the bracket under the seat mount so that the mounting hole is visible from above.
NOTE: This will capture the head of the Carriage bolt between the seat mount and the #11 Bracket.
4. Replace, but do not tighten, the OEM bolt removed in step #2.
5. Repeat steps #2 thru #4 on the other side of the vehicle.
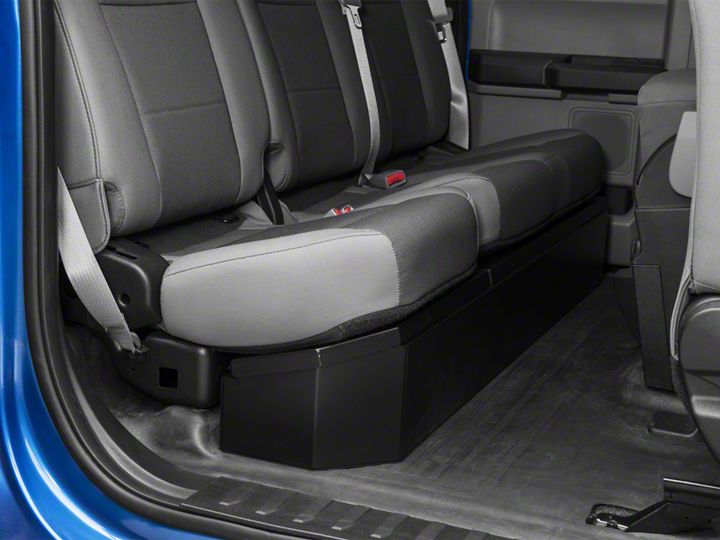
6. Place the #316 Lockbox in the floorboard area of the vehicle, and slide it back into place, so that the #13.2 Carriage bolts protrude through to the inside of the box. The Carriage bolts may need to be moved in the horizontal slots of the #11 Brackets to line up properly with the vertical slots in the rear of the Lockbox.
7. Install the #13.3 Washers, and #13.1 Wing Knob Nuts. (See Figure #2) NOTE: Do not tighten #13.1 Nuts as some adjustability is required in the next steps.
8. Adjust the Lockbox’s side to side position so that the gap in the lids aligns with the rear seat split. This may be done by alternately opening the Lockbox lids and raising and lowering the rear seats, and adjusting to minimize interference.
9. Once the Lockbox is in its final position, the (2) #13.1 Wing Knob Nuts and the OEM Seat Mount Bolts may be tightened.


