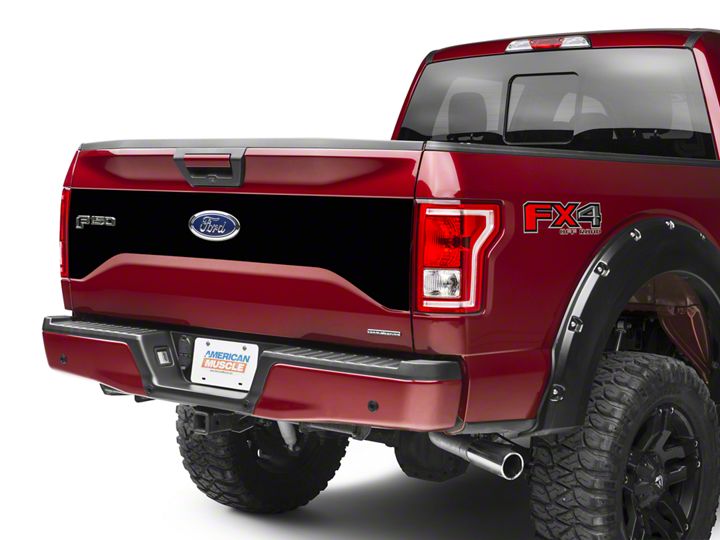
How to Install Black Tailgate Panel Decal on your F-150

Shop Parts in this Guide
Prep:
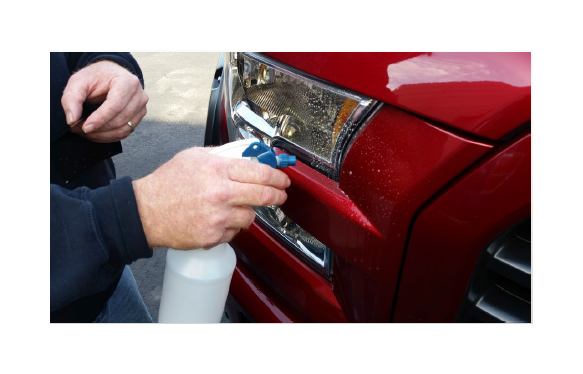
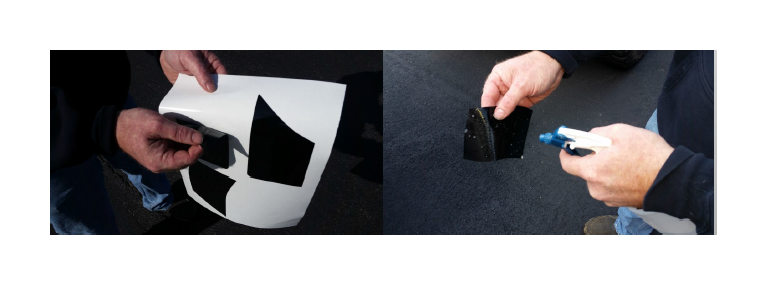
Clean car well to ensure good adhesion of the decal. Fill a spray bottle with a mixture of water and soap (we use baby shampoo), about 4 large drops per 32 oz. spray bottle of water. Be sure to install decal out of direct sunlight. Also having someone to assist you if you can is very help-ful. It may be necessary to separate multiple decals on one sheet by cutting with scissors.
Step 1:
Spray car with a generous amount of the soap and water mixture.

Step 2:
Peel backing from insert exposing the adhesive. Also spray back of decal as your peeling the backing paper off.

Step 3:
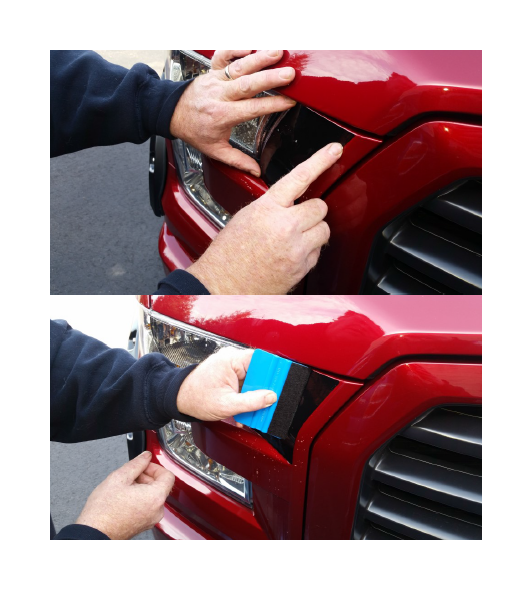
Place decal on the car. You will be able to ma-neuver the insert into position because of the soap and water solution you sprayed on earlier.
Step 4:
Squeegee out the water from underneath the decal with a squeegee (covered in a cloth that will not scratch the vinyl and keep the vinyl wet).
Step 5:
Use a hair dryer when needed to help the vinyl conform to the surface and help dry the under-neath so the vinyl can stay in position. Once the vinyl has conformed to the shape of the car let it cool, holding it for a moment.

Leave several hours, depending on climate, of dry time before cleaning car. Use a quick detailer in a spray bottle for the initial clean-ing then hand wash car waiting at least several days for the first time after drying. Do not power wash vinyl or wax vinyl.
In these instructions a hood is pictured but the process is similar for other products

