2021-2025
 2015-2020
 2009-2014
 2004-2008
 1997-2003


Installation Time
(approx) 2 Hours
Difficulty Level:
Light to Moderate mechanical skill required.
 FREE 1 to 3-Day Delivery on Orders $119+ Details
 27 Reviews
7 Answers
27 Reviews
7 Answers
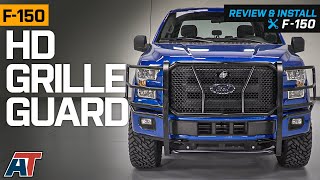
$864.99 each
Will this fit your Vehicle?
Saved - View your saved items
We're sorry. We couldn't save this product at this time.
Add Local Installation
Features, Description, Reviews, Q&A, Specs & Installation
Shop All Truck Parts And Accessories
Shop All Truck Exterior Accessories
Shop All Truck Grille Guards
CA Residents:  WARNING: Cancer and Reproductive Harm - www.P65Warnings.ca.gov
Installation Info
Installation Time
(approx) 2 Hours
Difficulty Level:
Light to Moderate mechanical skill required.
What's in the Box