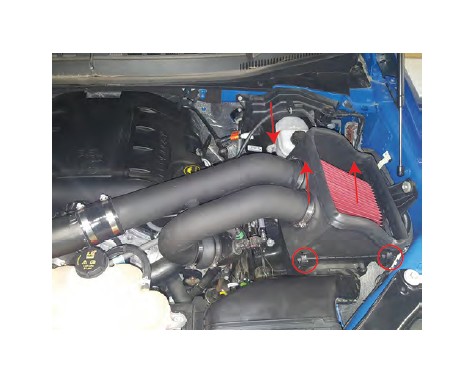
How to Install SR Performance Cold Air Intake - Wrinkle Black (15-16 3.5L EcoBoost) on your Ford F-150

Shop Parts in this Guide
Contents:
(1) Air Filter
(1) Intake Pipe
(1) Heat Shield/Air Box
(1) Straight Coupler w/ Clamps
(1) Reducing Coupler w/ Clamps
(2) Weather Stripping
(1) Rubber Mounting Bracket
(2) Nuts
(2) Flat Washers
Step 1:
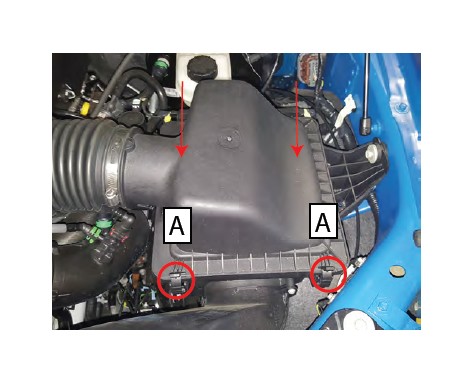
A. Begin by un-clipping the factory air box lid.
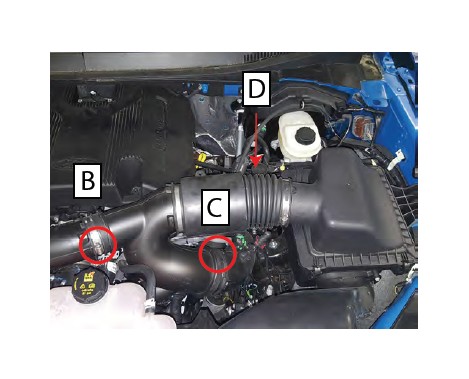
B. Loosen the 7mm hose clamp around the upper inlet pipe.
C. Loosen the 7mm hose clamp around the lower pipe.
D. Unplug the Air Temperature Sensor harness. Remove Intake tube and air filter from the vehicle.
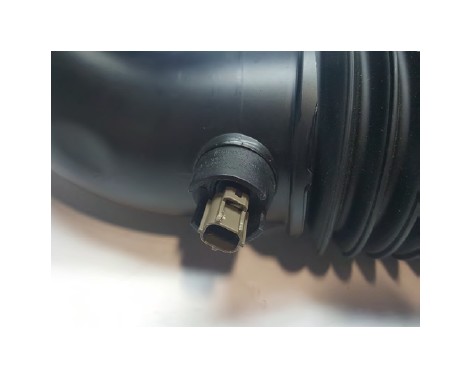
Step 2: Carefully remove the air temperature sensor from the stock intake tube by turning it counter clockwise. **Note: The sensor will be reused.
Step 3: Install the weather-stripping around the top of the heat shield. **Note: Weather stripping will need to be cut to length.
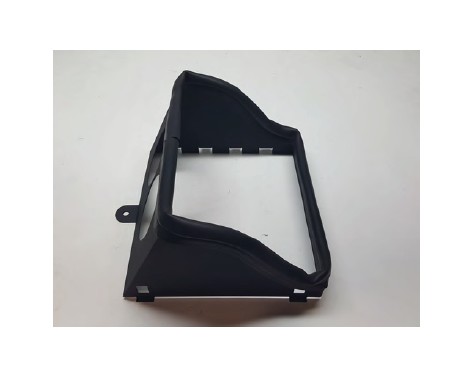
Step 4: Install the rubber intake support to the heat shield, and tighten.
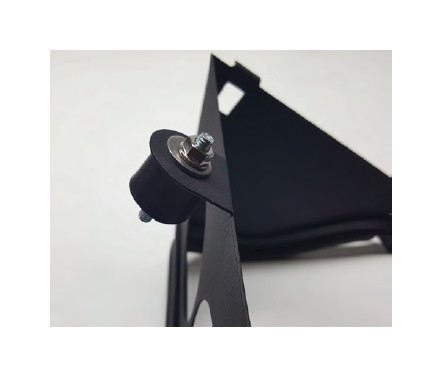
Step 5: Slide the air filter through the heat shield. Then slide the intake tubes into the air filter. Tighten the filter clamps. Secure the intake tube to the heat shield using the mounting location from step 4. Carefully install the factory air temperature sensor in the new intake tube.
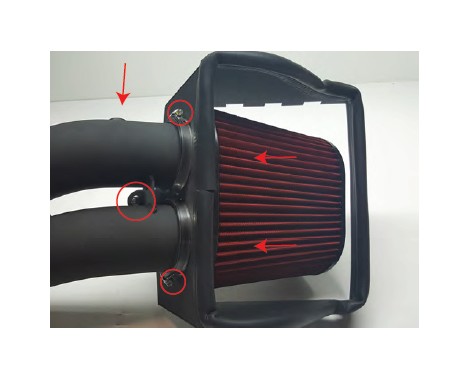
Step 6: Install the silicone couplers and clamps to the intake tubes. Do not tighten fully as intake pipe will need to be adjusted.
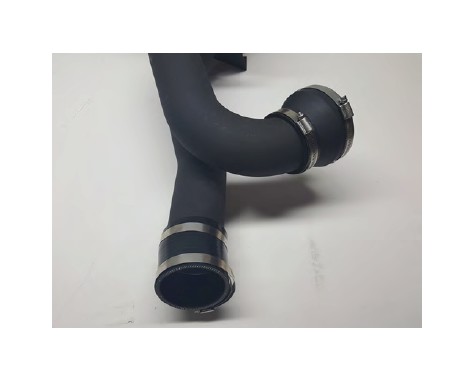
Step 7: Install the intake and rotate the pipe/couplers to achieve the best fit. Ensure the piping isn't making contact with any other components. Then tighten all clamps.
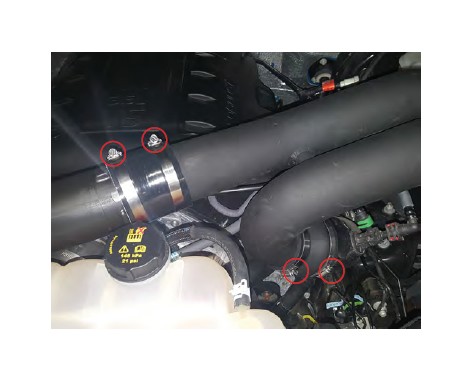
Step 8: Attach the heat shield to the factory air box by first sliding the heat shield’s tabs into the factory lower air box. Clip the front of the heat shield to the lower portion of the factory air box using the factory clips. Complete the installation by plugging in the air temperature sensor.
