How to Install SkyJacker 2 in. Leveling Kit on your F-150
Tools Required
- Safety Glasses
- Metric / Standard Wrenches & Sockets
- Floor Jack
- Jack Stands
- Measuring Tape
- Torque Wrench
- Strut Spring Compressor
- Ball Joint Separator
Shop Parts in this Guide
1. Secure & properly block the tires of the vehicle on a level concrete or asphalt surface.
2. Jack up the front of the vehicle in accordance to the manufacturers recommendation & support with jack stands, so that the front two tires are off of the ground.
3. Remove the front tires / wheels.
4. Disconnect the sway bar end links.
5. Disconnect the steering linkage & push forward out of way.
6. Separate the upper ball joint from the spindle using a ball joint remover or other suitable tool.
7. Remove the 3 upper strut nuts on the strut tower that holds the strut assembly to the strut tower. (Note: Leave one nut on to prevent the strut from dropping out in the next step.)
8. Remove the lower strut bolt from the lower control arm & remove the strut assembly from the vehicle. (Note the direction of the bolt for reinstallation)
9. Compress the coil spring on the strut assembly with a suitable coil spring compressor & remove the upper strut nut & strut mount, leaving the coil spring isolator in place on top of the coil spring.
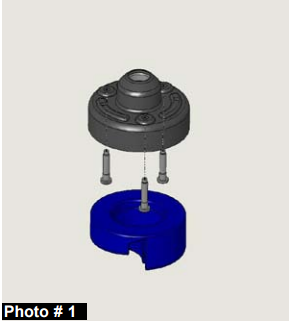
10. Remove the 3 pressed in studs from the upper strut isolator mount. (See Photo # 1)
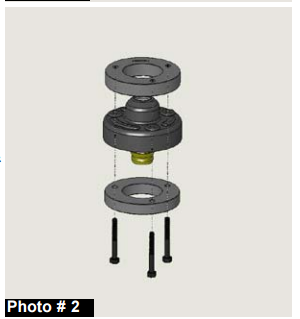
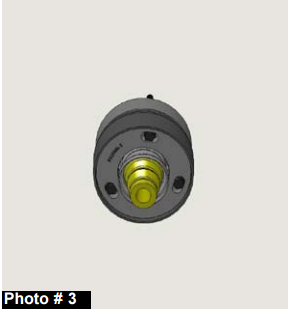
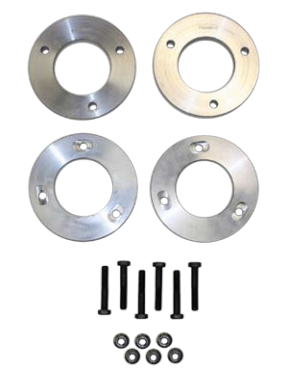
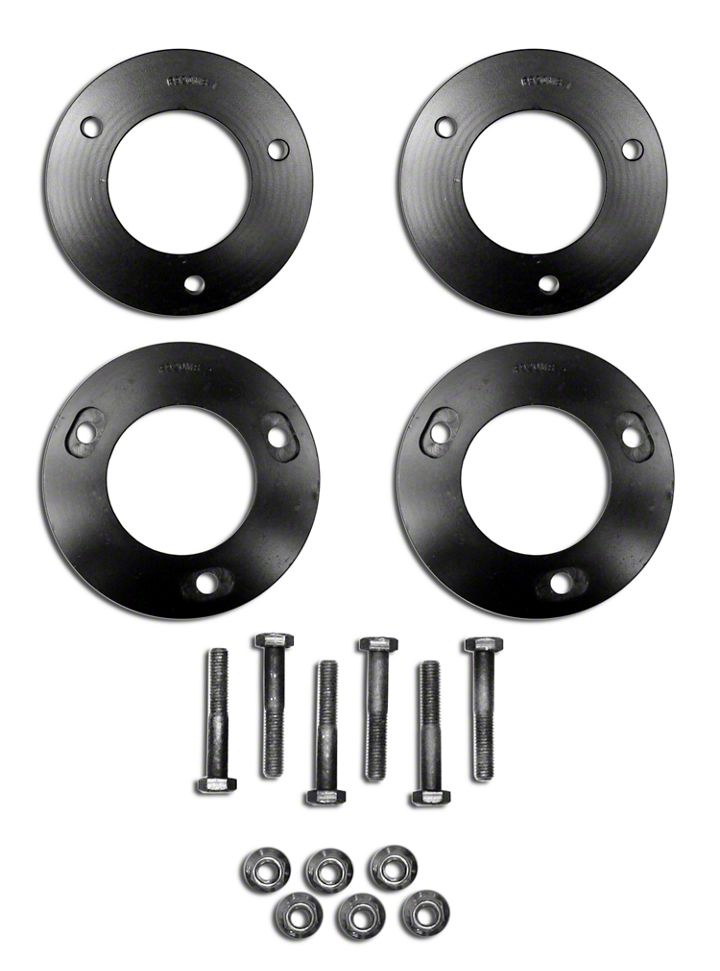
11. Install the lower aluminum spacer (Part # F920MS-2) into the bottom of the strut mount using the 3 10mm x 60mm bolts making sure the hex heads of the bolts recess into the slots of the lower spacer. Install the upper aluminum spacer (Part # F920MS-1) by aligning the bolt holes with the bolts on top of the strut mount. (See Photo # 2, 3, & 4)
12. Place the assembled strut mount & spacer assembly on the strut shaft & install the upper strut mount nut.
13. Decompress the coil spring. Making sure that the coil spring seats correctly on the upper & lower coil mounts. Photo # 1 Photo # 2 Photo # 3
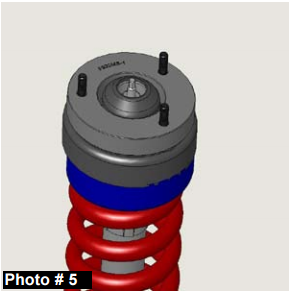
14. Install the strut assembly (See Photo # 5) into the strut tower & start the 3 upper 10mm nuts. (Make sure that the bottom of the strut is aligned as well)
15. Install the lower strut bolt in the original position that it was removed.
16. Using a floor jack, raise the lower control arm & connect the upper ball joint on the upper control arm to the spindle.
17. Repeat steps 5 thru 16 for the opposite side.
18. Reconnect the sway bar end links & install the front tires / wheels.
19. Lower the vehicle onto the ground & tighten the 3 upper strut tower nuts on both sides of the vehicle.
