2019-2025
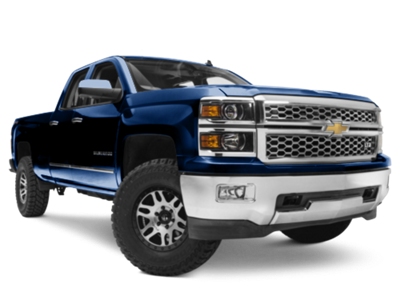 2014-2018
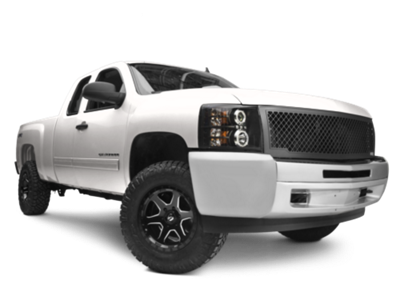 2007-2013
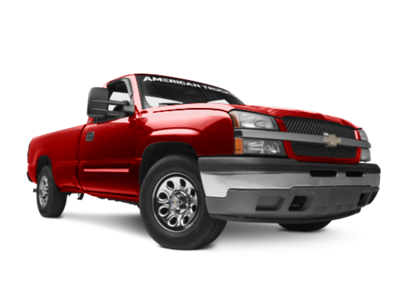 1999-2006


Installation Time
(approx) 1 Hour
Difficulty Level:
Simple installation for anyone.
Installation Guides
No guide available for this part yet.
 FREE 1 to 3-Day Delivery on Orders $119+ Details
 6 Reviews
2 Answers
6 Reviews
2 Answers
$289.99 pair
Save with Open Box
From $130.50
Will this fit your Vehicle?
Saved - View your saved items
We're sorry. We couldn't save this product at this time.
or use
Add Local Installation
Features, Description, Reviews, Q&A, Specs & Installation
| Headlight Type | Projector |
| Headlight Housing Color | Chrome |
| Headlight Lens Color | Clear |
| Headlight Style | Aftermarket Style |
Enhanced Brightness. Need brighter lights for your Silverado? These DRL Bar Projector Headlights go beyond your expectations as they produce a whopping 1500 lumens of brightness thanks to their compatibility with the H7 high-beam halogen bulbs which produce unprecedented amounts of light at controlled intervals.
Fixed Lighting Points. These DRL Bar Projector Headlights have a fixed lighting point where the light shines brightest unlike other headlights which sacrifice brightness for a wider light scope by spreading and reflecting the light, these projector lights only point in one direction.
Highly Resistant Materials. The DRL Bar Projector Headlights are made of top-class hardened chrome plastered to a thermoplastic base layer that repels heat while the chrome repels debris. These Projector lights are also air-sealed with a clear polycarbonate lens that acts to intensify its light output even further.
Warranty. This product is purchased with a limited lifetime warranty. This warranty covers any defects or damage prior to its installation. Certain limitations may apply to this warranty.
Plug-n-Play Wiring. These DRL Bar Projector Headlights do not require professional installation and can be finished in less than an hour.
Application. These DRL Bar Projector Headlights fit all 2014-2015 Chevrolet Silverado 1500 models.
CA Residents:  WARNING: Cancer and Reproductive Harm - www.P65Warnings.ca.gov
Installation Info
Installation Time
(approx) 1 Hour
Difficulty Level:
Simple installation for anyone.
Installation Guides
No guide available for this part yet.
What's in the Box

Reviews of similar Lights products have an average rating of 4.6 out of 5
Sponsored