Guaranteed Free Delivery by 12/24! available on most items - Details
How to Install Rough Country 20 in. LED Light Bar Hidden Bumper Mounting Brackets (06-08 All) on your Ford F-150

Shop Parts in this Guide
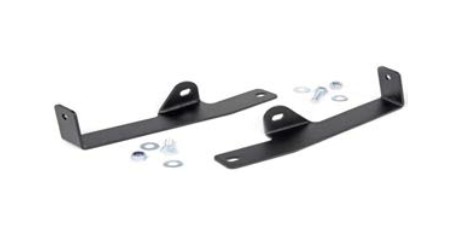
Kit Contents:
(2) Light Brackets
Installation Hardware
INSTALLATION INSTRUCTIONS
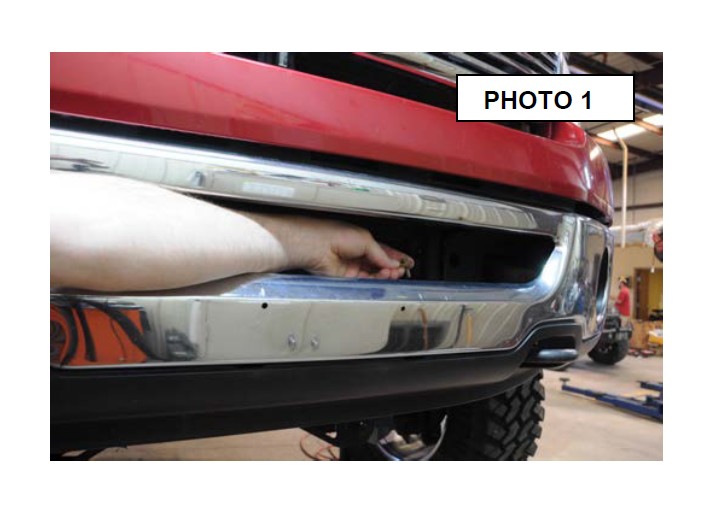
1. Using 8mm socket remove the two lower air dam bolts. See Photo 1.
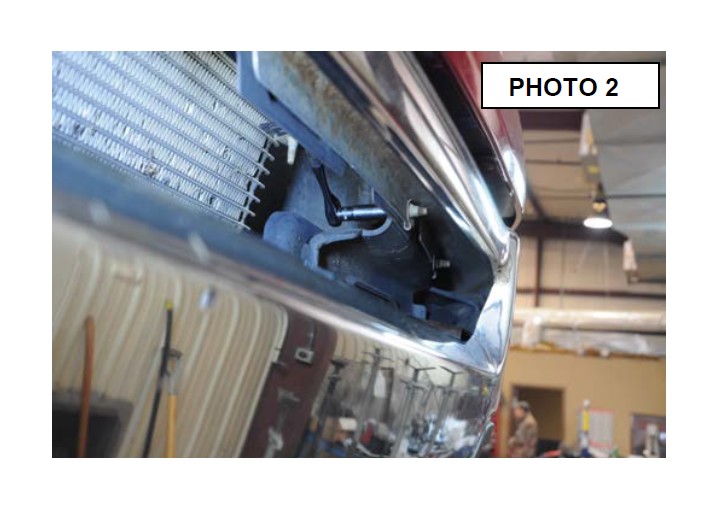
2. Using a 10mm socket remove the upper bumper bolts on each side. Photo 2.
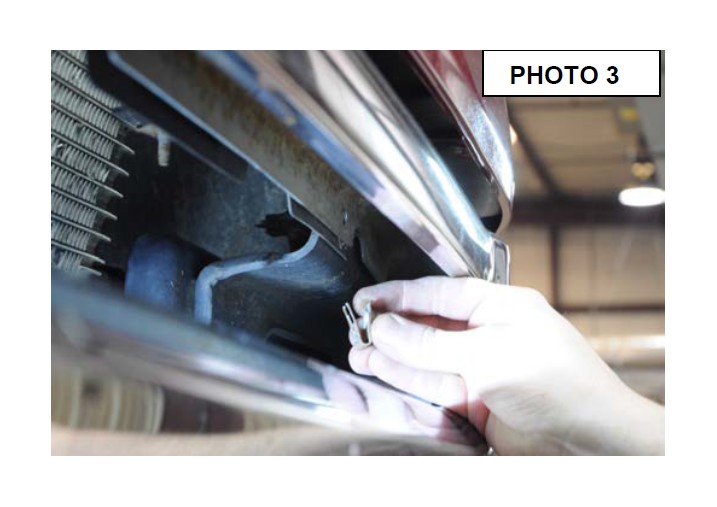
3. Using a flat screwdriver, remove the factory clip nuts from the upper bumper brackets. See Photo 3.
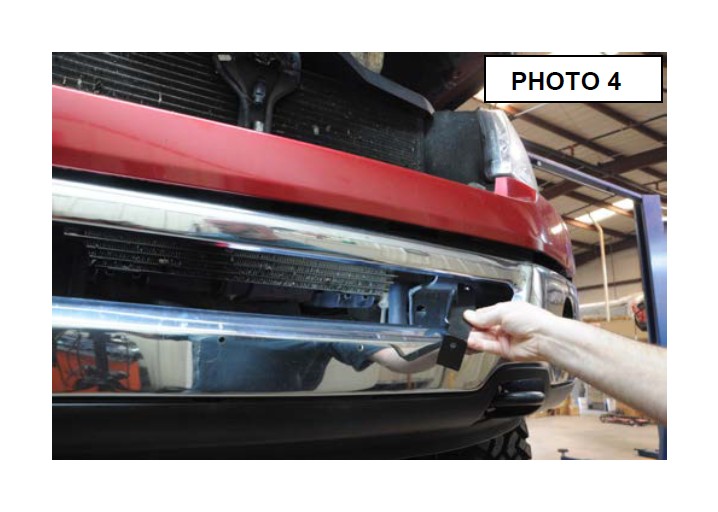
4. Place driver’s side bracket in bumper. See Photo 4.
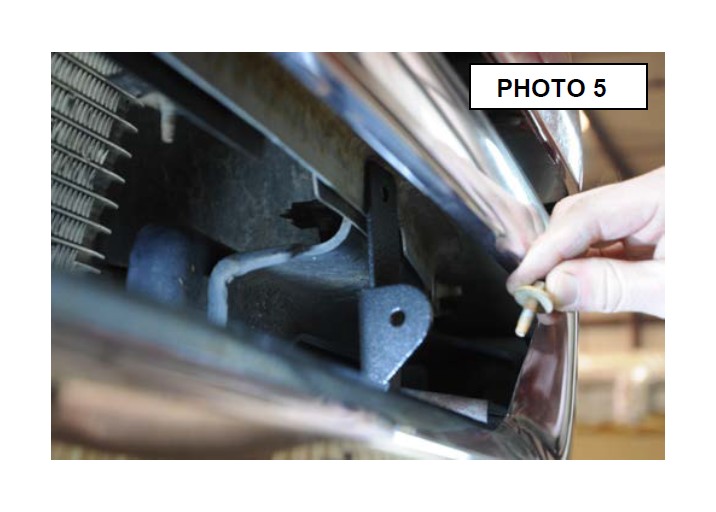
5. Using factory 8mm hardware bolt mount to lower air dam. See Photo 5.
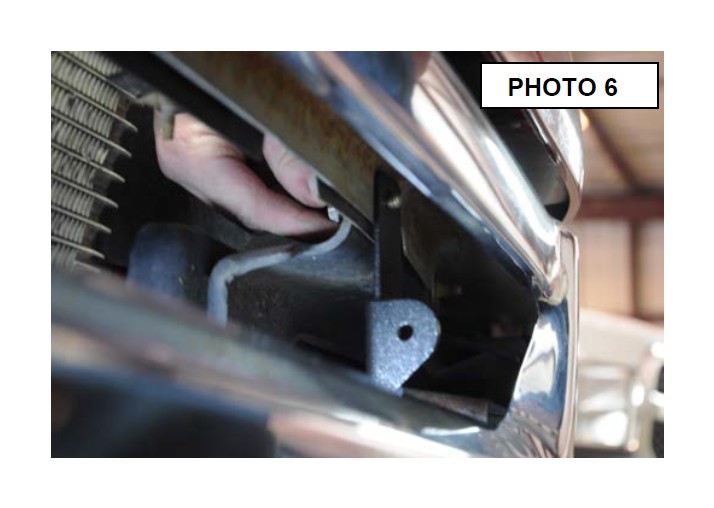
6. Using supplied 5/16” bolts, nuts, and washers, bolt mount to upper bumper bracket. See Photo 6.
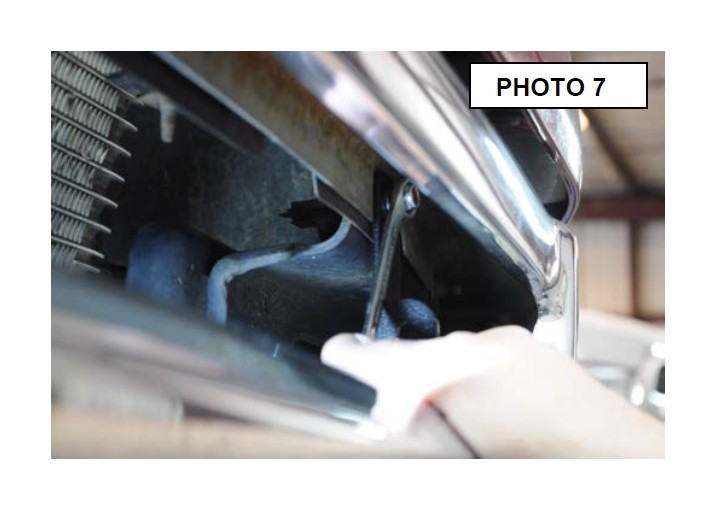
7. Tighten upper bolt using 1/2” socket and wrench. See Photo 7.
8. Tighten lower air dam bolt with 8mm socket.
9. Slide light into bumper from bottom and bolt to driver’s side bracket with supplied light hardware. Do Not Tighten.
10. Bolt passenger side mounting bracket to light with supplied light hardware. Do Not Tighten.
11. Repeat steps 5, 6, and 7 for passenger side bracket.
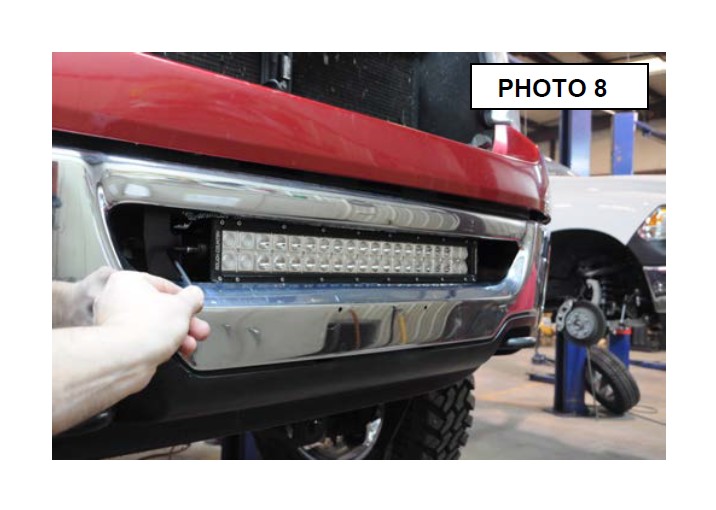
12. Adjust light position. Using supplied Allen wrench tighten light bolts on driver and passenger side. See Photo 8.
13. Wire light using supplied wiring harness.
