How to Install ReadyLIFT 4 in. Front / 1.75 in. Rear SST Lift Kit on your Silverado
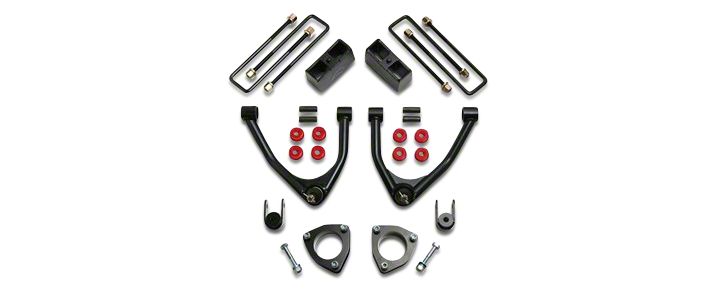
Shop Parts in this Guide
1. Raise the vehicle and support the frame with jack stands.
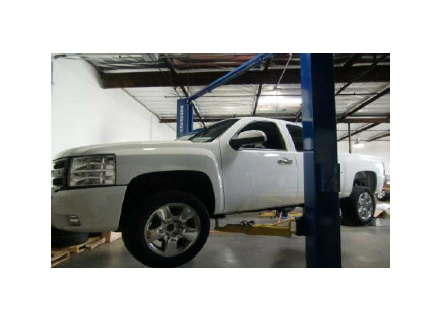
2. Remove the wheels and tires.
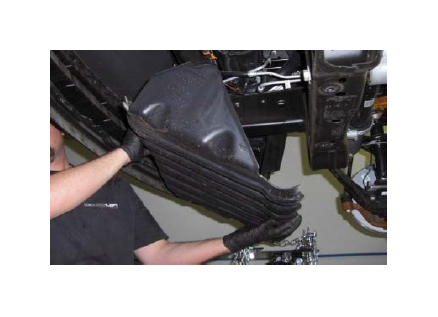
3. Remove the front plastic debris plate.
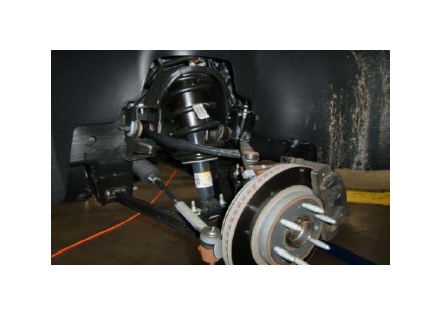
4. Disconnect the ABS sensor at the frame.
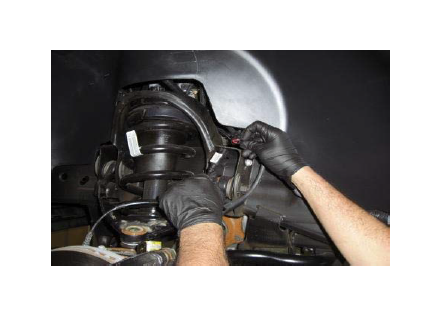
5. Unbolt the ABS bracket from the upper control arm.
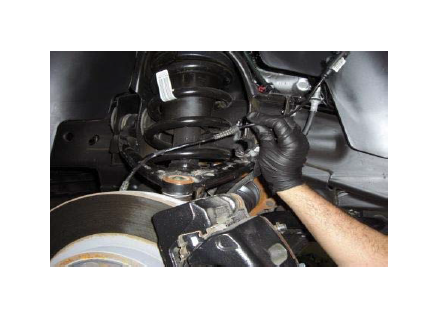
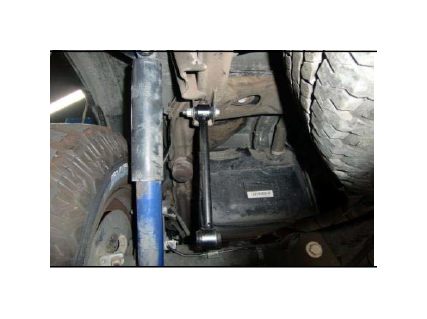
6. Disconnect and remove both sway bar end links.
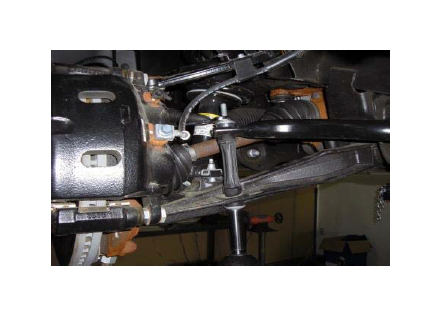
7. Remove the outer tie rod nut.
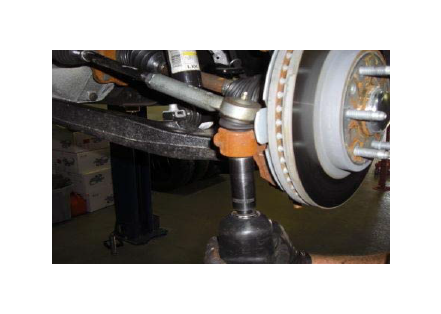
8. Strike the spindle with a hammer to break loose the tie rod.
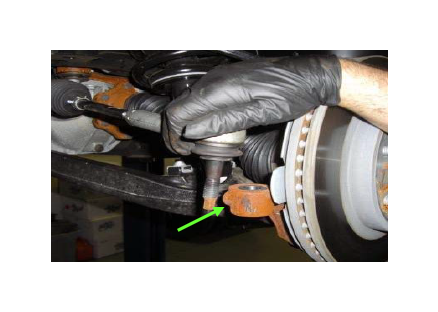
9. Remove the lower strut mounting hardware and the nut clips.
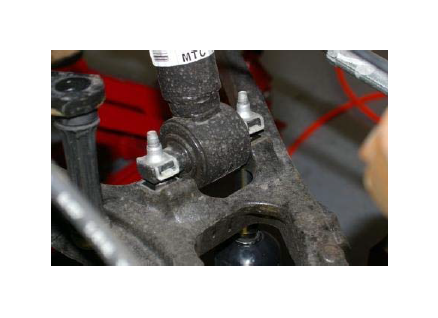
10. Remove the clips from on top of the upper strut mounting nuts.
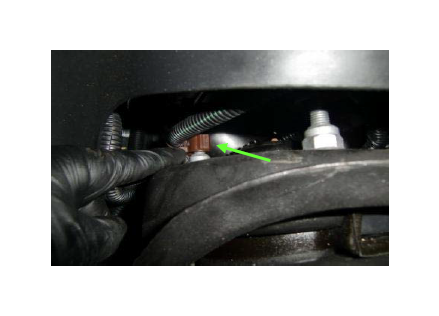
11. Remove the upper mounting nuts.
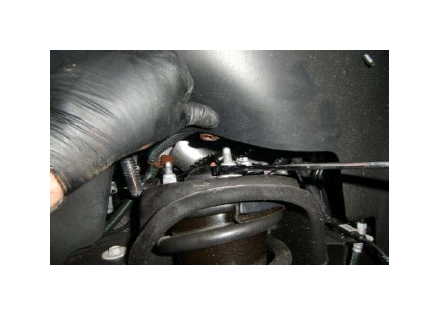
12. Remove the strut assembly from vehicle.
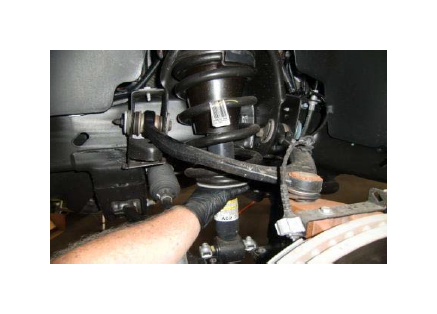
13. Loosen, but do not remove the upper ball joint nut.
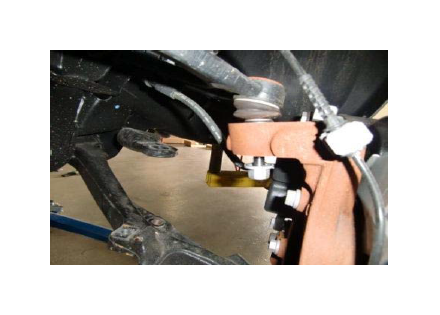
14. Strike the spindle as shown to break loose the ball joint, then disconnect.
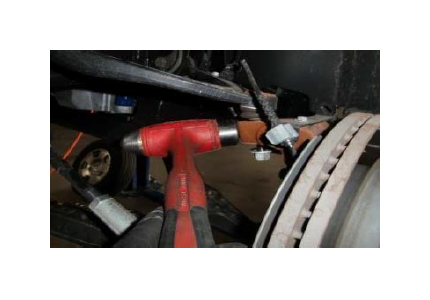
15. Use a pry bar to push down on the upper control arm, remove the nut.
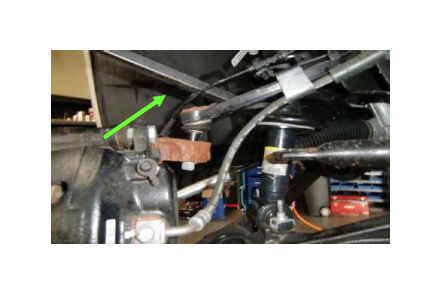
16. Carefully separate the ball joint from the spindle.
Note: 4wd’s see step 21 for axle removal instructions
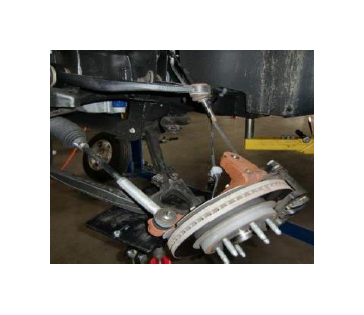
17. Unbolt the upper control arm marking the cam location.
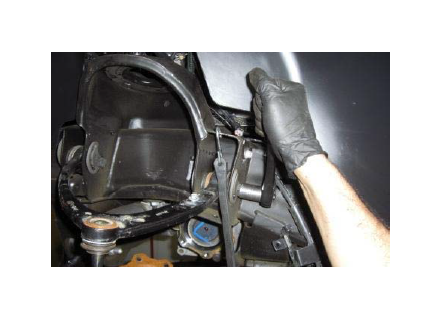
18. Remove the upper control arms.
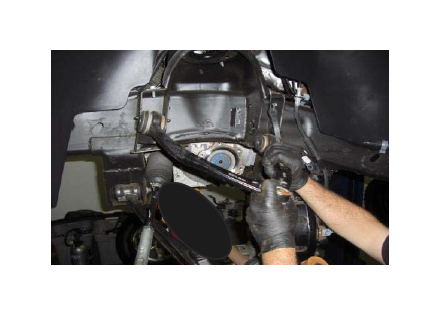
19. Unplug the differential solenoid.
Steps 19- 36 are for 4wd vehicles. If you have a 2wd go to step 37.
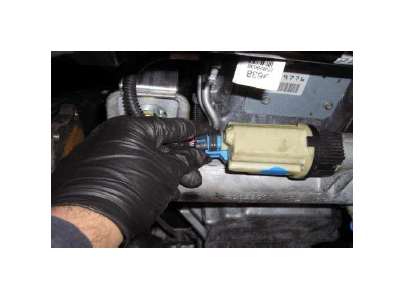
20. Disconnect the u-joint at the differential and slide back.
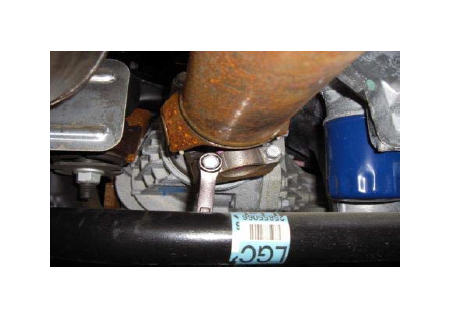
21. Unbolt the CV axle bolts at the differential.
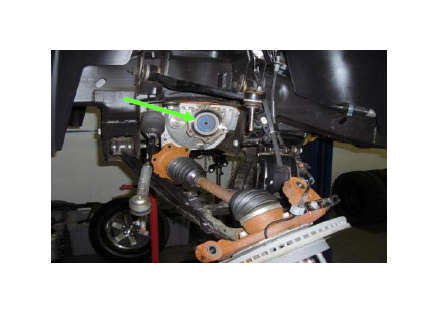
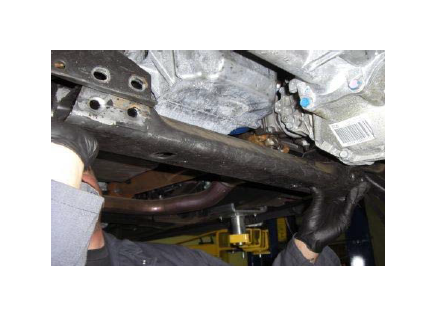
22. Unbolt the rear cross member bolts and remove.
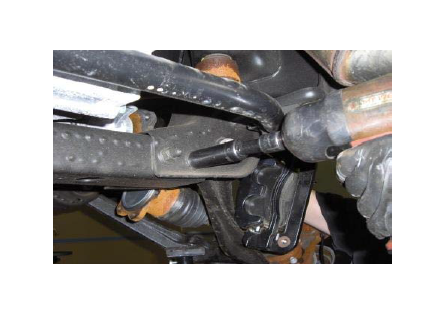
23. Support the differential with a jack and unbolt the passenger side.
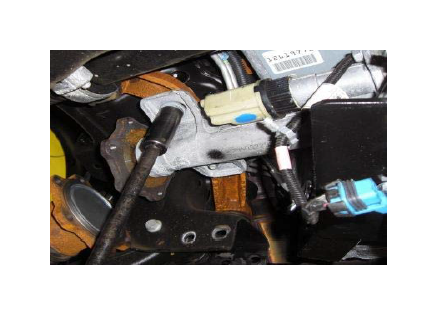
24. Remove the drivers side mounting bolts and unplug the vent line.
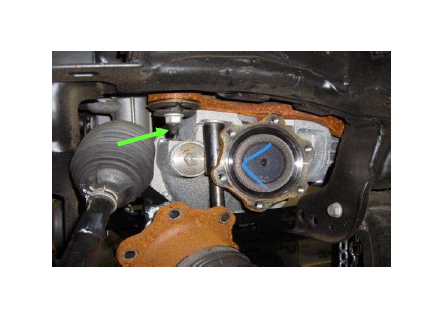
25.Carefully lower the differential from vehicle.
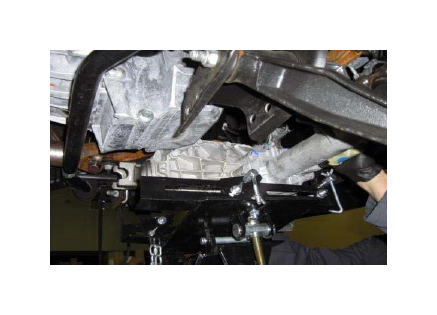
26. Secure the differential to perform the modification.
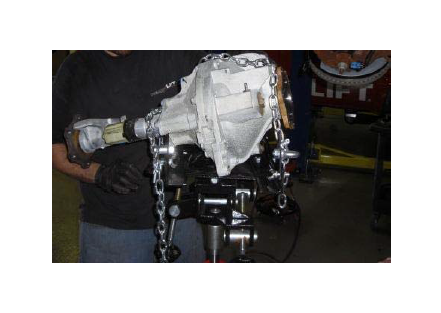
27. Mark the differential, as shown, indicating material to be removed.
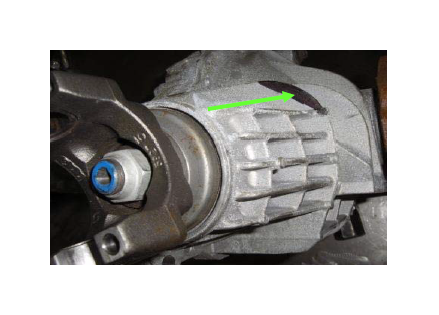
28. Use a grinder to remove the material marked previously.
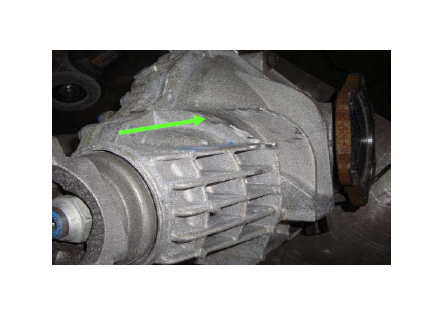
29. Remove the passenger side differential mounting bracket.
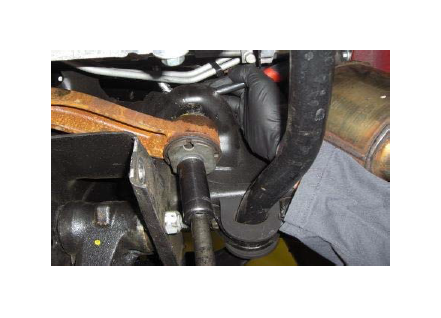
30. Secure in a vise and remove the mounting studs with hammer.
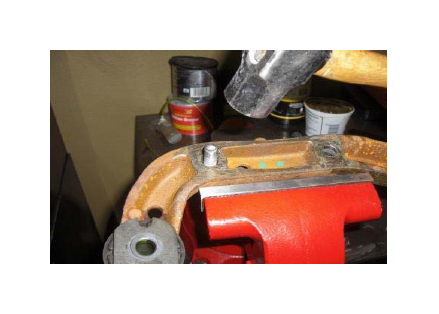
31. Re-install the bracket and attach the billet spacer as shown.
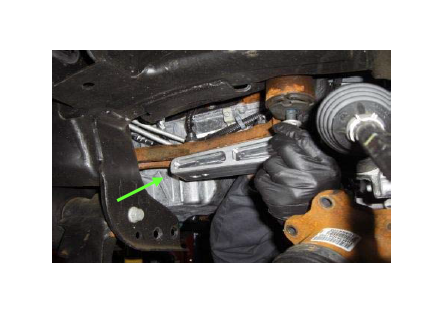
32. Attach both sides with the socket head hardware.
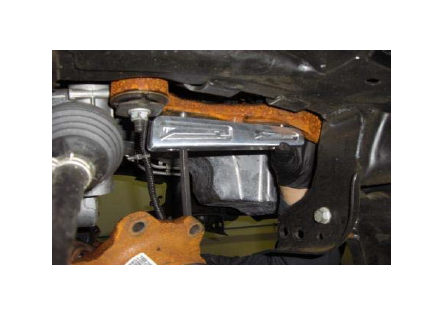
33. Position the differential into the vehicle, checking for clearance.
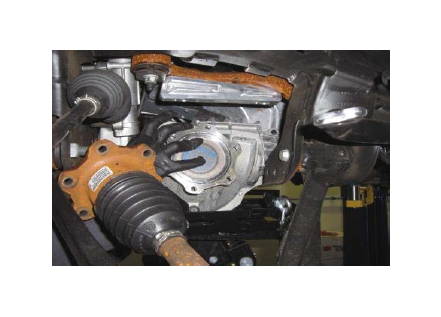
34. Attach with new hardware, re-connect the differential vent line.
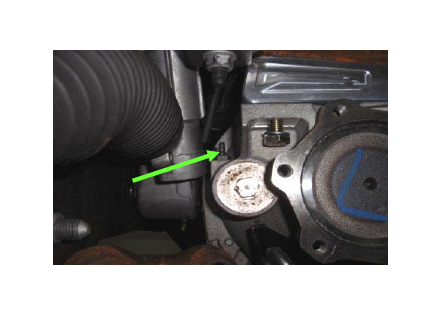
35. View of the passenger side bolted in with the new hardware
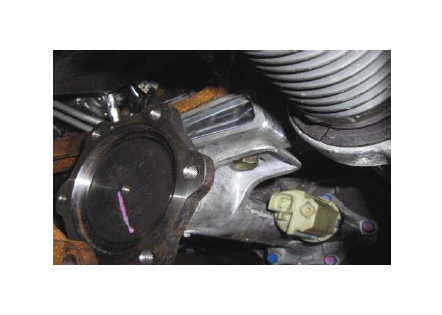
36. Re-connect the differential solenoid
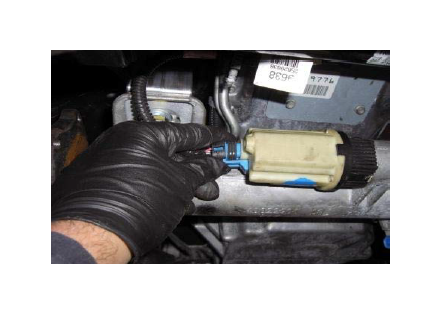
37. Re-install the rear cross member as original.
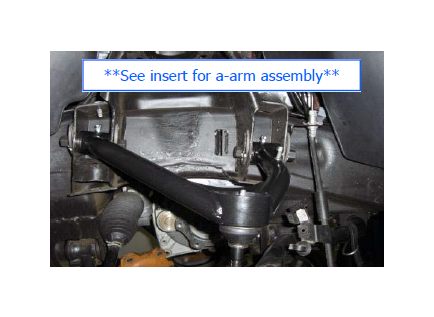
38. Install upper control arms removing the plastic alignment cams.
39. Place the new strut extension spacer onto the strut.
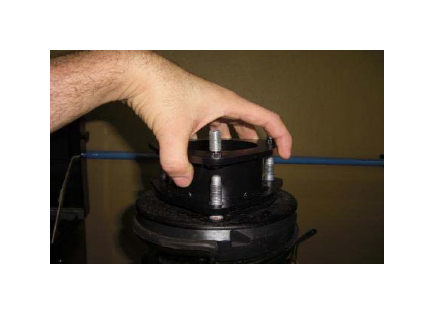
40. Attach and tighten with the OE hardware
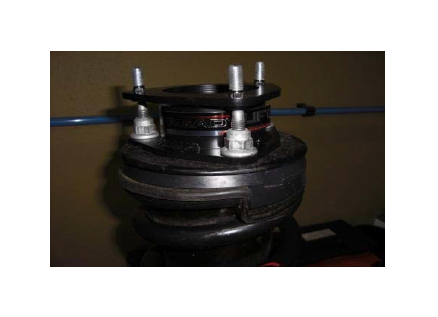
41. Re-install the strut assembly with the new hardware.
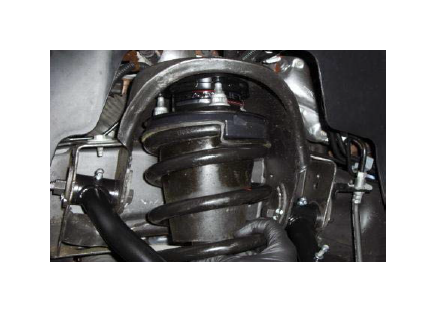
42. Attach the lower strut mount with new shorter hardware, no clips.
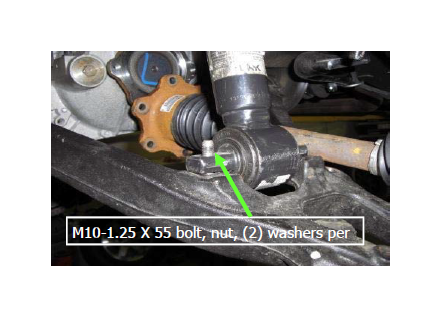
43. Raise spindle, attach upper ball joint, tighten, & insert cotter pin.
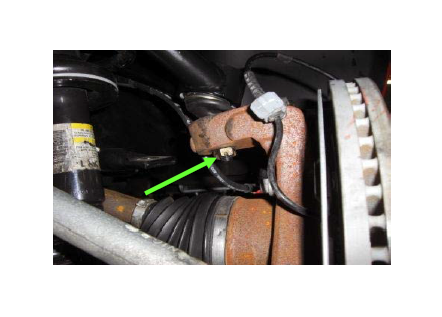
44. Connect outer tie rod end and sway bar end links and tighten.
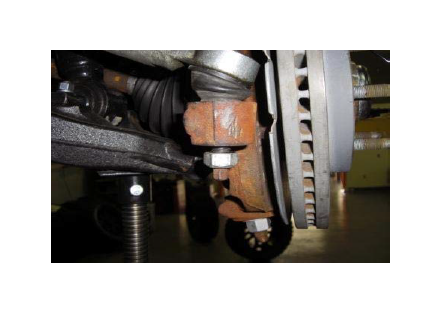
45. Re-attach the CV axles to the differential (6 bolts per side).
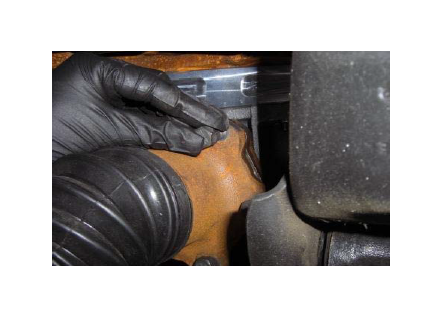
46. Re-connect the ABS plug near the frame.
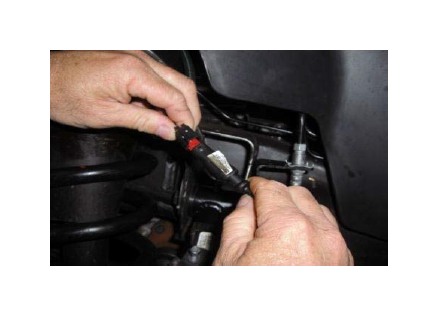
47. Attach the ABS/brake line bracket to the upper control arm.
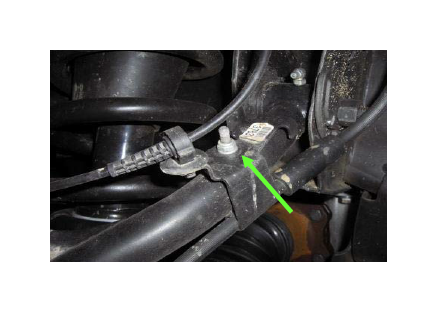
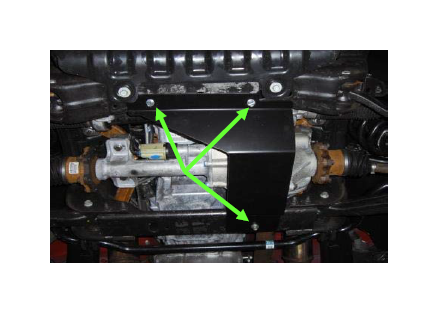
48. Install the new differential skid plate w/ 3 self tapping bolts.
49. Note: The following installation instructions cover both the 2/4WD 1500 pick-ups and the 2/4WD Avalanche, Tahoe, Suburban, Yukon, Yukon XL, and Escalade/EXT. This kit will work on vehicles with AutoRide, NOT AutoLeveling, unless you are willing to make modifications. ReadyLIFT® does not supply parts and or methods to accommodate vehicles with this option.
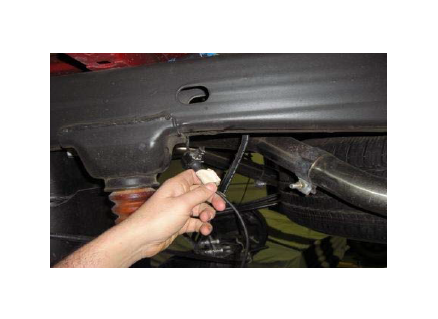
50. Unclip the ABS/traction control lines at the frame.
51. Disconnect and remove the rear shocks from the vehicle.
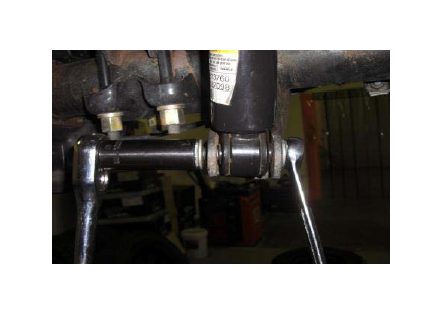
52. Install the shock extensions to the upper shock mount as shown.
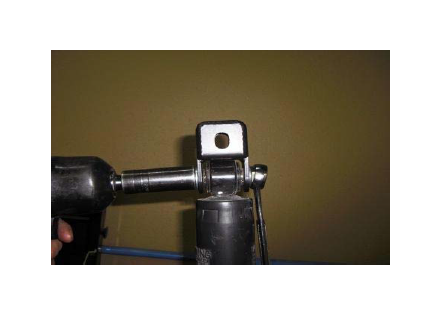
53. While supporting the axle, remove the u-bolts from axle.
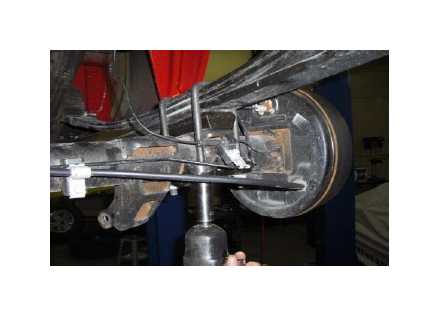
54. Lower the axle and remove the factory block, do not reuse.
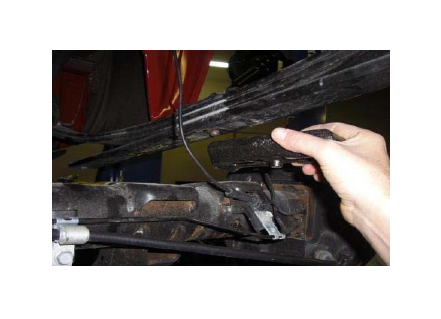
55. Lower the axle more in order to install the new lift block.
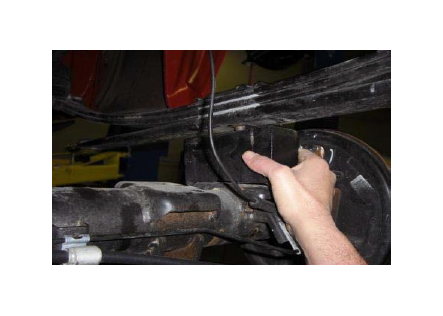
56. Raise the axle, align and attach the new u-bolts and hardware.
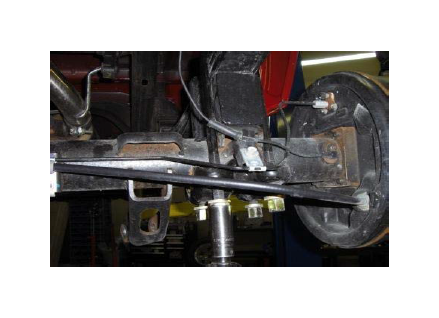
57. Re-install the shock with the extension attached and tighten.
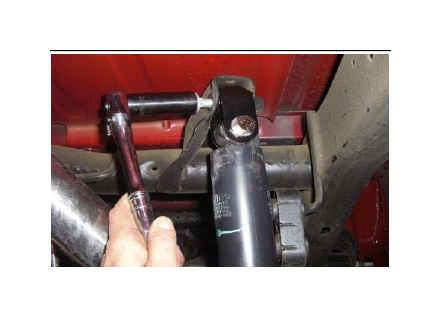
58. Lube the ABS wire and slide the rubber mount to gain more slack.
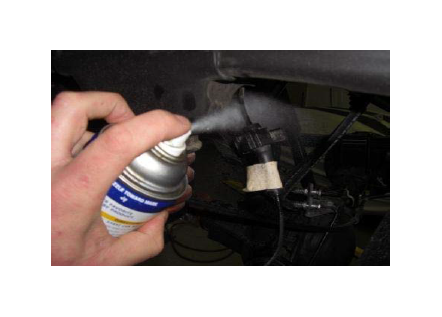
59. Attach the ABS wire to the u-bolts with the provided zip ties.
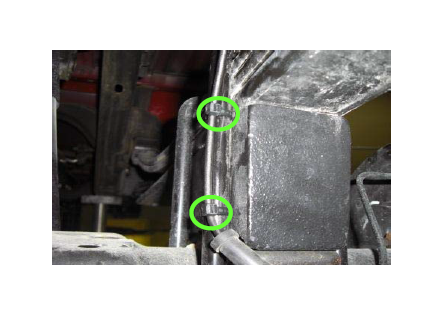
60. The differential brake line bracket may require bending up.
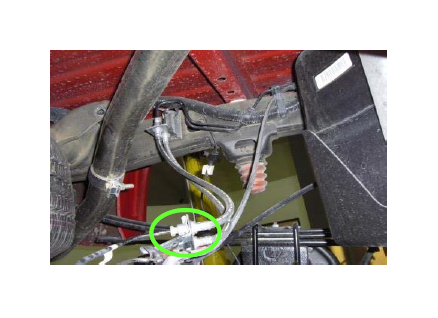
61. Disconnect the ABS/TC line at the axle to avoid damage.
Note: The following are for SUV applications with rear coil springs.
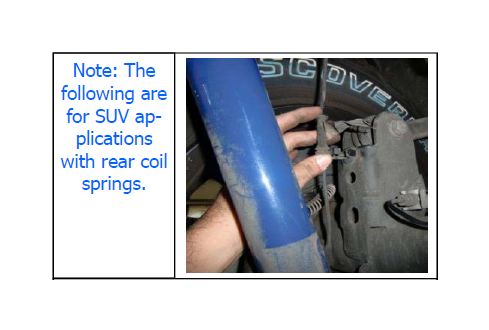
62. Disconnect and remove the sway bar end links and shocks.
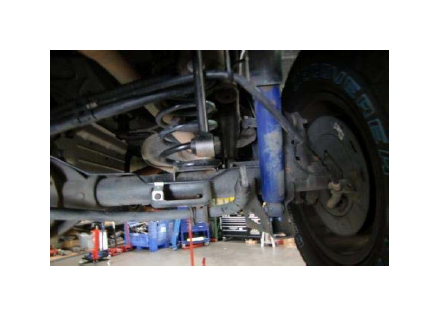
63. At the differential, install the spacer and hardware as shown.
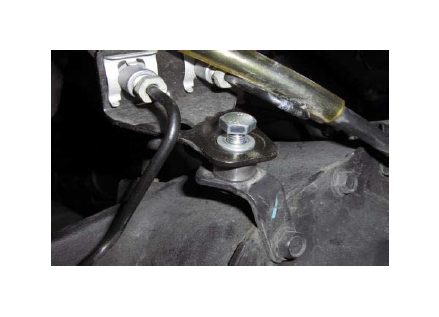
64. Lower the axle and remove the coil springs and isolators.
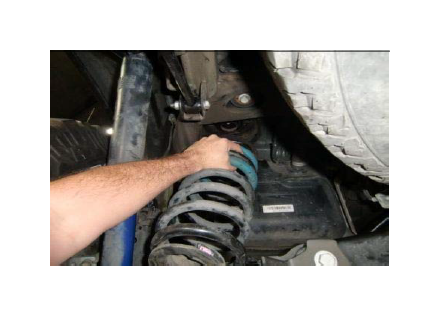
65. Mark the center of the bump stop pad and drill a 11/32 hole.
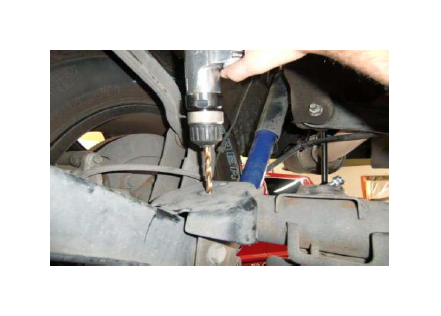
66. Use a self-tapping bolt and attach bump stop extension.
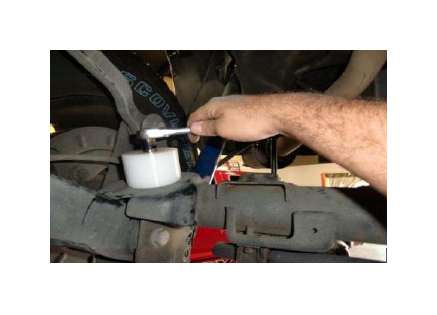
67. Place the upper coil spacer nut plate above coil housing
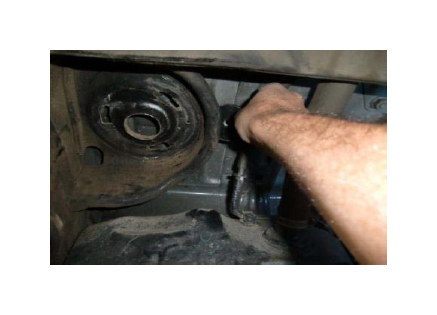
68. Attach the coil spring spacer to nut plate and tighten.
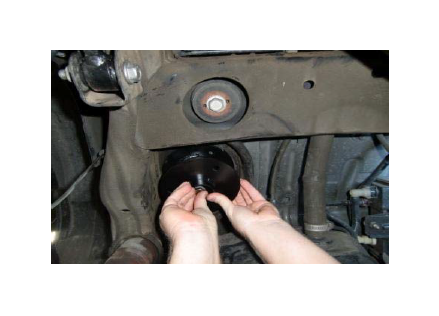
69. Re-install the isolators and coil springs and raise axle.
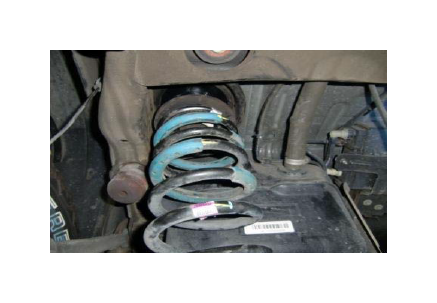
70. Re-install the shocks with extensions as shown and tighten.
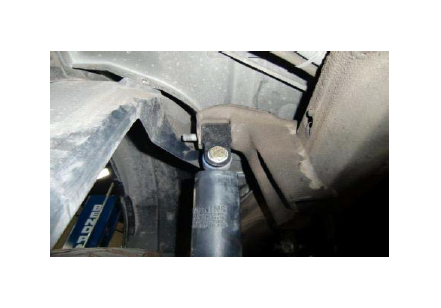
71. Install the new longer sway bar end links and tighten.
Reinstall the wheels & tires and lower to the ground. Re-check all work performed, check for proper clearance at full turn and while in reverse. ANY CONTACT BETWEEN TIRE AND UPER CONTROL ARM WILL CAUSE PREMATURE FAILURE OF THIS KIT. Torque all hardware to spec. Test drive and re-torque ubolts and wheels. the vehicle MUST be properly aligned to validate warranty.
