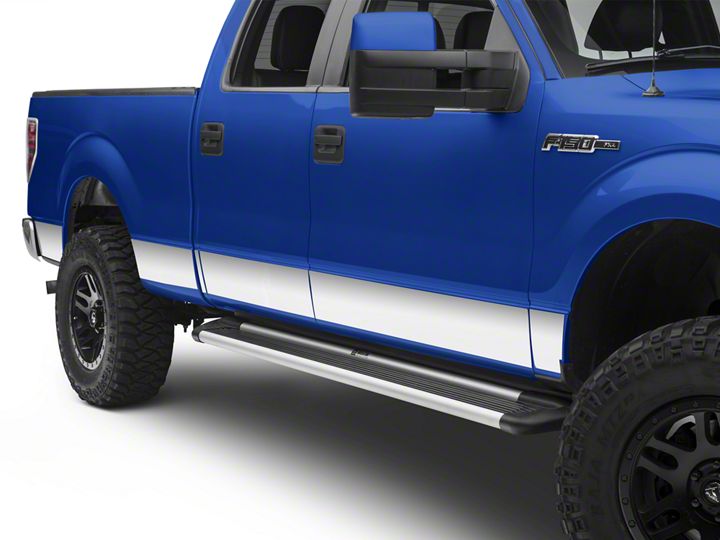
How to Install Putco Stainless Steel Rocker Panel Kit on your F-150

Shop Parts in this Guide
INSTRUCTIONS:
STEP 1: When installing rocker panel the temperature should be at least 65° F (18° C).
STEP 2: Do not install the rocker panels on newly painted vehicles. Paint must be completely cured before rocker panels can be installed
STEP 3: Insure that the vehicle surface is clean, dry and free of all oil, grease and wax for proper adhesion.
STEP 4: Prior to peeling the tape determine the proper location and alignment of the part. Once the tape is exposed, attach the rocker panel to the vehicle surface. (NOTE: Once the tape comes in contact with the vehicle it will adhere immediately, not allowing any adjustment. We recommend you double check
the position before adhering to the vehicle.)
VEHICLE SURFACE PREPARATION:
The surface of the vehicle must be clean and free of any solvents, waxes, dirt, oil, road tar, and any dealer or owner applied paint sealer treatments. A solvent wash which removes all contaminants should be used before applying the rocker panels. Use an automotive degreaser that will not damage the vehicles surface. Once the degreaser has been applied to the surface you will need to wipe down the surface with isopropyl alcohol (rubbing alcohol). When the surface has been completely wiped down make sure it is dry and you are now ready to install your rocker panel. (Note: You only need to prepare the area your rocker panel will be applied to.)
INSTALLATION:
STEP 1: Remove rocker panels from the box and identify the location of each part.
(Note: The panels are labeled from front to back as P1, P2 or D1, D2, etc… The “P” stands for passenger side and the “D” stands for driver side.)
STEP 2: Verify the fit of the part by holding the panel up to the vehicle. DO NOT REMOVE THE TAPE LINER YET!!
(Note: The panel should match the contour of the vehicle. If not, you can gently hand form the part to the desired shape.)
STEP 3: Verify that the surface is clean and you are ready to apply the rocker panel.
STEP 4: Remove the protective tape liner from the backside of the rocker panel.
(Note: With the tape exposed be careful to not contaminate the tape.)
STEP 5: Align the front door piece first and apply the rocker panel to the vehicle.
(Note: Apply pressure to the rocker panel to ensure proper adhesion.)
STEP 6: Align and install the remaining pieces making sure that they all match up and are aligned properly.
(Note: Use the front door as a guide to align all remaining panels.)
STEP 7: Remove the white protective liner from the rocker panel when all parts have been fully installed.
Note: PUTCO recommends applying a high quality automotive wax to maintain the original appearance on your new Stainless Steel Rocker Panel.

