How to Install Putco Luminix 40 in. Curved LED Light Bar Bumper Mounting Bracket on your Silverado
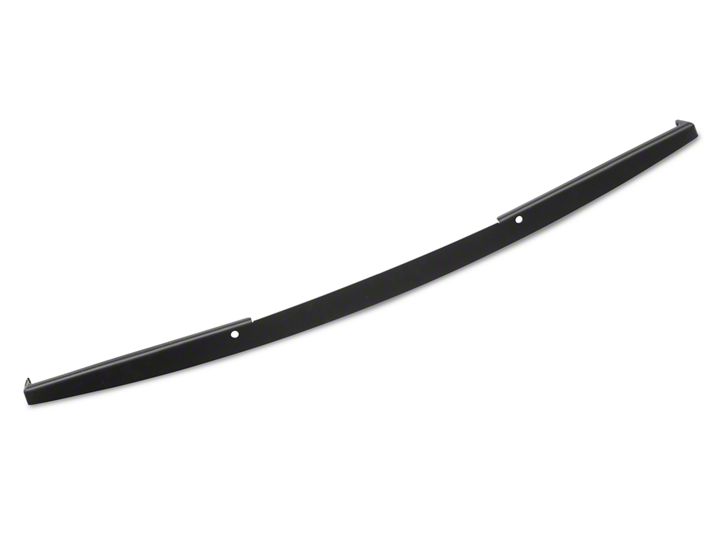
Shop Parts in this Guide
Please read all instructions before installation and to check to see that all parts are included.
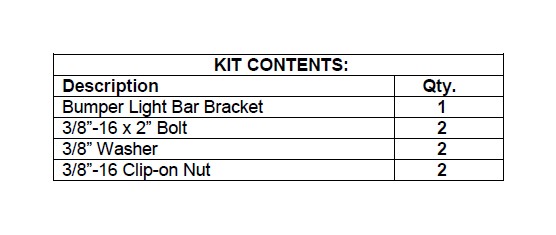
Light Bar Bracket Installation
1. Remove light bar bracket from packaging. Check to see if all parts from above table are included.
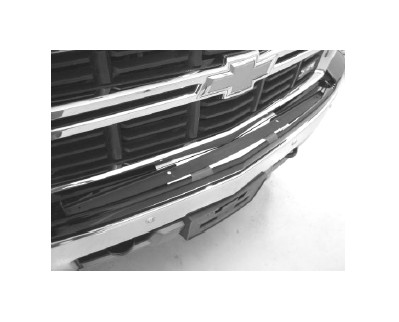
2. Cutout and tape paper template on front bumper. Line front of template up with top lip of bumper.
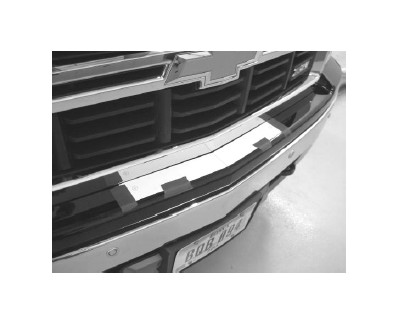
3. Lay bracket on bumper and line up hole on template with holes on bracket. Verify that bracket is straight on bumper. Once straight, drill two ½” holes (just through plastic) in locations marked on template.
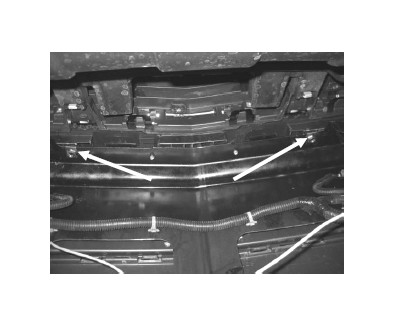
4. Go to back side of bumper. Place two clip-on nuts in holes on steel bumper (Nut facing down in locations shown above).
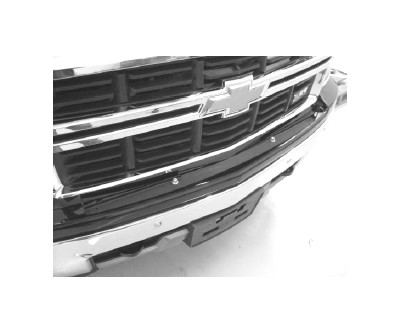
5. Install bracket with 3/8” bolts and washers. Tighten down with 7/32” hex wrench. Recommend using thread locking compound.
6. Place 40” curved light bar onto bracket; reinstall hardware as shown in (Figure 1 of Light Installation Instructions). Tighten nut with 7/16” wrench. Route wiring through grill.
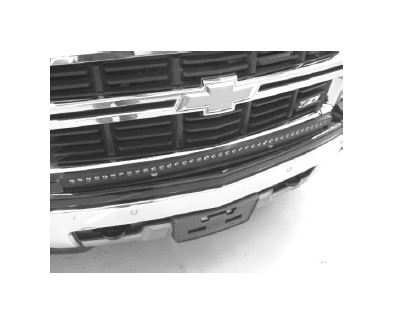
For light bar wiring instruction refer to Light Bar Installation Instructions


