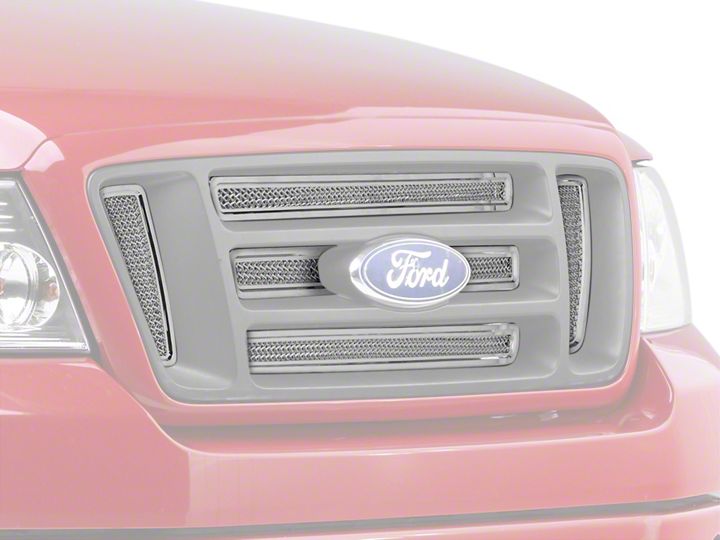
How to Install Putco Liquid Mesh 6-Piece Upper Overlay Grille w/ Emblem Cutout - Polished on your F-150
Shop Parts in this Guide
PLEASE READ ALL INSTRUCTIONS BEFORE INSTALLATION AND TO CHECK TO SEE THAT ALL PARTS ARE INCLUDED.
Please consult your Vehicles owner’s manual for vehicle air flow restrictions.
Putco is not liable for any vehicle damage resulting from the installation of our Grille inserts.
Grille Pre-installation Preparation
Step 1: Locate the weld-in brackets on the back of the CHROMED MESH GRILLE INSERT(S). These brackets can be found around the aluminum perimeter of the grille insert.
Step 2: Place the Black spring clips found in your installation hardware kit on each of the weld-in brackets located on the perimeter. The threaded portion of the clip should face away from the grille insert and towards the factory grille.
Step 3: Carefully thread the supplied studs into each of the black spring clips until each stud makes contact with the perimeter.
Step 4: You are now ready to begin the installation of your new CHROMED MESH GRILLE INSERT(S).
2002-UP CHEVROLET AVALANCHE,99-UP CHEVROLET SILVERADO/SUBURBAN, 2001-UP CHEVROLET HEAVY DUTY, 99-UP GMC SIERRA/YUKON, 2001-UP GMC HEAVY DUTY, 99-UP FORD F-SERIES LIGHT DUTY, 2003 CHEVROLET HEAVY AND LIGHT DUTY, 2003 GMC HEAVY AND LIGHT DUTY
Step 1: Remove the factory plastic hood that covers the area between the grille and radiator by removing the plastic plugs or screws that fasten it in place.
Step 2: Remove the bolts and mounting plates for the bag kit.
Step 3: Place the grille insert over the grille, making sure that it is centered on the vehicle.
Step 4: Reach between the grille and radiator and reinstall the bolts, plates and nuts onto the grille insert.
Step 5: Check to make sure the grille is properly in place and tighten the bolts just enough to hold the grille in place.
DO NOT OVER TIGHTEN as this may cause the grille to crack.
99-UP FORD SUPER DUTY PICKUP AND EXCURSION, HORIZONTAL SIDE VENTS
Step 1: Remove the four factory screws that hold the top of the factory grille in place.
Step 2: Remove the bolts and mounting plates from the bag kit.
Step 4: Place the grille insert over the grille making sure that it is centered on the vehicle. If you have purchased the side vent pieces install them at this time. NOTE: The installation bolt will go though a hole in the side vent that is closest to the center grille section.
Step 5: Carefully pull the grille forward and reach between the grille and radiator, install the bolts and mounting brackets onto the grille insert and/or the flat washer and nut on the side vent pieces.
Step 6: Check to make sure that grille is properly in place and tighten the bolts just enough to hold the grille in place. DO NOT OVER TIGHTEN a this may cause the grille to crack.
94-UP DODGE RAM
Step 1: Remove the bolts and mounting plates from the bag kit.
Step 2: Place the grille insert over the grille making sure that it is centered on the vehicle.
Step 3: Reinstall the plates and nuts onto the grille insert.
Step 4: Check to make sure the grille is properly in place and tighten the bolts just enough to hold the grille in place. DO NOT OVER TIGHTEN as this may cause the grille to crack.
Note: Please adjust horizontal blades if irregular. This is the result of shipping and handling outside of Putco’s control.
Note: Putco recommends applying a high quality automotive wax to maintain the original appearance.


