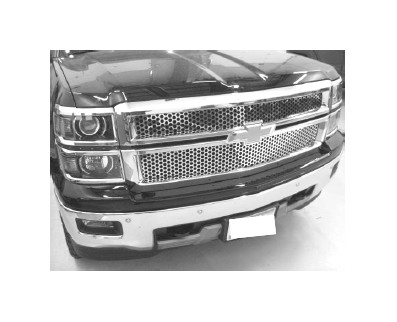
How to Install Putco Designer FX Upper Replacement Grilles - Polished on your Silverado
Tools Required
- 7mm Wrench
- 10mm Wrench
- Flat Head Screw Driver
- Needle Nose Pliers
- Pliers
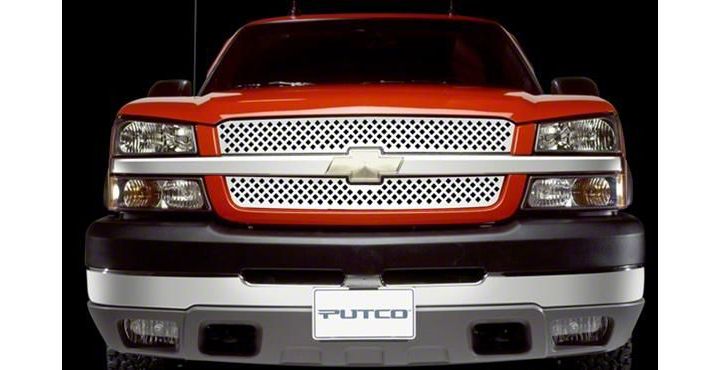
Shop Parts in this Guide
- Putco Designer FX Upper Replacement Grilles; Polished (14-15 Silverado 1500 High Country, LTZ)
- Putco Punch Design Upper Replacement Grilles; Polished (14-15 Silverado 1500 High Country, LTZ)
- Putco Flaming Inferno Upper Replacement Grilles; Polished (14-15 Silverado 1500 High Country, LTZ)
- Putco Punch Design Upper Replacement Grilles; Polished (14-15 Silverado 1500 w/ Z71 Package)
- Putco Flaming Inferno Upper Replacement Grilles; Polished (14-15 Silverado 1500 w/ Z71 Package)
Please read all instructions before installation and to check to see that all parts are included.
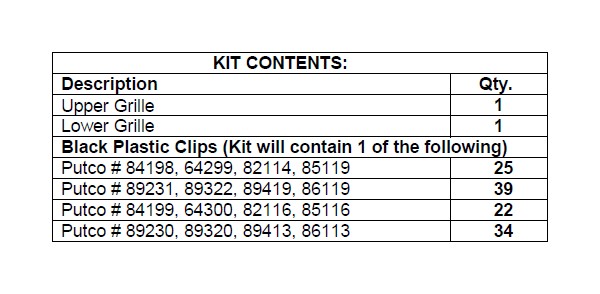
Insert Grille Installation
1. Remove Grille from packaging. Check to see if all parts from above table of kit contents are included.
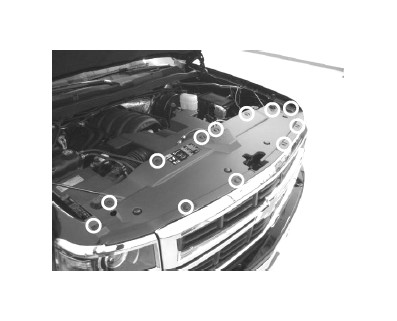
2. Remove plastic cover by removing 12 retaining clips with flat head screw driver (locations shown above).
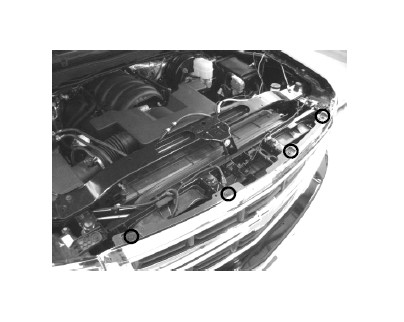
3. Once cover is removed, remove the top 4 grille screws with 10mm wrench (location shown above).
4. Remove bottom 4 grille screw from underneath truck with 10mm wrench. The 2 driver side locations are shown above. Repeat on passenger side.
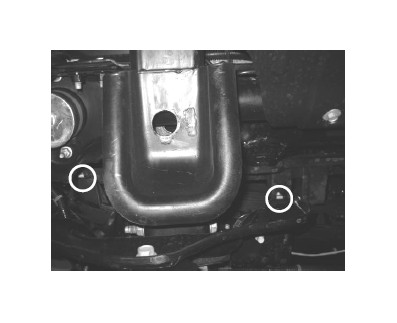
5. Remove 2 bolts in front wheel well on the upper bumper. The driver side locations are shown above. Repeat on passenger side.
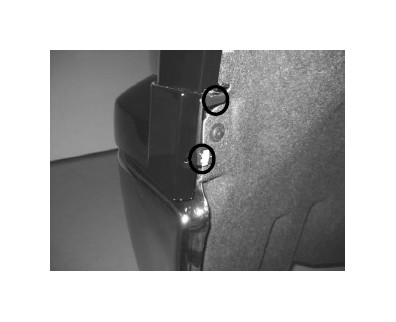
6. Pull out upper bumper end. Driver side is shown. Repeat on passenger side.
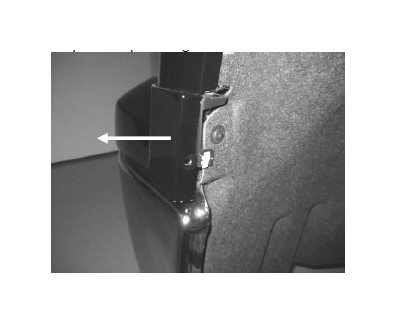
7. Pull grille and upper bumper pieces out away from truck and place face down on scratch free surface. These two pieces will be attached together.
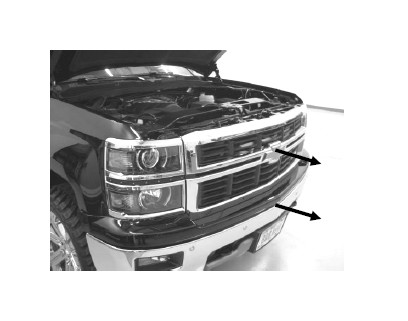
8. Once grille and upper bumper are off the truck. Remove the upper bumper piece from grille. Use a flat head screw driver to unclip the 6 tabs on bottom backside of the grille.
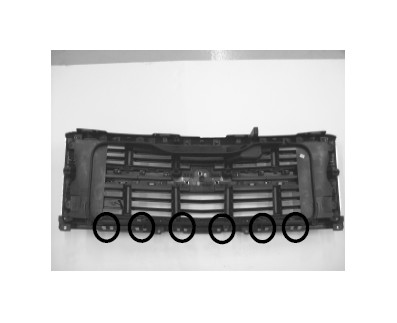
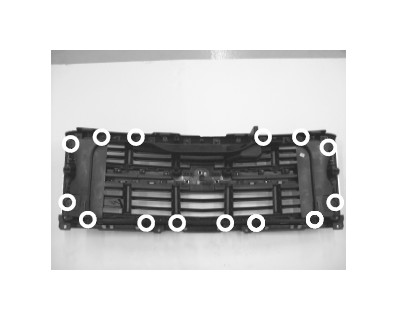
9. Remove shroud from behind grille. Use 7mm wrench to remove 14 bolts.
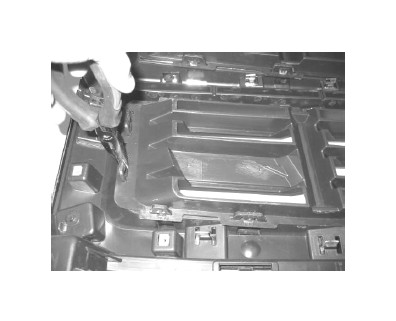
10. Use needle nose pliers to squeeze clip and snap out top and bottom factory grille inserts.
11. Snap in top and bottom Putco grille insert into grille over existing tabs.
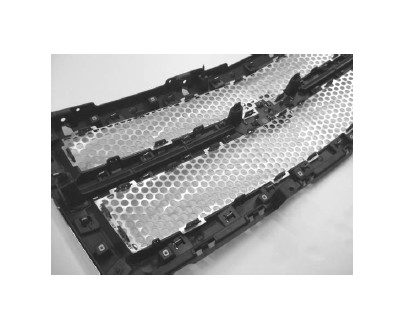
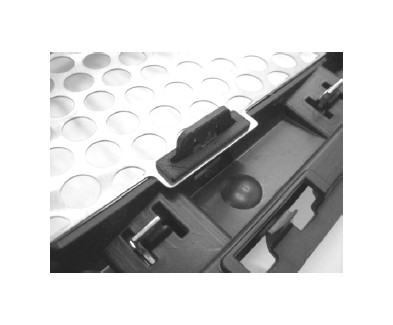
12. Use pliers to snap in black plastic clips from the kit to every tab location on top and bottom grille insert. Thinner side of clip goes toward grille opening.
13. Reassemble truck.
