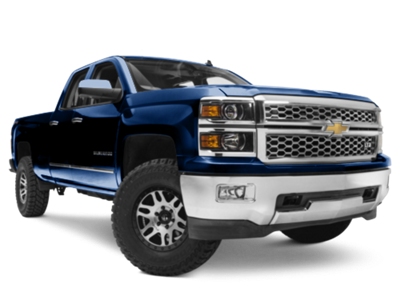
2019-2025
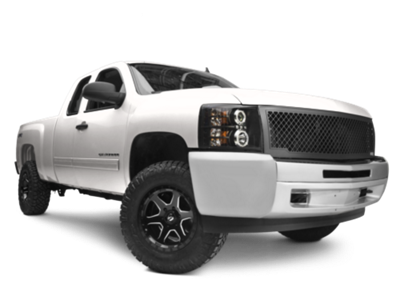
 2014-2018
 2007-2013
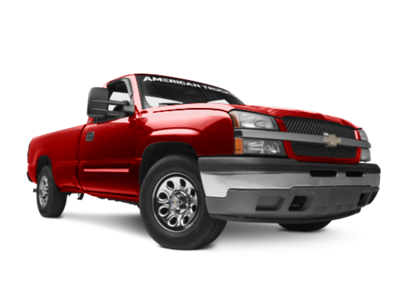 1999-2006


Installation Time
(approx) 2 Hours
Difficulty Level:
Light to Moderate mechanical skill required.
Installation Guides
No guide available for this part yet.
 FREE 1 to 3-Day Delivery on Orders $119+ Details

 180 Reviews
$239.63 kit
Will this fit your Vehicle?
Saved - View your saved items
We're sorry. We couldn't save this product at this time.
or use
Features, Description, Reviews, Q&A, Specs & Installation
| Brand | PowerStop |
| Brake Rotor and Pad Kit Placement | Front |
| Brake Rotor Type | OE Replacement |
| Brake Pad Material | Ceramic Compound |
Reinforced Braking Performance. Give your Silverado 1500 an enhanced braking power by replacing your stock front rotors and pads with this PowerStop OE Replacement 6-Lug Front Brake Rotor and Pad Kit. This kit is designed for high-performance daily driving with its excellent traction, efficient heat dissipation, and a clean pad surface contact during braking from highway speeds or stop-and-go traffic on the streets.
Premium Rotors. The OE replacement rotors feature a high-strength iron construction that can withstand your truck’s lifestyle. Each rotor is furnished with a high-quality coating, that extends the coverage to the vanes for excellent service life. This rust-resistant coating also allows the rotors to maintain a sleek, visually stunning look behind the wheels.
Precision Machined with Smooth Surfaces. With PowerStop’s technology, these OE replacement rotors are 100% mill balanced and are made to industry-leading specifications. This precision-machined construction exhibits high thermal stability and high resistance to structural stresses to provide better stopping power at every turn.
High-Quality Brake Pads. PowerStop engineered the brake pads in this OE Replacement 6-Lug Front Brake Rotor and Pad Kit using carbon fiber reinforced ceramic formula. This construction delivers superior fade-free braking capacity to keep your driving safe.
Low-Dust and Quiet Operations. The dual-layer of high temperature, rubberized shims insulate noise for virtually silent braking. The pads also feature a low-dust ceramic formula that eliminates nasty brake dust, keeping your wheels clean.
Direct-Fit Installation. PowerStop designed this OE Replacement 6-Lug Front Brake Rotor and Pad Kit to be a direct-fit, bolt-on replacement. It fits the factory mounting slots of your vehicle and comes with the needed hardware and installs with standard hand tools and moderate mechanical skills.
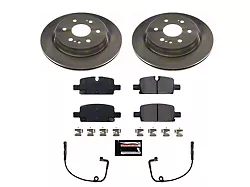
Front Kit. This kit includes 2 rotors and 2 pairs of ceramic brake pads. It also comes with all the hardware needed to complete the installation and a pack of high-temperature brake lubricant.
Warranty Included. PowerStop backs this OE Replacement 6-Lug Front Brake Rotor and Pad Kit with a limited warranty against manufacturing defects in materials and workmanship for a period of 3 years or 36,000 miles of use from the purchase date, whichever occurs first. Some exclusions apply; please check the full warranty policy for complete details.
Application. This PowerStop OE Replacement 6-Lug Front Brake Rotor and Pad Kit is specifically designed to be used on all 2019 to 2025 Chevrolet Silverado 1500 models.
Information on PowerStop's proper Break-In Procedure can be found here: https://www.powerstop.com/brake-pad-break-in-procedure/
PowerStop KOE8172
CA Residents:  WARNING: Cancer and Reproductive Harm - www.P65Warnings.ca.gov
Installation Info
Installation Time
(approx) 2 Hours
Difficulty Level:
Light to Moderate mechanical skill required.
Installation Guides
No guide available for this part yet.
What's in the Box
Sponsored