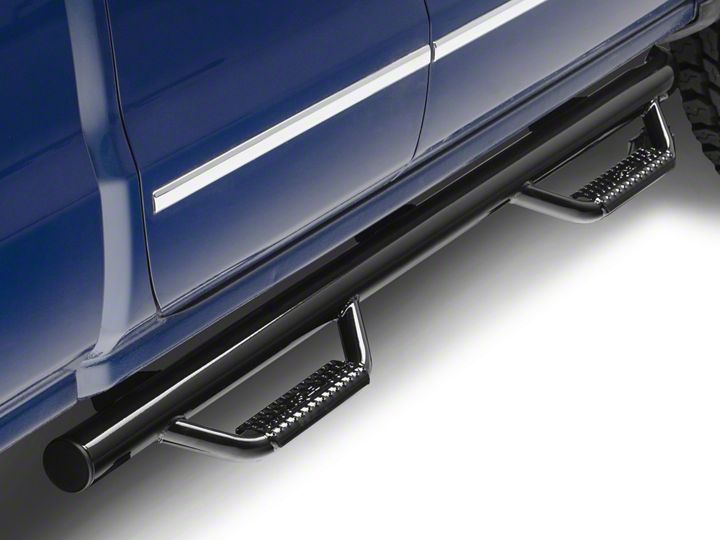
How to Install N-Fab Cab Length Nerf Side Steps - Gloss Black on your Silverado
Shop Parts in this Guide
CAREFULLY READ EACH STEP BEFORE ATTEMPTING INSTALLATION
STEP 1: Locate the drivers side step. This can he accomplished by laying both of the steps below the drivers side of the vehicle. Once you have them laying there, you will see that the step for the drivers side will have each entry step located towards the front half of each door opening. NOTE: For Bed Access versions, the entry steps will be the longer steps.
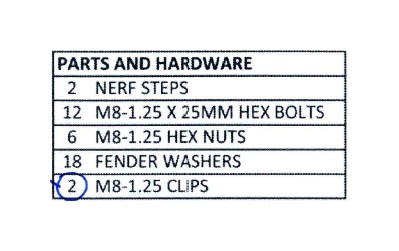
STEP 2: With the correct ep placed on each side of the vehicle, please take note of where the brackets are located. Look under the vehicle and locate the factory supplied mounting positions. NOTE: Some vehicles require the use of clips and nuts which are supplied with the hardware kit.
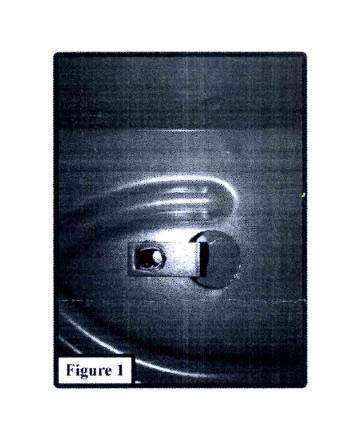
STEP 3: If your vehicle requires the use of clips install them now.. This requires the removal of a plastic body plug. Using a scresvdriv remove the plug and install one or the supplied clips as seen in Figure 1.
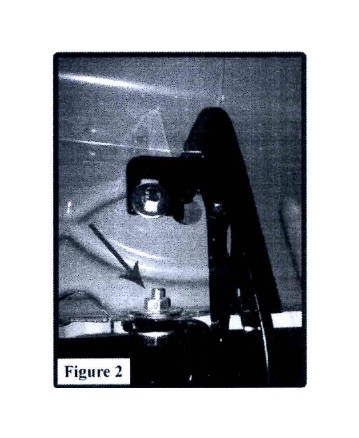
STEP 4: Align the steps with the mounting holes and starting from the front use. 1 - M8-1.25 Bob and I - Fender Washer for each mounting hole location and thread the bolts into the mounting holes. NO'IE: Some vehicles require the use of an additional nut and washer for the lower portion of the mounting bracket as seen in Figure 2. The nuts and washers are supplied with the bolt kit.
STEP 5: After final positioning, start at the front of the vehicle and tighten the lower part of the bracket to 15-20 ftilbs of torque. Continue this until all of the lower bolts have been tightened then move to the top bolts and repeat the process.
STEP 6: Repeat for the passenger side. This concludes the installation.
