
Talk to a F-150 Sales Tech
1-888-706-1096
M-F 8:30A-11P, Sat-Sun 8:30A-9P
How to Install MBRP Installer Series 2.5 in. Cat-Back Exhaust - Split Side Exit on your F-150
Installation Time
3 hours
Tools Required
- Jack & jack stands
- 1/2" ratchet
- Penetrating lubricant
- 13mm socket & 15mm socket & to remove old exhaust
- 9/16 socket to install new exhaust
- 8mm allen wrench to install new exhaust tips
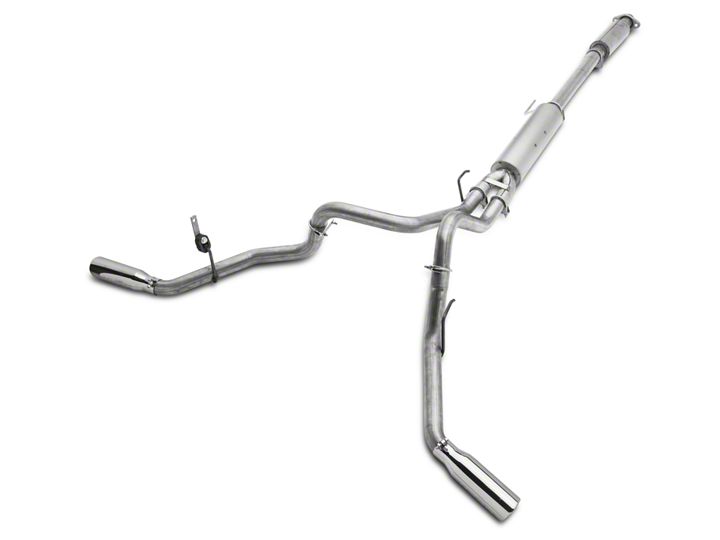
Shop Parts in this Guide
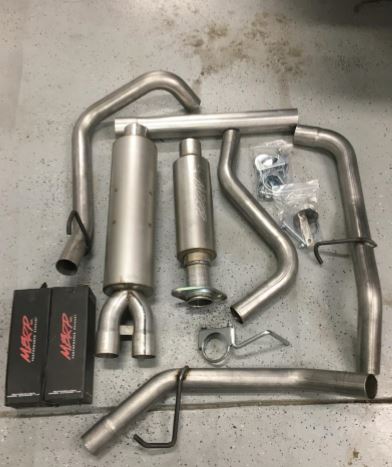
Remove Stock Exhaust System
- Raise vehicle to a safe and comfortable working height using a jack & jack stands or a vehicle lift (if available)
- Apply lubricant to all bolts and hangers and rubber isolators
- Loosen the factory clamp in front of the muffler
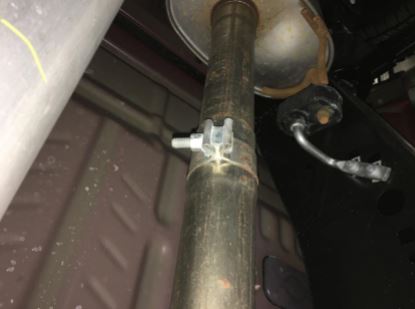
- Loosen the factory mid-pipe flange bolts
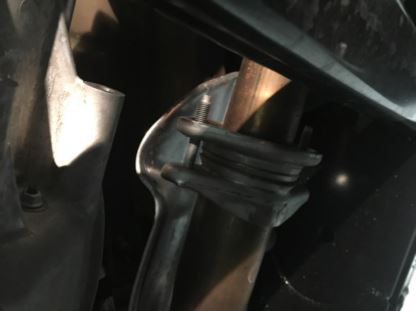
- Twist the factory mid-pipe to release the factory muffler inlet
- Remove the factory mid-pipe bolts and remove the factory mid-pipe from the vehicle
- Remove factory muffler assembly from the hangers and remove from vehicle
Installation of MBRP S5257AL Exhaust System Components
- First you need to make sure the length of the mid-pipe extension is the correct size for your vehicle configuration. (This was cut to length by supplier before shipping)
- Loosely install the front resonator using the supplied 9/16” bolts/nuts/and washers
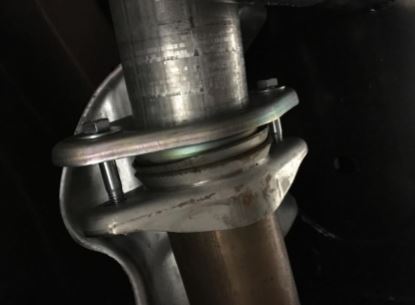
- Install the mid-pipe that is the appropriate length that was previously determined using a 3” clamp
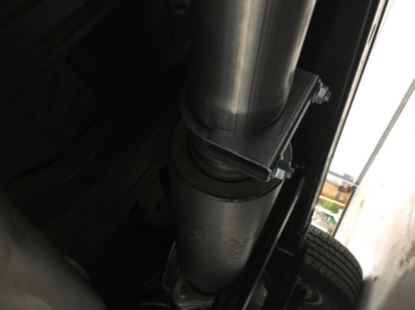
- Install the hanger clamp onto the mid-pipe and into the factory rubber isolator
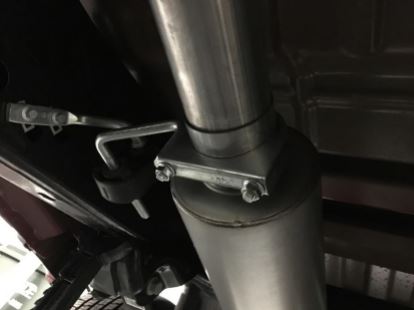
- Install the muffler onto the mid-pipe and lightly tighten with the hanger clamp (muffler outlet should sit at about a 45 degree angle when looking from the rear with the passenger-side outlet at the bottom)
- Place a 2.5” clamp over each outlet and insert the driver-side over axle pipe in the upper muffler outlet and into the factory rubber isolator
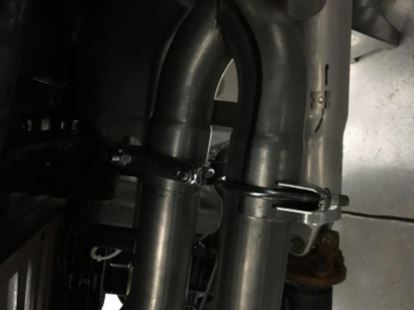
- Install the driver-side over axle pipe into the left upper muffler outlet
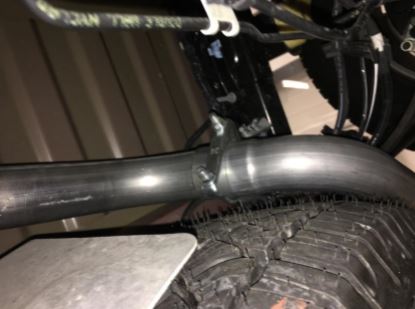
- Install the passenger-side over axle pipe into the lower muffler outlet
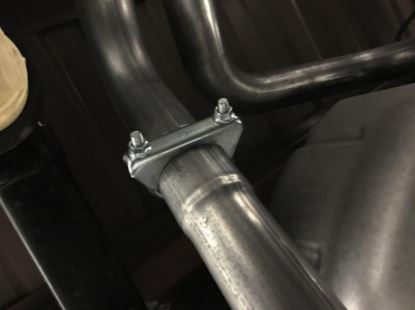
- Snug both the upper and lower clamps but do not tighten completely
- Install the passenger-side tail pipe onto the passenger-side over axle pipe and into the factory rubber isolator
- Install the supplied hanger assembly using the supplied hardware (9/16” bolt/washers/nut/fender washers) through the lower of the pair of large holes in the driver-side frame. Tighten the hardware enough to support the pipe but leave final tightening until the final step (Note: The hanger assembly allows for some height adjustment to alight the tail pipes).
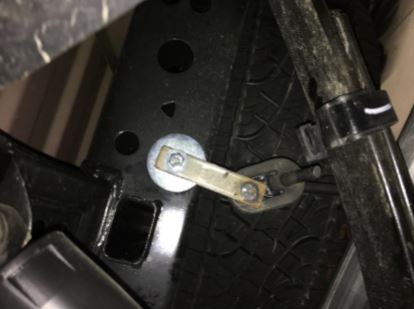
- Install the drivers-side tail pipe into the hanger assembly and onto the drivers-side over axle pipe using a 2.5” clamp
- Install the exhaust tips and adjust for looks
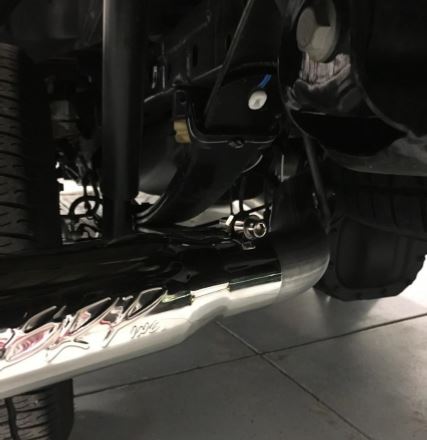
- Once everything is aligned, completely tighten all clamps and hardware
- Check the system after completion to ensure there is adequate clearance around the spare tire, fuel and brake lines, or any wiring. If there is any interference, make adjustments as needed
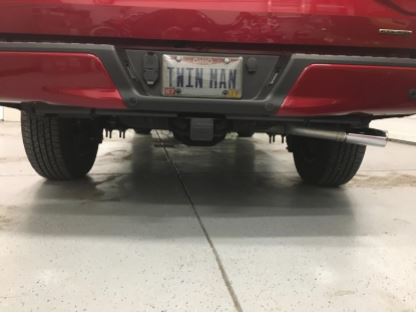
Finished product:
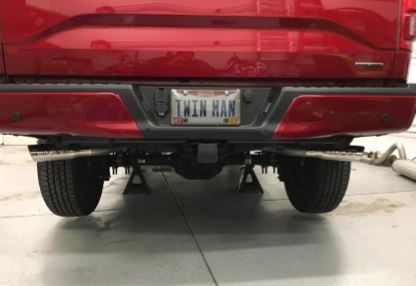
Installation Guide Created and Submitted by AmericanMuscle Customer Mark Blankenship on 12/13/16

