
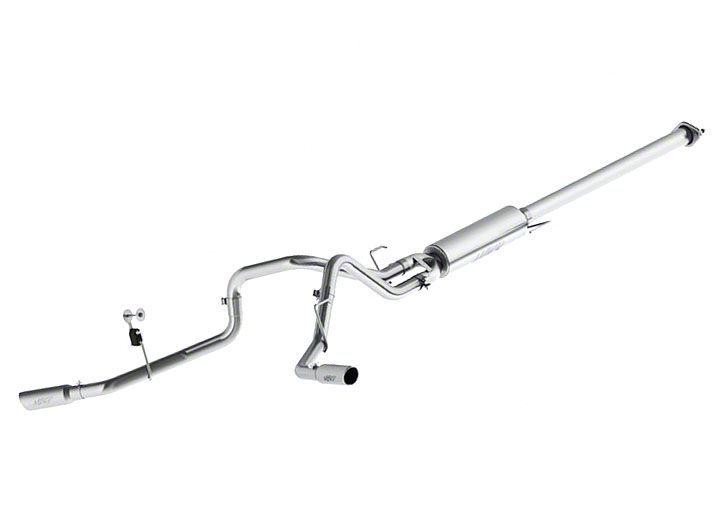
How to Install MBRP Installer Series 2.5 in. Cat-Back Exhaust - Split Side Exit on your F-150
Shop Parts in this Guide
PLEASE READ BEFORE STARTING INSTALLATION
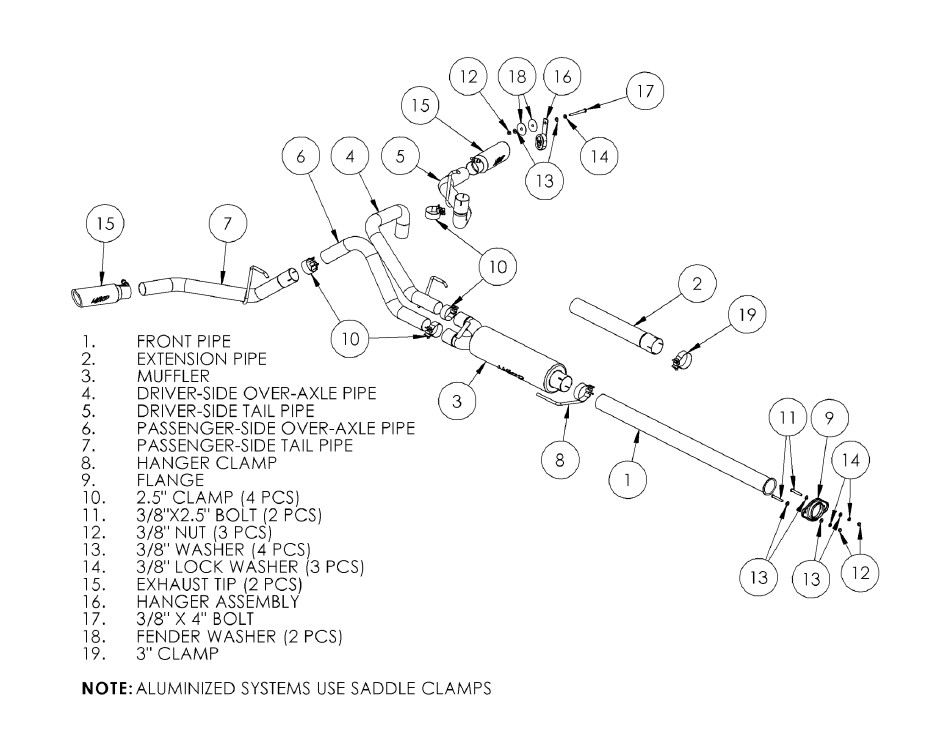
While MBRP Inc. has made every effort to ensure that all components of this system are of superior quality and properly packaged, it is the installer's responsibility to ensure the following before removal of the factory exhaust:
that ALL components shown above are present.
that ALL mating components fit together.
that there are no damaged components.
that the system you have purchased is appropriate for your vehicle year, model and
configuration.
that the system will not interfere with any modifications previously installed or planned.
that you have read and understand these instructions.
If you have any questions or are uncertain about any aspect of the installation of this system to your vehicle please contact your dealer before commencing installation.
Removal of Stock System:
1. Apply a penetrating lubricant liberally to all hangers and rubber isolators.
2. Loosen the factory clamp in front of the muffler.
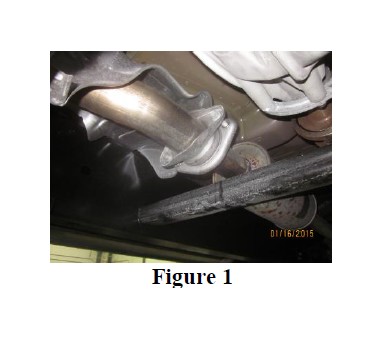
3. Loosen the factory extension pipe flange bolts. Refer to Figure 1.
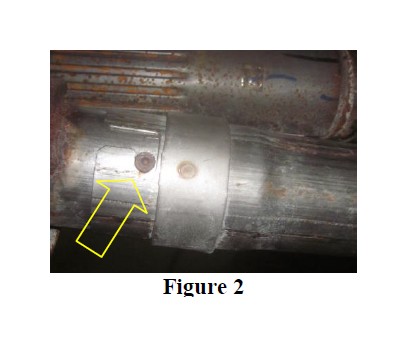
4. Rotate the factory extension pipe to release the factory muffler inlet locking boss. Refer to Figure 2.
5. Remove the factory muffler assembly from the hangers and remove from
the vehicle.
6. Remove the factory extension pipe bolts and remove the factory extension pipe from the vehicle.
Installation of MBRP Inc. Performance Exhaust:
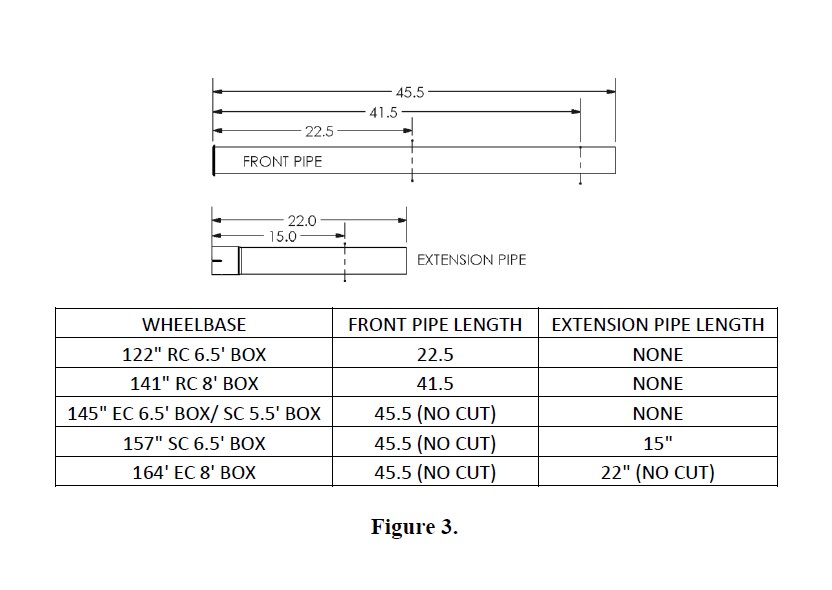
1. Determine the overall length of the Front Pipe and Extension Pipe (if required). Refer to figure 3.
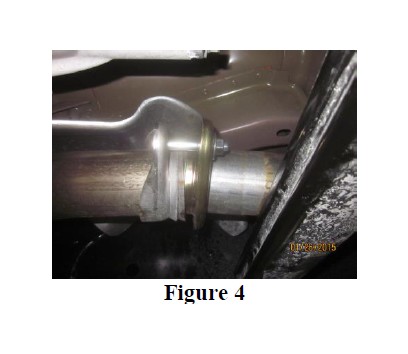
2. Slide the Flange onto the Front Pipe and loosely install the Front Pipe using the supplied Hardware. Refer to Figure 4.
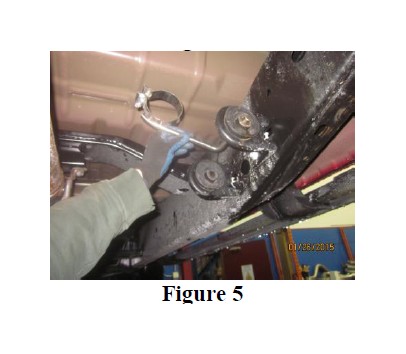
3. Install the Hanger Clamp into the second factory isolator. Refer to Figure 5.
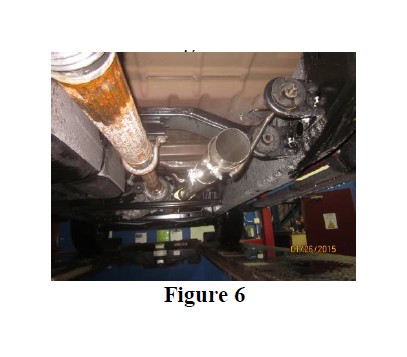
4. Place the Front Pipe or Extension Pipe (if required) into the Hanger Clamp. Refer to Figure 6.

5. Install the Muffler onto the Extension Pipe and lightly secure with the Hanger Clamp. Muffler outlets will be at a 45º angle viewed from the rear, with the passenger-side outlet at the bottom. Refer to Figure 7.
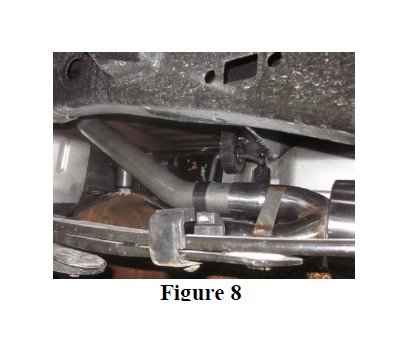
6. Place a 2.5” Clamp over each Muffler outlet and insert the Driver-Side Over-Axle Pipe into the left upper Muffler outlet and factory isolator. Refer to Figure 8.
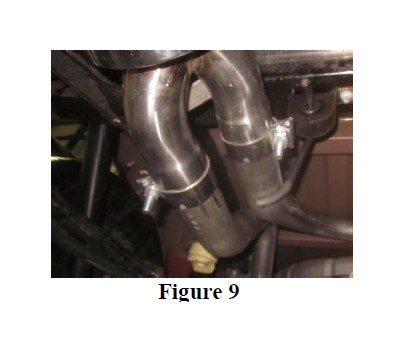
7. Install the Passenger-Side Over-Axle Pipe into the lower right Muffler outlet. Snug but do not completely tighten the 2.5” Clamp. Refer to Figure 9.
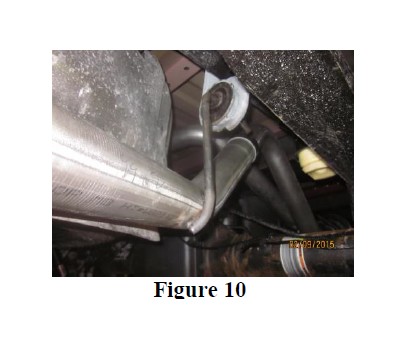
8. Install the Passenger-Side Tail Pipe onto the Passenger-Side Over-Axle Pipe and into the factory isolator. Refer to Figure 10.
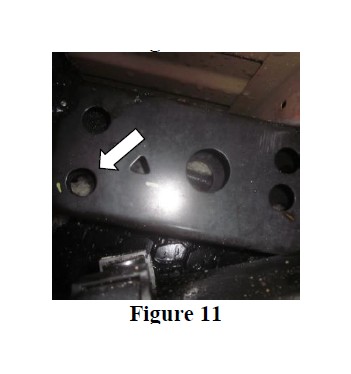
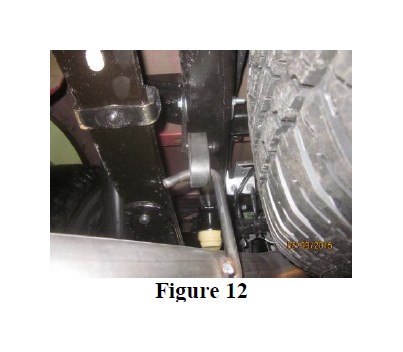
9. Install the Hanger Assembly using the supplied Hardware through the lower of the pair of large holes in the driver-side frame. Tighten the hardware enough to support the pipe but leave the final tightening until the final step. The Hanger Assembly attachment allows for some height adjustment to align the Tail Pipes. Refer to Figures 11 and 12.
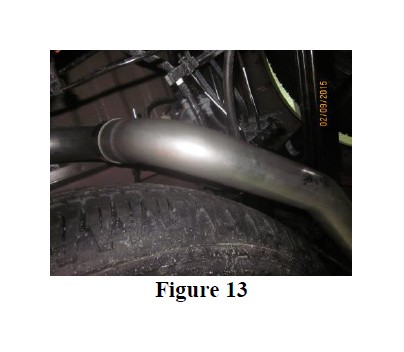
10. Install the Driver-Side Tail Pipe into the Hanger Assembly and onto the Driver-Side Over-Axle Pipe using a 2.5” Clamp. Refer to Figure 13.
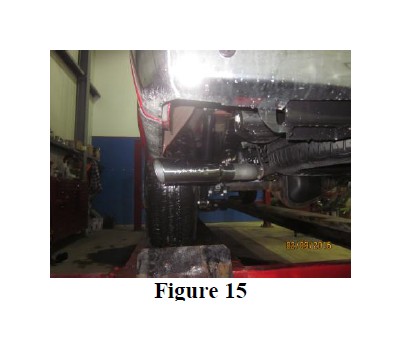
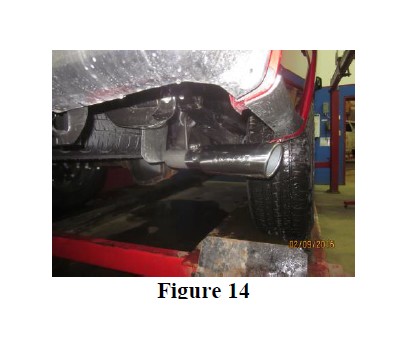
11. Install the Exhaust Tips and adjust to your liking. Refer to Figure 14 and 15.
12. Once everything is aligned, completely tighten all Clamps and Hardware.
13. Check along the whole length of the exhaust system to ensure that there is adequate clearance around the spare tire, fuel and brake lines, or any wiring. If any interference is detected relocate or adjust.
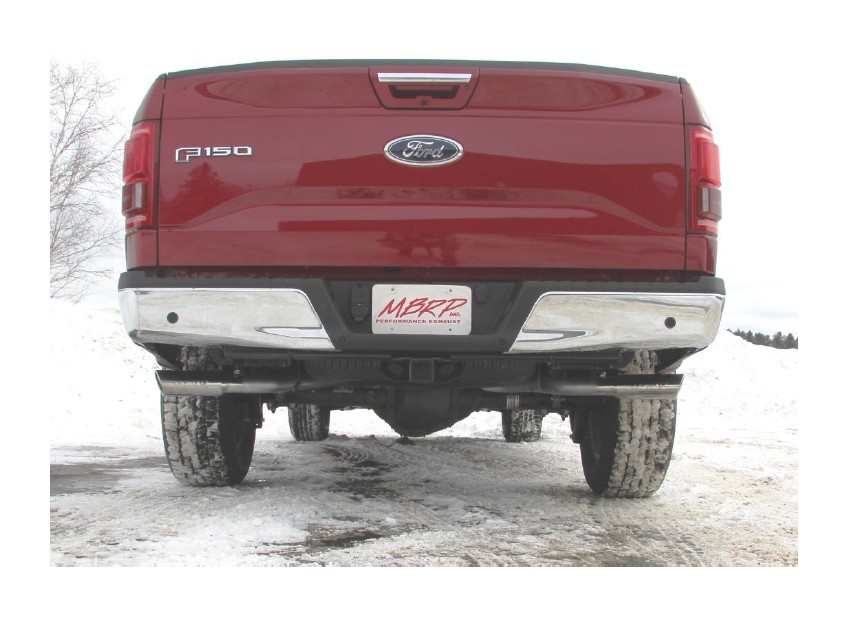
Congratulations! You are ready to begin experiencing the improved power, sound and driving experience of your A/JAtP Ino, performance exhaust system. We know you will enjoy your purchase.

