
How to Install MBRP Black Series 3 in. Cat-Back Exhaust - Single Side Exit on your F-150
Installation Time
2 hours
Tools Required
- 1/2” socket
- 3/8” socket
- 5/16” allen key
- Ratchet
- Ratchet extension
- Torque wrench - optional
- Safety glasses

Shop Parts in this Guide
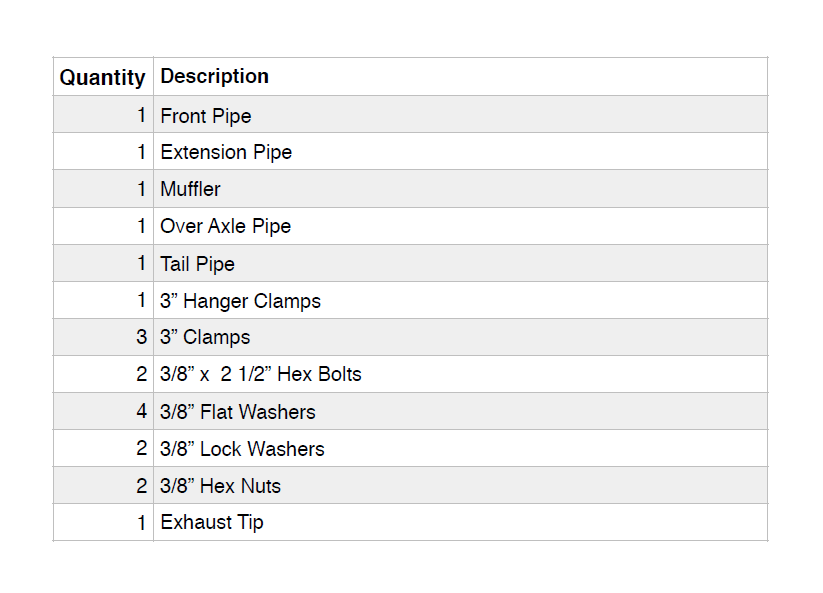
1. Before starting this install, be sure to let your vehicle cool down before attempting to remove the factory exhaust.
2. Park vehicle on a flat and level surface. Next, turn off engine and engage the parking brake
3. Be sure to wear safety glasses for the entire install as loose debris and dirt on the underside of the vehicle can dislodge and fall into your eyes
4. Lay out all parts from shipping box and organize what you need.
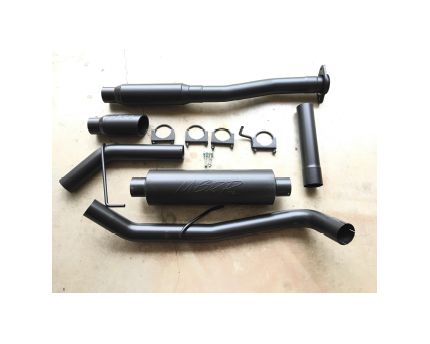
5. Start by jacking up your rear axle and using jack stands to hold the vehicle in an elevated position. Always use jack stands when working under your vehicle for safety
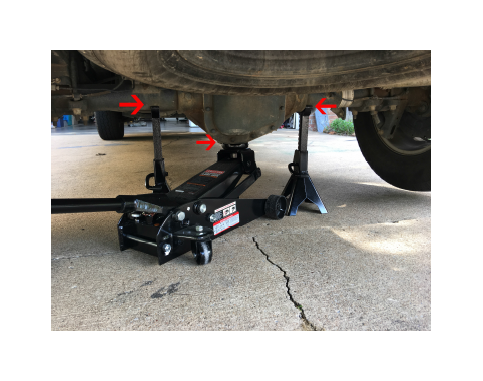
This is what your axle should look like when the jack stands and jack are in place.
6. You will start by removing the front exhaust pipe from the collar using a 1/2” socket and wrench
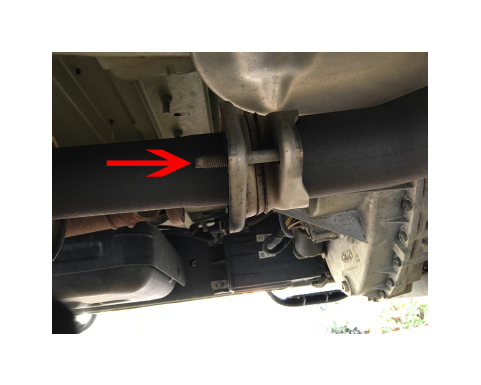
There will be 2 bolts to loosen on the collar
7. Next, move back to the first exhaust hanger towards the bed of the truck and remove the hanger using a 1/2” socket and wrench
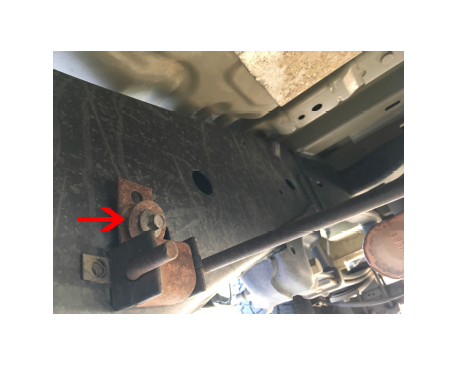
Remember to save all the exhaust hanger bolts as you will need to reinstall some of the exhaust hangers for the new MBRP Exhaust
8. Move back to the next hanger and remove it with the same socket and wrench
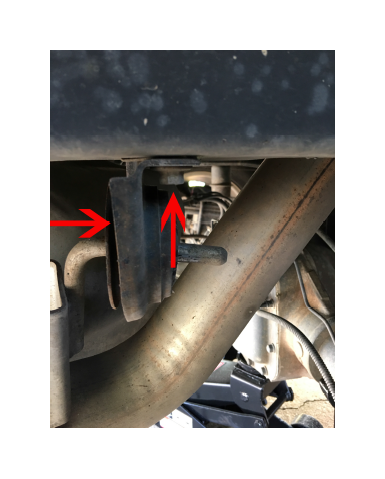
This photo shows how the hanger seats in the exhaust hanger rubber mount, which is easily removed with the 1/2” socket and wrench
9. Remove the last hanger and remove the factory exhaust from the truck
10. Start installing the exhaust by fitting the front exhaust pipe onto the existing exhaust collar with the two 3/8” x 2 1/2” hex bolts, 3/8” flat washers, 3/8” lock washers and 3/8” hex nuts. You will tighten these bolts and all following bolts with a 3/8” socket and socket wrench
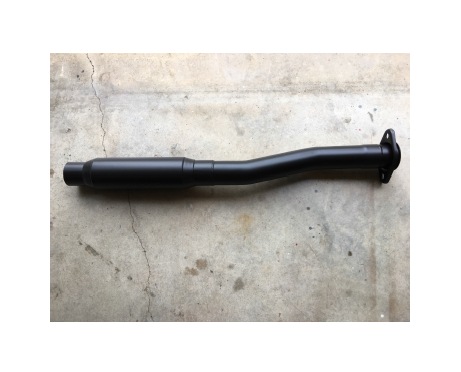
11. Tighten the bolts one at a time, using an even number of turns per bolt to ensure even tightening. Do not over tighten
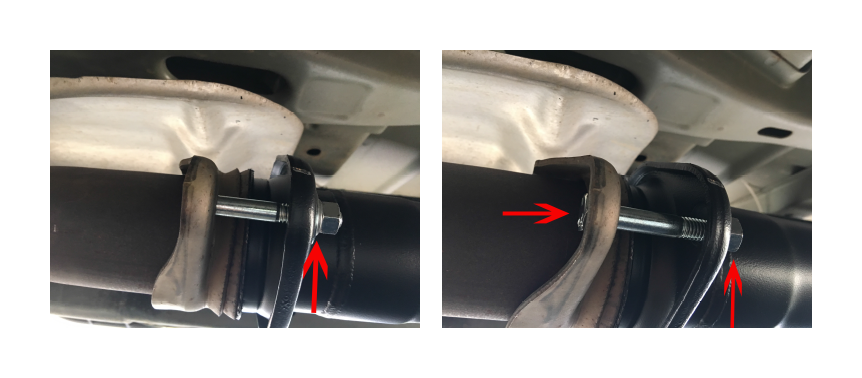
12. Next, install the muffler. Before installing the muffler onto the front exhaust pipe, place a 3” clamp on the neck of the the front muffler and then slide the muffler onto the front exhaust pipe. You do not need the extension pipe for this install
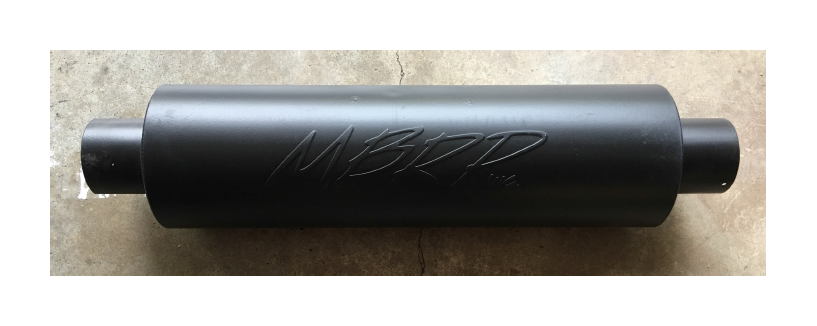
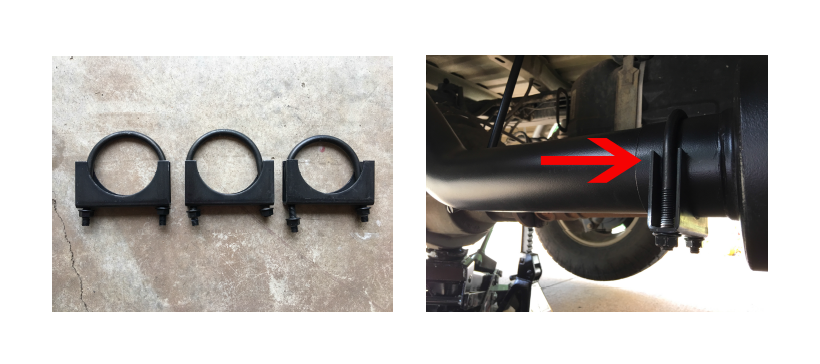
After you slide the muffler in place, hand tighten the 3” clamp so you can have some wiggle room when installing the next components and fully tighten the 3” clamps once all parts are in place
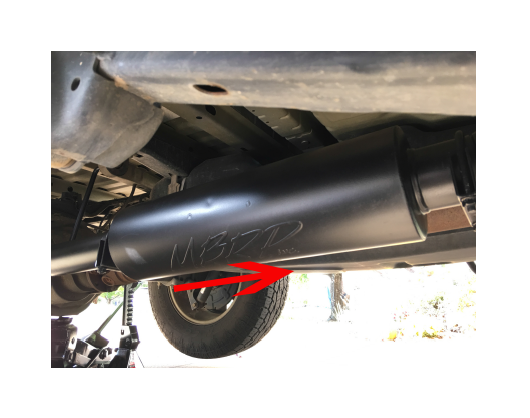
You will want to make sure the MBRP reads from left to right. From the truck bed to the front of the truck for a proper install
13. Install the over axle pipe next and connect it to the muffler with a 3” clamp. The over axle pipe has a welded exhaust hanger on the pipe to secure it to the vehicle exhaust hanger
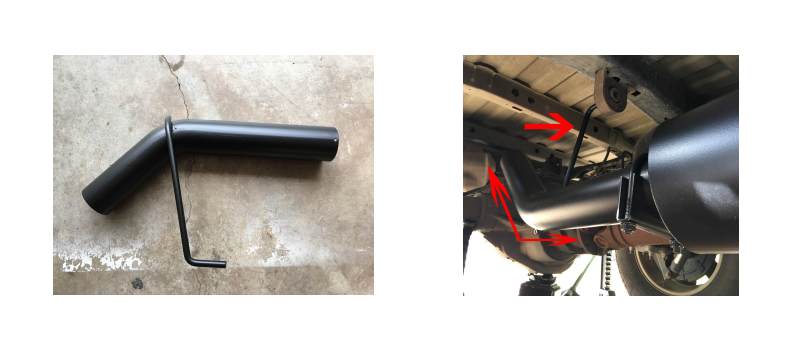
14. Use another 3” clamp for this component when you install it on the muffler. Remember not to fully tighten the 3” clamp at this point
You will also need to affix the welded exhaust hanger onto the exhaust hanger mount on the truck. Just slide the hanger arm into the center rubber gasket in the mount to ensure a proper fit
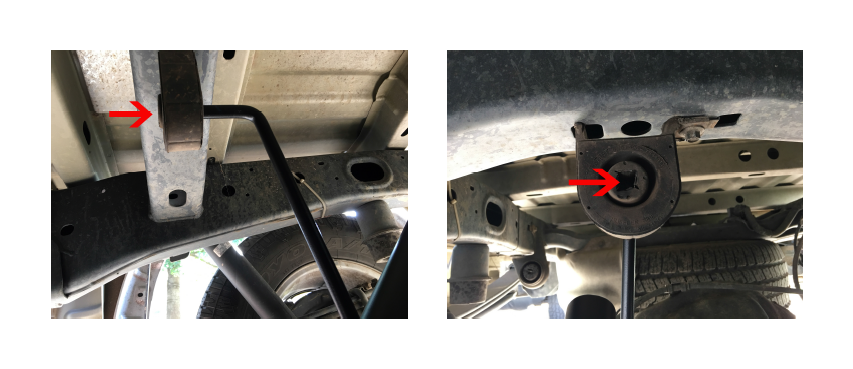
15. Install the tail pipe onto the over axle pipe next
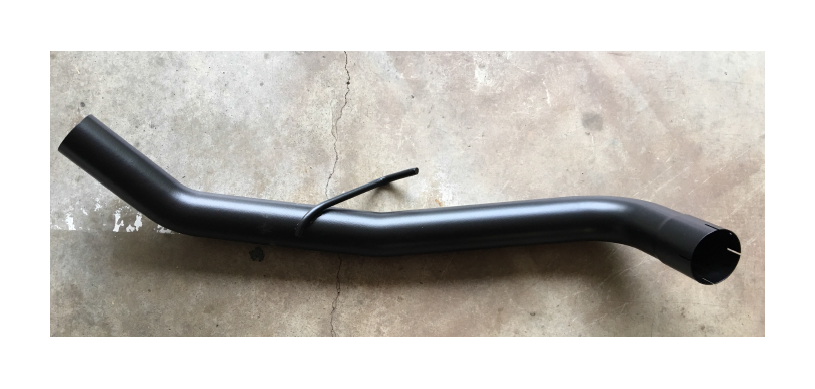
You will use another 3” clamp for this mount and will also need to affix the welded hanger arm into the factory exhaust hanger mount on the truck
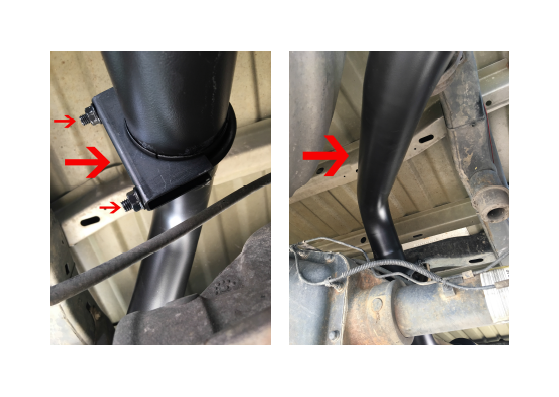
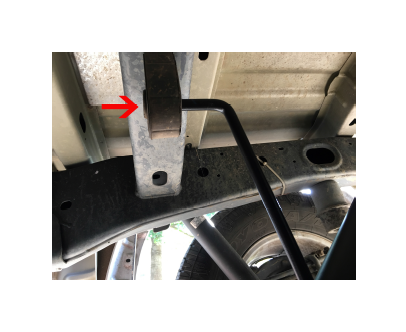
Remember to connect the welded hanger to the factory exhaust hanger on the truck
16. Next, install the exhaust tip onto the tail pipe
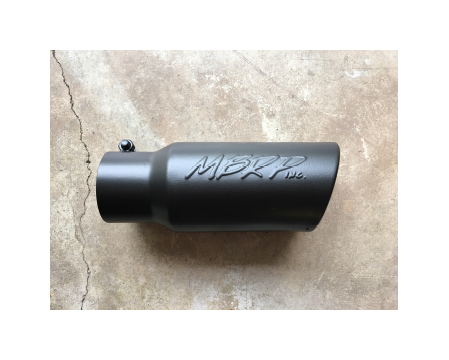
When installing, use a 5/16” allen key to tighten the exhaust tip to the tail pipe
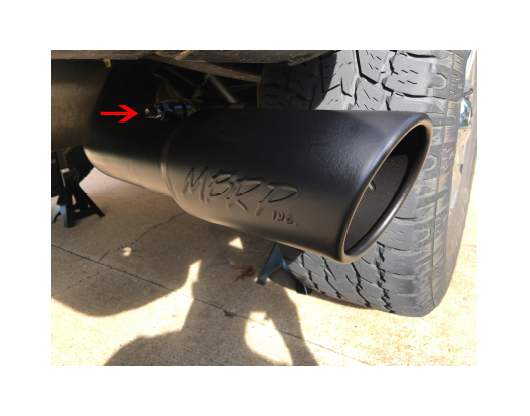
The arrow indicates where to tighten the exhaust tip
17. The last step is to go back and tighten all 3” clamps and ensure all exhaust arms are securely in place on the exhaust hanger mounts. After that, remove the jack stands and lower your truck back to the ground and start your engine!
Take it for a spin and listen to that sweet, new throaty exhaust sound that gives you extra horse-power and better performance with every drive.
