How to Install MBRP Black Series 3 in. Cat-Back Exhaust on your F150
Installation Time
2 hours
Tools Required
- Floor Jack
- Jack Stands
- Reciprocating saw
- Ratchet with 14mm/13mm deep sockets
- allen wrench
- socket allen size 8
- WD-40
- tape measure
- pencil
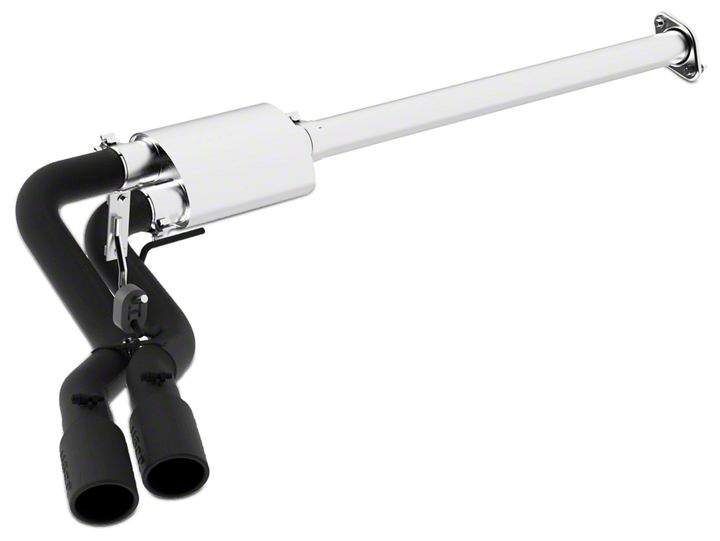
Shop Parts in this Guide
Before Installation:
Check to make sure that all components of the system are present and not damaged due to shipping or improper handling.
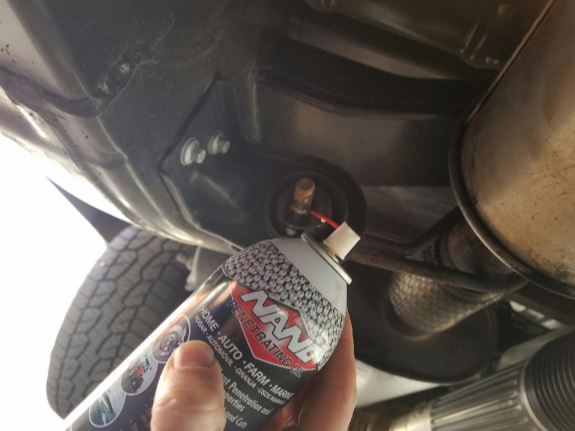
1. Apply lubricant to all factory hangers and rubber isolators to help with removing the factory exhaust.
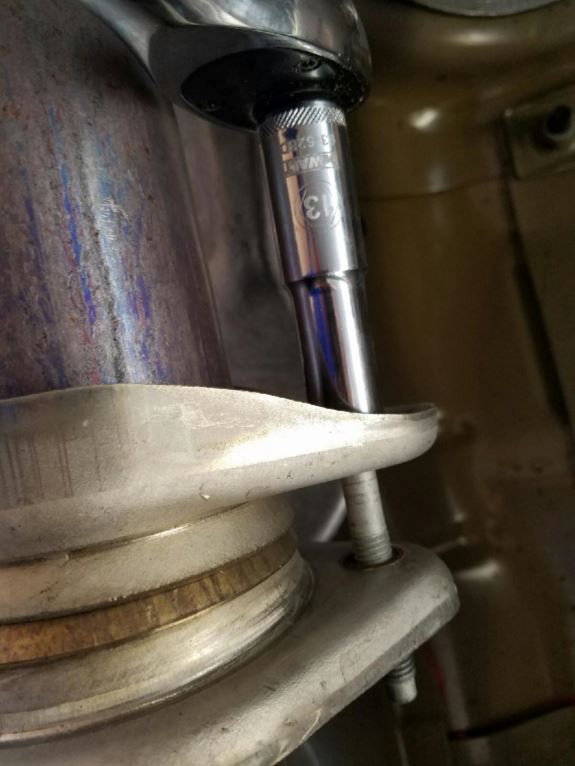
2. Loosen the factory extension pipe flange bolts.
3. Once the extension bolts have been removed pull and twist on the factory exhaust to loosen and remove. Grab a buddy for this step. Having a second set of hands will help make this process much easier, and avoid physical strain or damage to the vehicle.
4. Once the factory exhaust is free from all hangers, work the exhaust free by pulling forward toward the cab, if someone is helping you it may require turning the exhaust to clear the rear axel.
5. Once the factory exhaust is removed, start by determining the proper front pipe length.
Refer to the chart below:

6. When you determine the proper length for your wheel base, use the tape measure and marking pencil to mark the cut location.
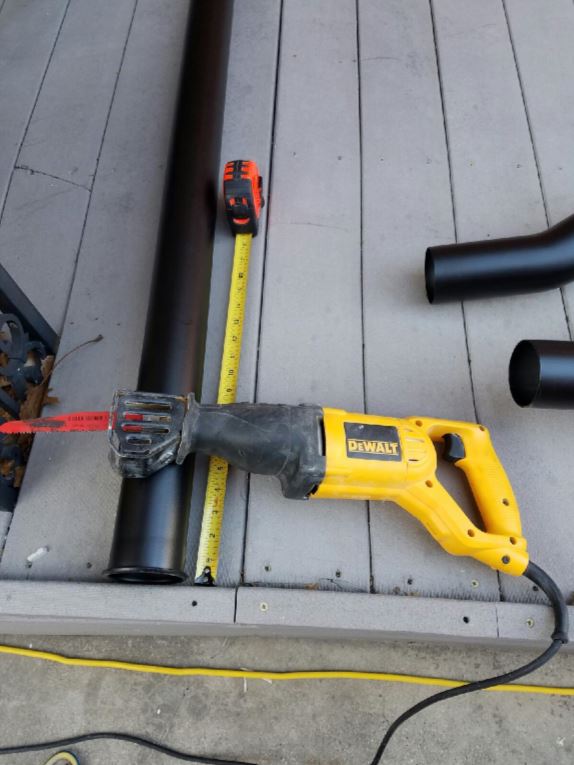
7. Using a metal saw, cut the front pipe to the appropriate length.
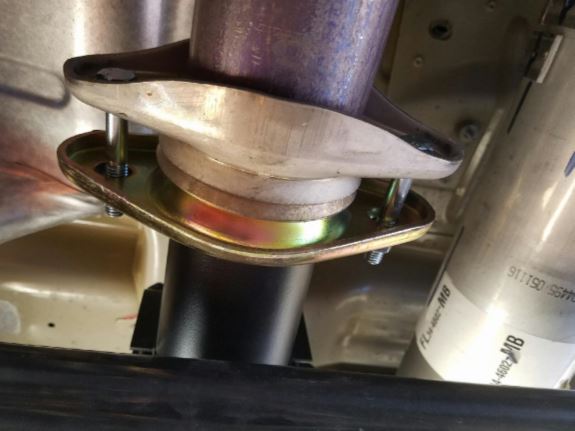
8. Using the supplied hardware, loosely install the front pipe along with the flange, bolts and washers.
9. Next, install the hanger bracket onto the outside of the passenger side frame in front of the leaf spring eye. Using the supplied panel nuts, bolts and washers, install the hanger bracket.
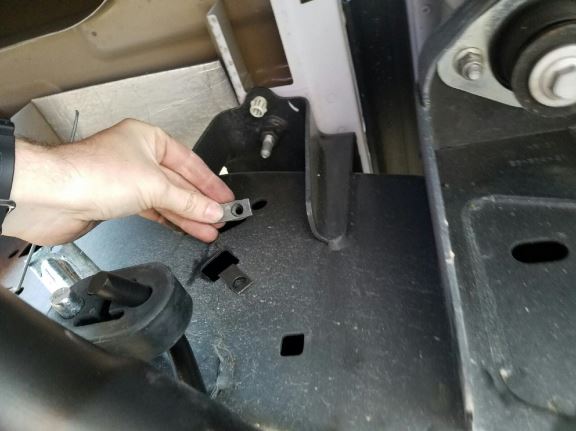
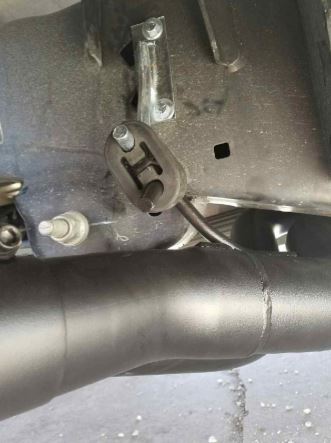
10. Using the supplied 3" clamp, loosely install the MBRP muffler onto the front pipe at approximately a 30-degree angle.
11. Using the supplied rear tail pipes and 3" clamps, loosely install the rear tail pipes into the muffler. The shorter section of pipe will be installed into the outlet on the outside of the muffler, closest to the frame rail. During this process, take note of the brackets that hold the 2 rear sections of exhaust together. These brackets must be in the proper alignment for correct muffler tip spacing. Use panel nut and bolt to attach the two pipes.
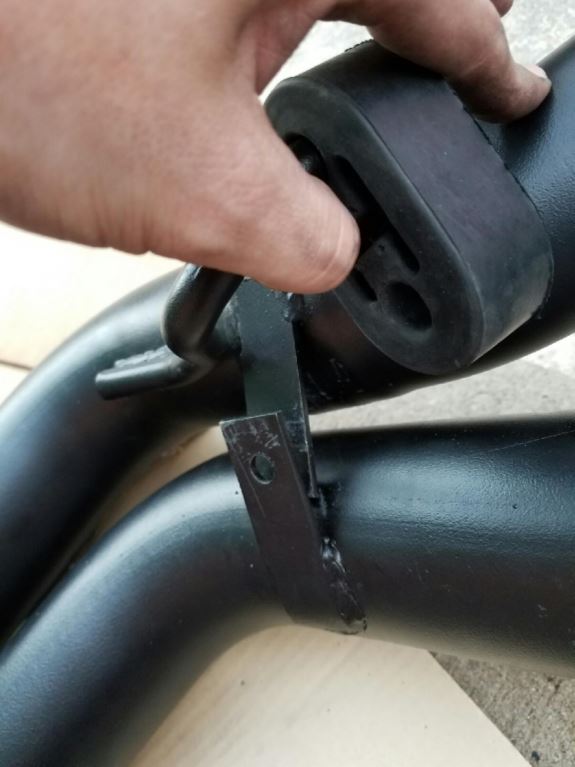
12. Install the rubber isolator onto the hanger bracket and front tail pipe bracket.
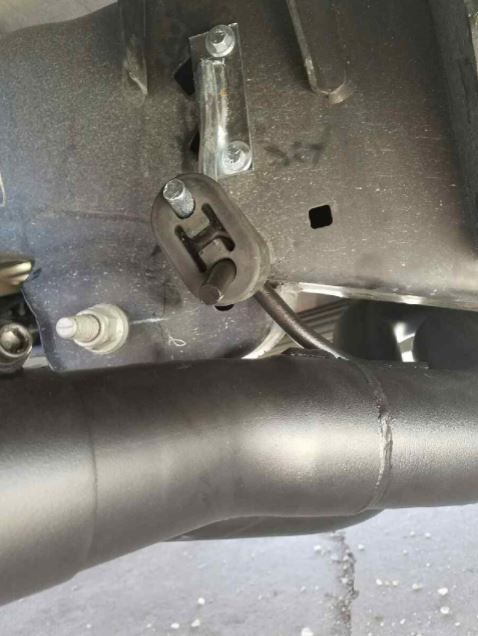
13. Install the exhaust tips to the spacing of your liking, while checking for any clearance issues. Use a size 8 Allen wrench of socket Allen to tighten.
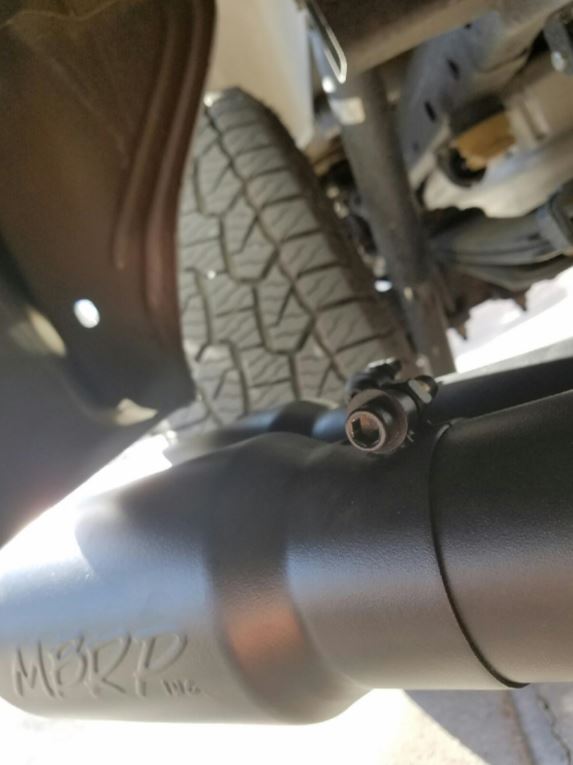
14. Once all the components are aligned and there is proper clearance around the body of the frame, completely tighten all clamps and hardware.
15. Once all compenents are tightened, turn on vehicle and check for any air leaking past the clamped parts (take due care with hot exhaust, and make srue your vehicle's parking brake is set). If a leak is found, allow exhaust to cool off before re-tightening the clamp. Repeat this process until no exhaust is leaking.
16. You can now enjoy the benefits of your new MBRP exhaust!
After Pictures
