
How to Install Injen Evolution Cold Air Intake (14-18 5.3L Silverado 1500) on your Chevy Silverado
Installation Time
60 minutes
Tools Required
- Step Ladder or Step Stool
- Pliers
- Flat Screwdriver or small flat Prying Tool
- 8mm Nut Driver
- T15 Torx Driver
- Phillips Screwdriver
- Allen Key or Hex Driver
- *5/32” drill bit
- *Electric or Cordless Drill
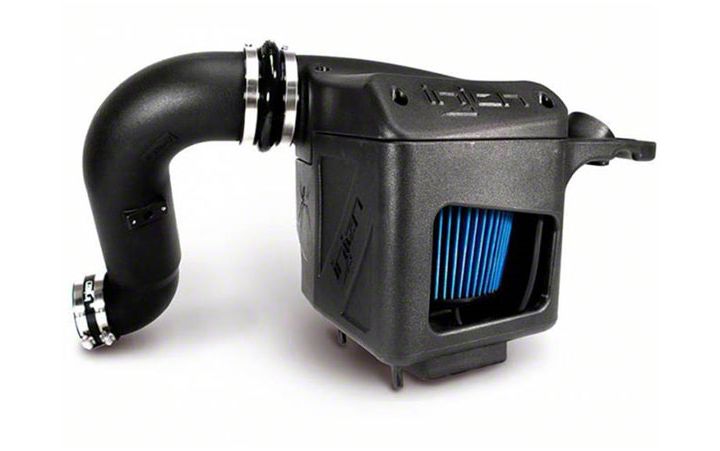
Shop Parts in this Guide
Notes:
Tools in asterisk are needed for optional FilterMonitor Kit Part #: AC1000
Lay out the parts needed for installation according to your vehicle's engine size: i.e. the 3.5”-4” step hose fitting is for a 5.3L engine, and the 4”-4” hose fitting is for a 6.2L engine.
Installation Instructions:
1. Using an 8mm nut driver, loosen the band clamp on the Factory Air Box.
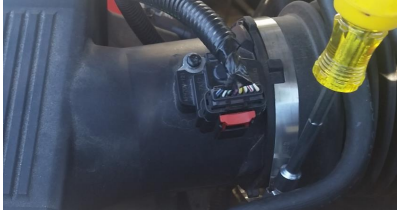
2. Using an 8mm nut driver, loosen the band clamp on the Throttle Body.
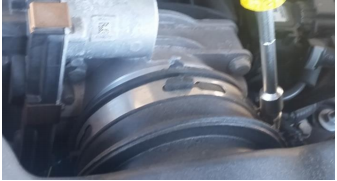
3. Disconnect both vacuum lines from the Factory Air Duct by firmly pressing the buttons to release the clamps.

4. Remove the Factory AirDuct and set it aside.
5. Disconnect both vacuum lines from the engine by firmly pressing the buttons to release the clamps.
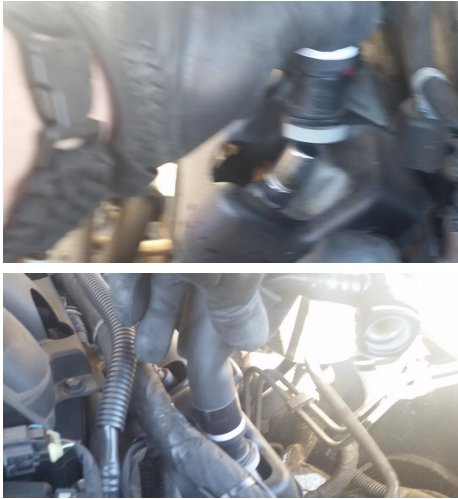
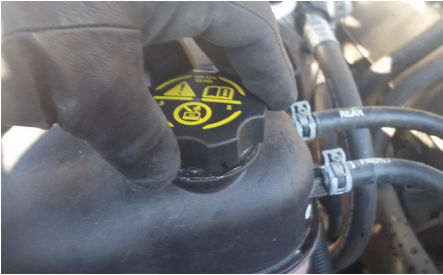
6. Slowly and carefully loosen the cap on the Antifreeze Overflow Tank just to release any build up pressure and then retighten the cap.
7. Using pliers squeeze the hose clamps on the hose lines on the antifreeze overflow tank and slide the clamps back on the hoses.
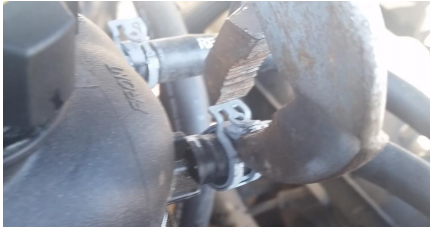
8. Remove the hoses from the antifreeze overflow tank and relocate them out of the way.
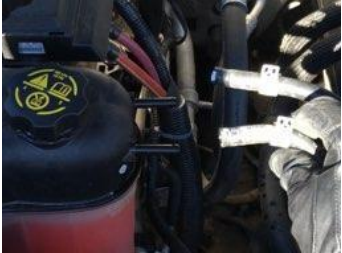
9. At the base of the Factory Air Box, engine side, remove the MAF Sensor wire tie down by gripping the tie down with pliers and pulling straight up.
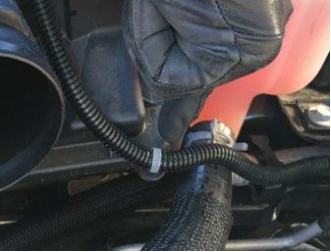
10. Using a T15 torx driver, unscrew both screws on the MAF Sensor.
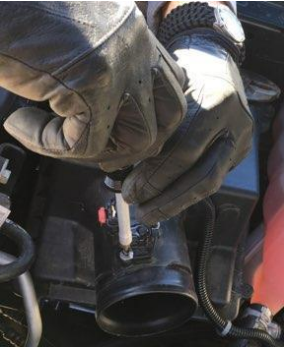
11. Remove the MAF Sensor and relocate it out of the way.
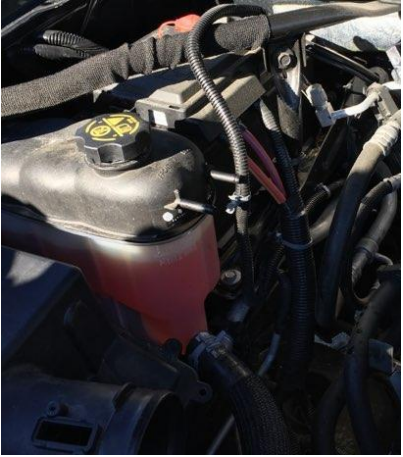
12. Remove the Factory Air Box by pulling straight up and out at an angle.

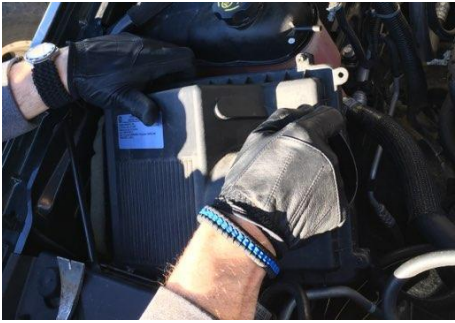
13. Remove both rubber grommets from the bottom of the Factory Air Box.
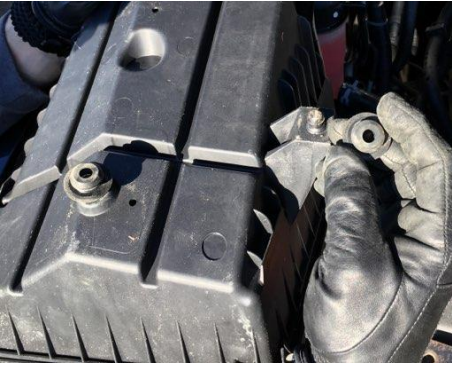
14. Insert both rubber grommets into the Air Box Mounting Plate of your vehicle.
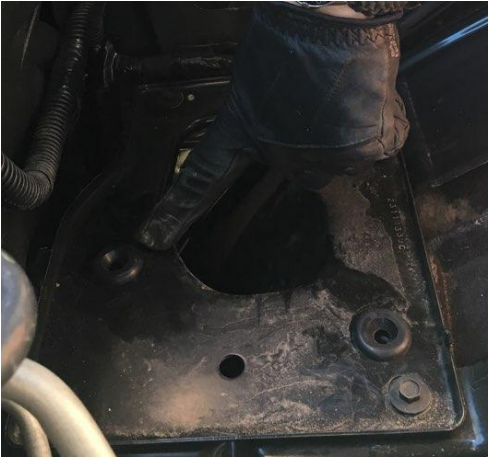
15. Remove the spacer grommet from the bottom of the Factory Air Box.
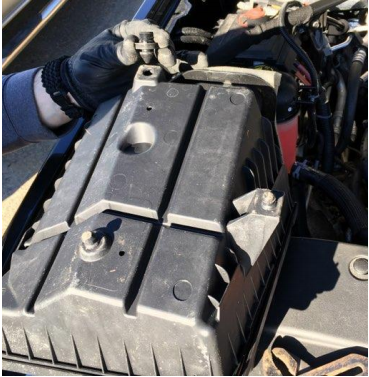
16. Set aside the Factory Air Box.
(Save your Original Equipment in case you need it at a later time.)
I. Installing the INJEN Air Induction System
A. The INJEN Air Box
17. Insert the grommet spacer into the bottom of the Injen Air Box.

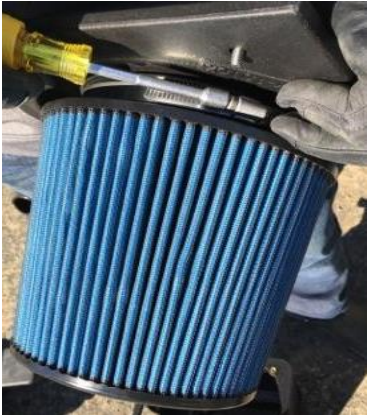
18. Attach the filter to the cover or “plenum” of the Injen Air Box and tighten the band clamp using an 8mm nut driver.
** Models without optional Filter Monitor Kit Skip ahead to #25**
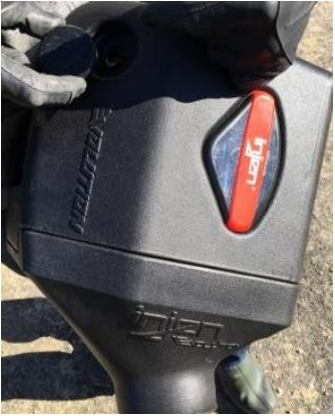
**19-A. Insert the rubber monitor hole plug into the monitor hole of the Injen Air Box.
Models with optional Filter Monitor Kit – P/N: AC1000
19. Connect the vacuum line to the filter monitor gauge.

20. Insert rubber grommet into the monitor gauge hole of the Injen Air Box.
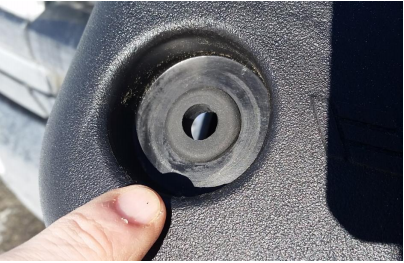
21. Run the vacuum line through the hole in the rubber grommet and install the filter monitor gauge into the Injen Air Box.
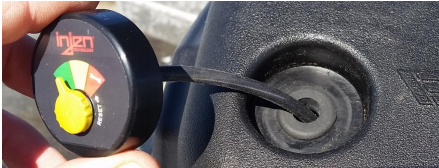
22. Drill a (5/32”)hole into the top of the filter, staying at least 1” in from the edge of the filter, I drilled the hole in the small circle under the Injen logo.

23. Connect the vacuum line to the 5/32” 90deg elbow fitting on top of the filter.


