Guaranteed Free Delivery by 12/24! available on most items - Details
How to Install Husky Long John Flare Flaps - 12 in. x 36 in. (97-17 All) on your Ford F-150
Installation Time
1 hours
Tools Required
- Power Drill with 1/8” and 1/4” drill bits
- 1/4” Socket with Drill Attachment
- 7/16 Wrench or Socket/Driver

Shop Parts in this Guide
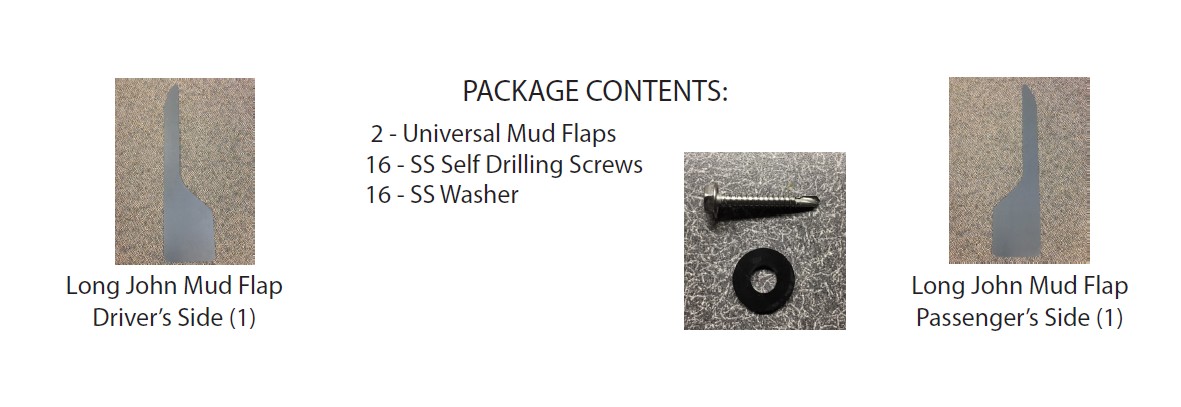
VEHICLE PREPARATION:
Your vehicle’s fender mounting area should be cleaned prior to the installation of your new HuskyLiners Long John Mud Flaps.
Installation
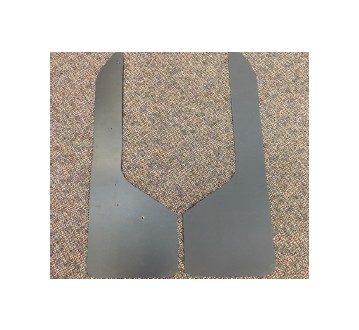
Read all directions thoroughly prior to the installation of your Long John Mud Flap.
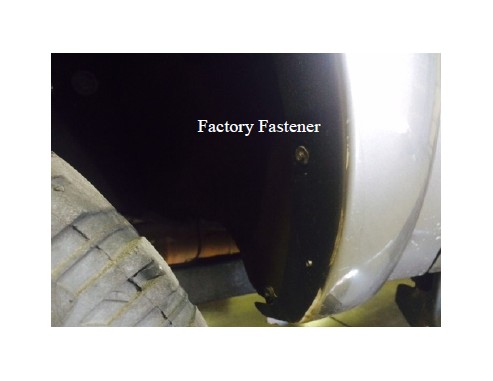
1. Clean the mounting location on your vehicle and check the location of factory fasteners and factory holes that can be used to fasten the mud flap. We recommend using the factory locations when possible then use the provided SS self tapping screws for further retention.
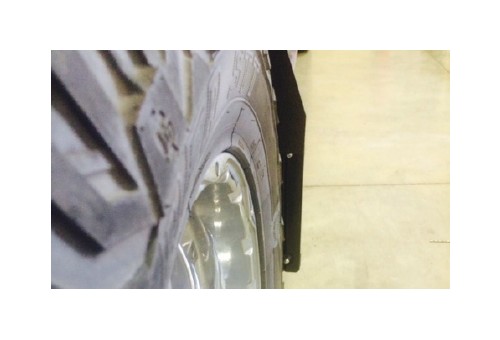
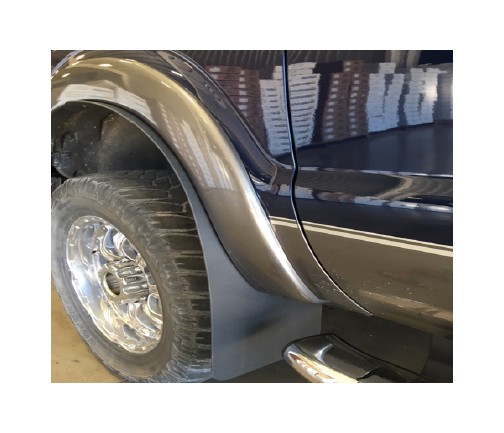
2. Align the outer edge of the mud flap with the outer edge of the tire to get maximum coverage, protection and for easy alignment.
Note: These are general mounting guidelines and the Long John mud flaps can be mounted in many different ways to provide whatever coverage you deem necessary.
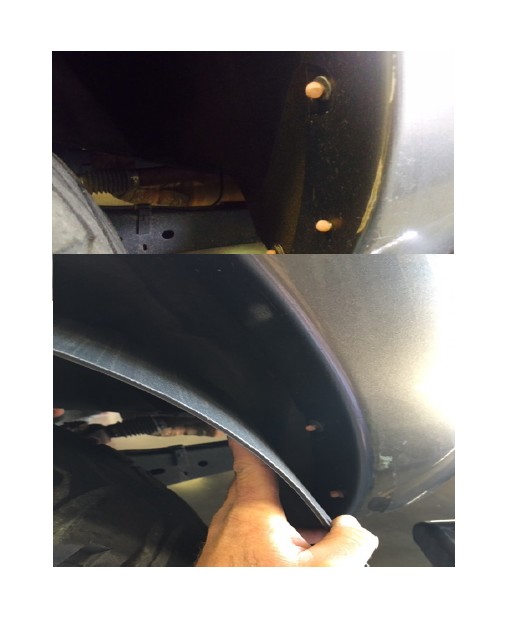
3. Transfer the factory hole locations to the mud flap mounting area. Mark the factory fasteners and other fastening locations with a small ball of clay or similar material.
4. Align the mud flap so the bottom of the flap is parallel to the ground and at your desired height. Press the mud flap firmly against the fender to transfer the fastening locations.
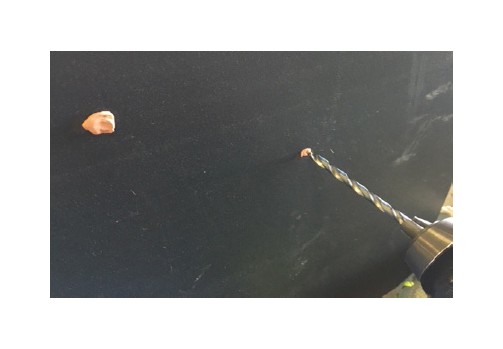
5. Drill fastening holes at the pre-marked locations in the mud flap to accommodate factory fastener size. If using supplied SS self drilling screws, drilling a small 1/8” pilot hole may help to ease installation.
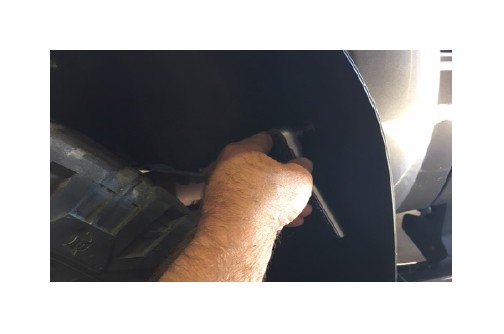
6. Fasten the mud flap to the truck with the factory fasteners. Make sure the mud flap is parallel to the ground before tightening.
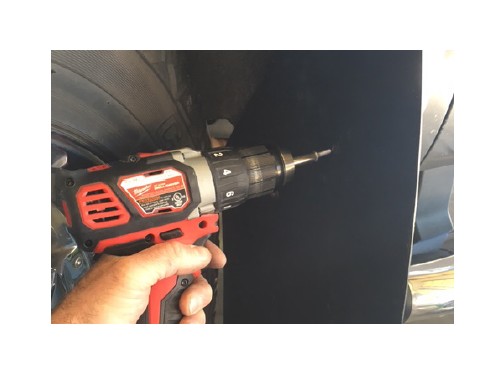
7. Install the SS self drilling screws at the other pre-drilled locations on the mud flap.
A minimum of 4 fastening locations per mud flap is recommended.
9. Repeat steps 1- 7 on the opposite side of the vehicle.

