2019-2025
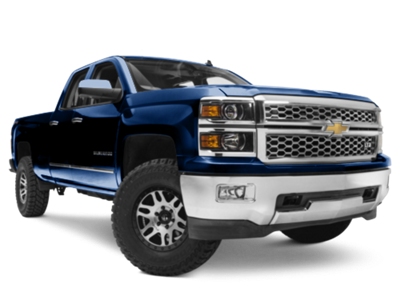 2014-2018
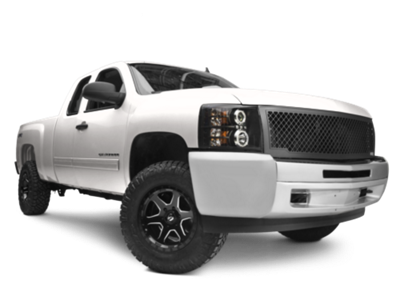 2007-2013
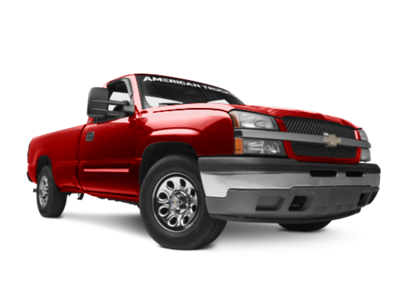 1999-2006


Installation Time
(approx) 2 Hours
Difficulty Level:
Light to Moderate mechanical skill required.
Installation Guides
No guide available for this part yet.
 FREE 1 to 3-Day Delivery on Orders $119+ Details

 182 Reviews
$713.95 kit
Will this fit your Vehicle?
Saved - View your saved items
We're sorry. We couldn't save this product at this time.
or use
Add Local Installation
Features, Description, Reviews, Q&A, Specs & Installation
| Brand | Flowmaster |
| Exhaust System Type | Cat-Back System |
| Exhaust Tip Finish | Black, Black Chrome |
| Exhaust Tubing Diameter | 2.50 Inch |
| Exhaust Material | Stainless Steel |
| Exhaust Tip Outlet Style | Dual |
| Exhaust Exit Location | Passenger Side - Before Tire |
| Exhaust Loudness | Mild |
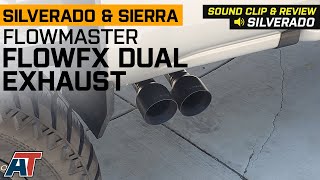
Provides Moderate to Aggressive Sound. The Flowmaster FlowFX Cat-Back Exhaust with Black Tips and a Middle Side Exit is the perfect upgrade for your Chevrolet Silverado 1500 if you want to aurally enhance its 5.3L EcoTec3 V8 engine. With the touch of your throttle, you will be thrilled by the throaty, NASCAR-inspired sound that this cat-back produces.
Improves Output. This cat-back is engineered to get the toxic gases out of your truck’s V8 engine quicker and more efficiently. Thus, it allows the already-powerful engine to “breathe” better and provide considerably more power for the truck to move faster and perform better on the road and off it.
Sturdy Stainless-Steel Construction. Manufactured from mandrel-bent, 2.50-inch, 409S-grade stainless steel tubing that is brushed, this cat-back features a pair of “straight-through” mufflers with large, 4.0-inch, 304 stainless-steel tips finished with a cool black ceramic coat. Ultimately, this system is supremely durable and corrosion-resistant.
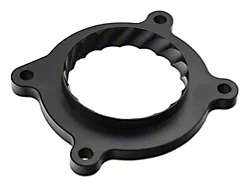
Direct Bolt-On Design for Medium-Level Installation. This cat-back is designed to directly bolt onto the factory piping, thus making any modifications completely unnecessary. Expect to spend about 2 hours to get it done.
Lifetime Manufacturer’s Warranty. Flowmaster warranties that this cat-back exhaust system will be free from defects in materials and workmanship for as long as it is on the vehicle that it was originally installed. Some exclusions or limitations may apply; please see manufacturer’s warranty for complete details.
Application. This Flowmaster FlowFX Cat-Back Exhaust with Black Tips and a Middle Side Exit is designed to fit the 2014–2018 5.3L Chevrolet Silverado 1500 models
Shop All Truck Parts And Accessories
Shop All Truck Exhaust
Flowmaster 717787
CA Residents:  WARNING: Cancer and Reproductive Harm - www.P65Warnings.ca.gov
Installation Info
Installation Time
(approx) 2 Hours
Difficulty Level:
Light to Moderate mechanical skill required.
Installation Guides
No guide available for this part yet.
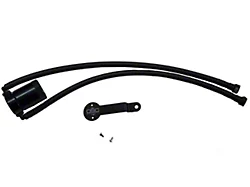
What's in the Box