
How to Install Fab Fours Vengeance Front Bumper w/ Pre-Runner Guard on your F-150
Installation Time
2 hours
Tools Required
- Socket wrench with extension (ratcheting wrenches may also be convenient)
- 7mm, 8mm, 9mm, 10mm, 15mm , and 5/8” sockets and box end wrenches
- T15 torx
- Hex key sets
- Flat head screw drivers
- Floor jack and wood block
Shop Parts in this Guide
I. Overview
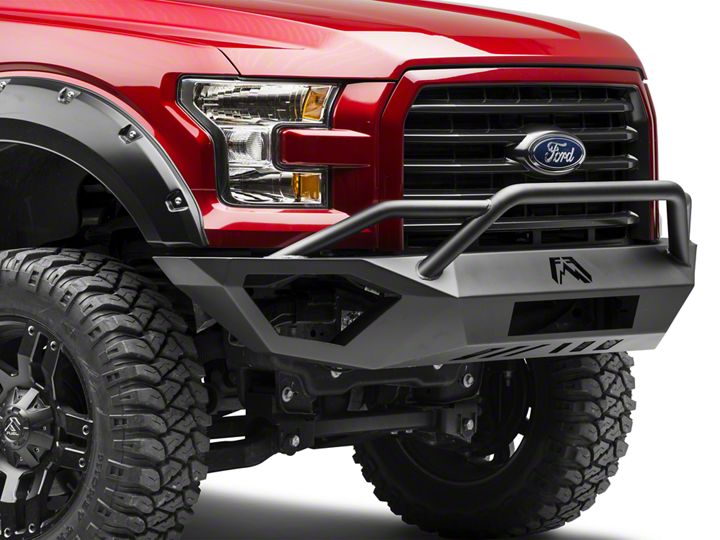
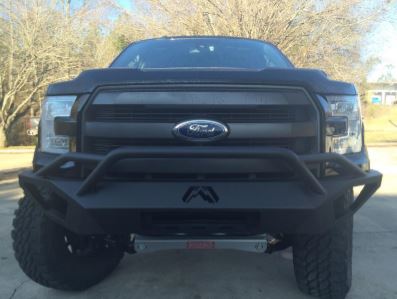
Congratulations on your new purchase of the industries’ best and most stylish front bumper available for the 2015 Ford 150. This bumper has been designed to be lightweight and easily customized with the industry’s highest quality accessories.
Your front bumper designed in 3-D from digitized data, CNC laser cut, fabricated, and powder coated… all in the U.S.A.
Enjoy the fit and finish of a quality Vengeance Ford F150 Front Bumper from Fab Fours Inc.
II. Removal of OEM Bumper
Note: Save all OEM parts until installation is complete!
A. Using a flathead screwdriver, carefully remove center plastic piece, indicated by oval in the center of the OE bumper.
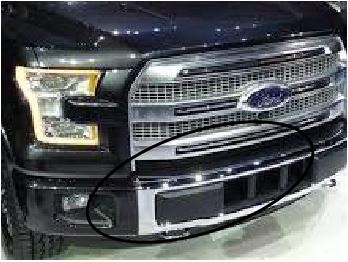
Figure 1a
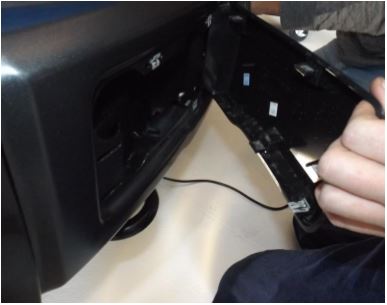
Figure 1b
B. Using 21 mm socket, remove the three nuts per side, two are located under the plastic center piece (ref. fig. 2a-b) and the third accessible from the back of the frame (ref. fig. 2c). If front OEM bumper contains sonar (ref. fig. 2b), remove four bolts with 11 mm. If your bumper includes a sonar device, remove it now using a 12 point, 4mm socket. Unplug the device.
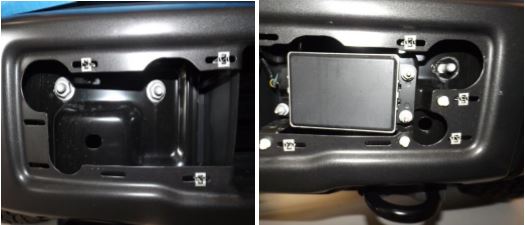
Figure 2a & Figure 2b
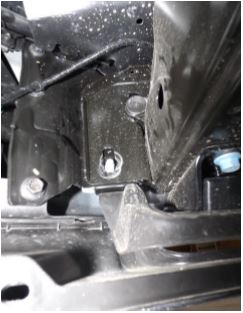
Figure 2c
C. To remove the electrical harness, unplug fog light and remove one (1) Christmas tree plug on each side. At this time, carefully pull away bumper checking to make sure nothing is still connected.
D. Pull rubber covers off the tow hooks. Use a 15 mm socket to remove the two bolts per side holding the tow hook in place.
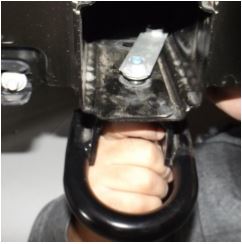
Figure 3
E. Slide out both nut strips from the frame channel when done.
F. If your vehicle model includes a louver system for the intercooler located between the frame mounts, the shroud must be removed. Special care must be taken not to damage louvers when cutting around the base of the rectangular shroud, a cut off wheel is recommended.
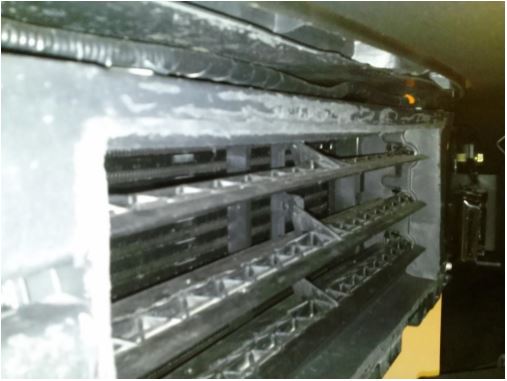
Figure 4 (Louver w/ shroud cut away at base)
G. Remove the push pins that hold the rubber piece under the headlights. Pull away.
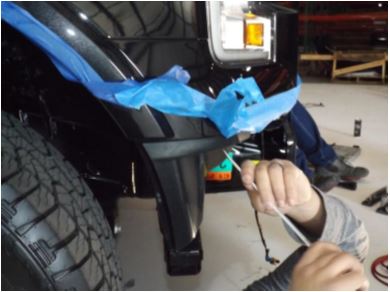
Figure 5
III. Pre-Installation
NOTE: The following installation steps apply to the installation of the front bumper. PLEASE READ THE ENTIRE MANUAL BEFORE ATEMPTING INSTALLATION. Ignoring these steps will increase your probability of scratching the vehicle during product installation.
A. Remove the bumper from the shipping carton. Lay all items out on a blanket to prevent damage to the powder coating.
B. If you are installing aftermarket lights, do the wiring for those now and install them into the bumper. (But don’t plug them in until after bumper install)
IV. Front Bumper Installation
A. Use painter’s tape to tape off the valance of your truck to help prevent scratching the paint.
B. Using the supplied hardware and a 5/8 socket, mount the bumper to your truck but do not fully tighten. There will be 6 bolts.
C. Adjust the height of the bumper to the truck and tighten the bolts. (Fab Fours recommends 3/8 profile gap as a standard.)
D. Enjoy your new Vengeance Front Bumper from Fab Fours!

