
How to Install Fab Fours Vengeance on your F-150
Installation Time
1 hours
Tools Required
- Metric and Standard socket set
- Various socket extensions
- ¾” box end wrench
- Philips head screwdriver
- Flat head screwdriver
- “Christmas tree” clip remover
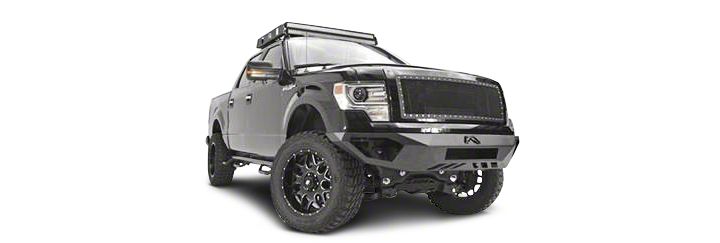
Shop Parts in this Guide
I. Overview
Congratulations on your new purchase of the industries’ best and most stylish Front Vengeance Bumper available for the 2009 through 2014 Ford F150! This Bumper has been engineered for strength while keeping the weight down.
Your Front Bumper designed in 3-D from digitized data, CNC laser cut, fabricated, and powder coated… all in the U.S.A.
Enjoy the fit and finish of a quality Ford F150 Front Vengeance Bumper from Fab Fours Inc.
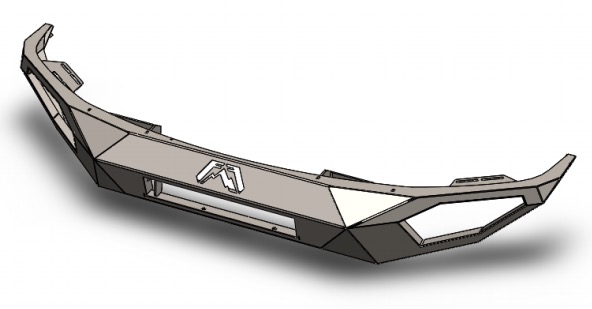
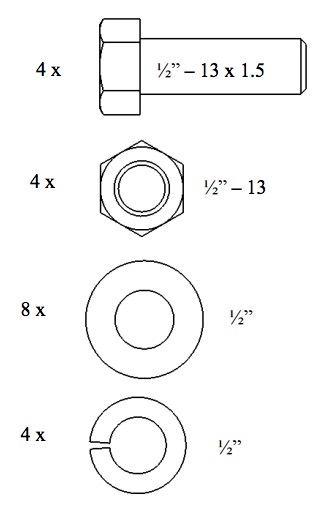
III. Kit Contents
V. Removal of Stock Bumper
1. Remove the lower air dam by loosening the fastener (14mm socket) attaching it to each frame rail behind the tow hooks.
2. Remove the splash mat from the bumper by pulling out the plastic push clips.
3. If equipped, disconnect the fog lights and route the harness out of the way.
4. Open the hood and remove the lower safety latch bracket bolts that attach it to the steel portion of the OEM bumper with a 10mm socket.
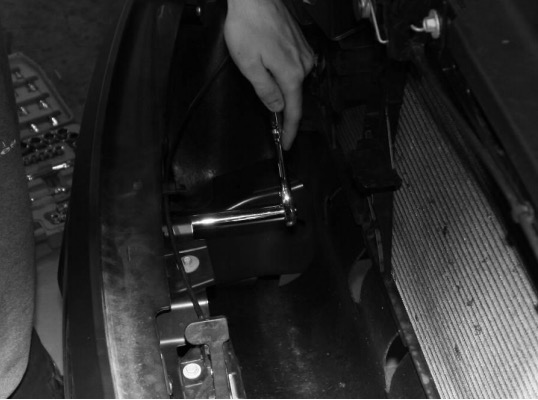
5. Remove the (2) nuts from the main bumper mounting studs on each frame flange with a 21mm socket.
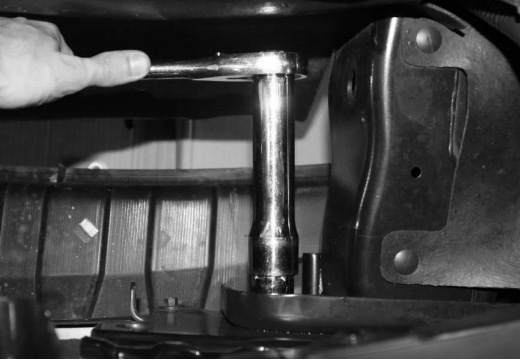
6. Center plastic valence reinforcement is held in place by several push pins underneath and behind valence. Remove push pins holding reinforcement without removing valence.
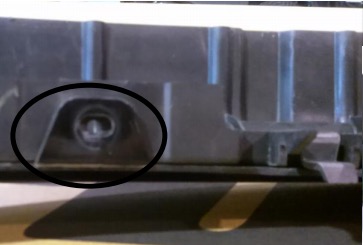
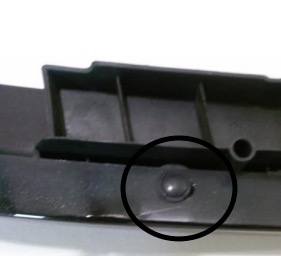
7. Using two people, pull the bumper forward away from the truck. Be careful not to scratch the paint on the plastic above the bumper.
8. Remove the tow hooks using a 15mm socket.
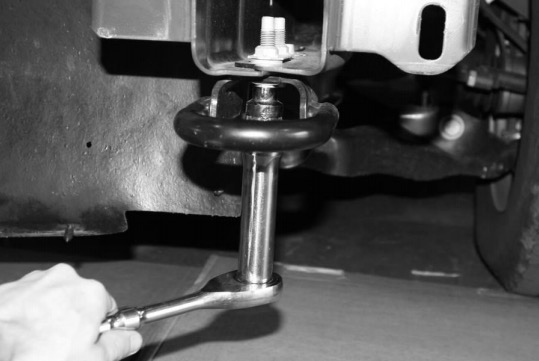
Your truck is now ready for the install of your new Fab Fours Front Bumper!
VI. Front Bumper Installation
1. With the help of a lifting device such as a floor jack, or with the help of multiple assistants, lift the bumper and align with the frame flanges.
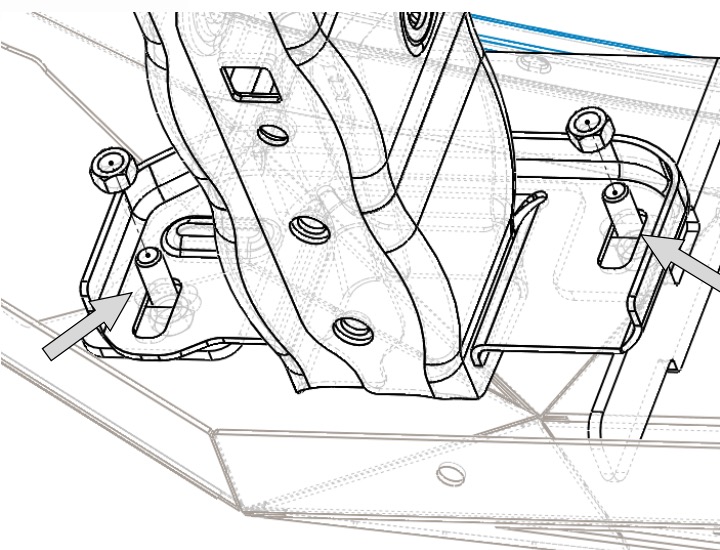
2. Loosely install the provided ½”x1.5” bolts through the slots in the frame flange and mount plate.
3. Adjust the bumper to achieve good visual alignment side to side with equal gaps at each fender. Fully tighten the ½” bolts in the frame flanges with ¾” socket and wrench.
4. Lift the bumper to achieve good visual alignment underneath the headlights and fenders. Once desired alignment is attained, fully tighten the bracket to bumper fasteners with a ¾” socket.
NOTE: Fab Fours recommends a MINIMUM gap of a 1/4” or more at the outer fenders and headlights to prevent paint damage in normal operation.
5. Remove the spring nut from the OEM hood latch bracket and reinstall it on the Fab Fours bumper hood latch bracket. Use the OEM bolt to attach the hood latch lever to the bracket in the same orientation as the OEM installation.
VII. Maintenance/Care
Periodically check and tighten all fasteners.
Stripped, fractured, or bent bolts or nuts need to be replaced.
After washing of the vehicle make sure to fully dry all surfaces
