2021-2025
 2015-2020
 2009-2014
 2004-2008
 1997-2003


Installation Time
(approx) 1 Hour
Difficulty Level:
Simple installation for anyone.
Installation Guides
No guide available for this part yet.
 FREE 1 to 3-Day Delivery on Orders $119+ Details

 157 Reviews
$314.99 pair
Save with Open Box
From $188.99
Will this fit your Vehicle?
Saved - View your saved items
We're sorry. We couldn't save this product at this time.
or use
Add Local Installation
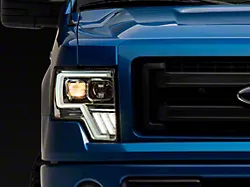
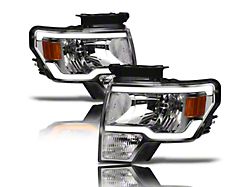
G4 Light Bar Switchback Projector Headlights; Chrome Housing; Clear Lens (09-14 F-150 w/ Factory Halogen Headlights)
52
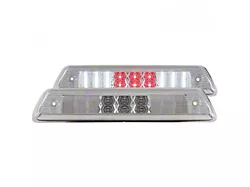
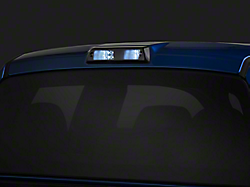
LED Third Brake Light; Chrome (09-14 F-150, Excluding Raptor)
 18
18
SQ Series Headlights with Sequential Turn Signals; Chrome Housing; Clear Lens (09-14 F-150 w/ Factory Halogen Headlights)
 3
3
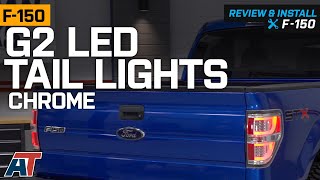
Features, Description, Reviews, Q&A, Specs & Installation
| Brand | Raxiom |
| Tail Lights Style | Custom Style |
| Tail Light Type | LED |
| Tail Light Lens Color | Clear |
Enhances Driving Safety. Minimize your risk of getting into road accidents by gearing up your truck with these Raxiom G2 LED Tail Lights; Chrome. With these tail lights installed, you can now drive during the night with fewer worries. Generating a brilliant light output, these tail lights help signal other drivers to maintain a safe distance from your truck.
Made of Top-Grade Materials. Built to stand the test of time, these Chrome G2 LED Tail Lights are only made using top-grade materials. Furthermore, these tail lights feature a sturdy chrome housing and a water-resistant construction to help maintain their pristine condition for several years.
Simple Installation. These tail lights offer a simple installation. Sporting a plug-and-play build, these tail lights can be easily attached to your truck’s factory light connectors using a few basic hand tools.
DOT-Compliant. These tail lights are DOT compliant. Built in accordance with DOT’s regulations and guidelines, these tail lights are guaranteed to be safe to use when driving on or off-road.
Application. The Raxiom G2 LED Tail Lights; Chrome are engineered to fit 2009-2014 Ford F-150 Styleside models.
Shop All Truck Parts And Accessories
Shop All Truck Lights And Cargo Lights
Shop All Truck Tail Lights
Raxiom T542857
CA Residents:  WARNING: Cancer and Reproductive Harm - www.P65Warnings.ca.gov
Installation Info
Installation Time
(approx) 1 Hour
Difficulty Level:
Simple installation for anyone.
Installation Guides
No guide available for this part yet.
What's in the Box