How to Install Delta 100 Series Thinline Fog Amber Light Kit Black-w/Covers on your F-150
Shop Parts in this Guide
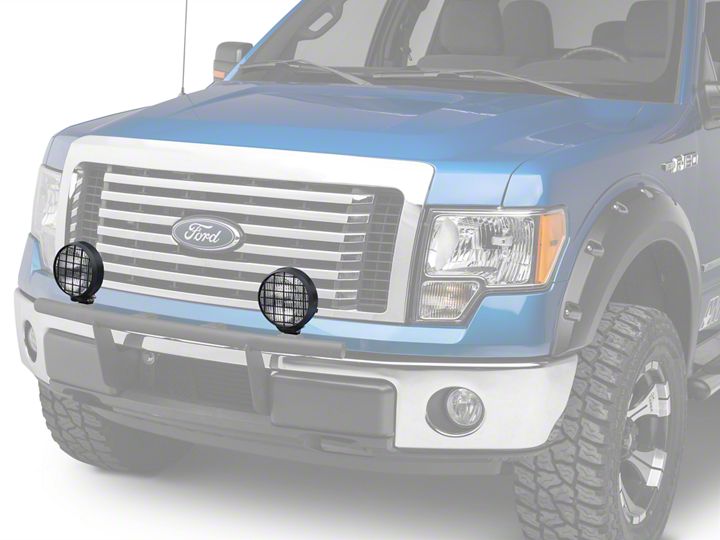
1. MOUNT LIGHTS to front bar or bumper. Make sure you have adequate clearance for the mounting bolt. Also be certain that the wiring harness at the back of the light is unobstructed. If the clearance is too tight the water seal can be dislodged and allow water inside the housing.
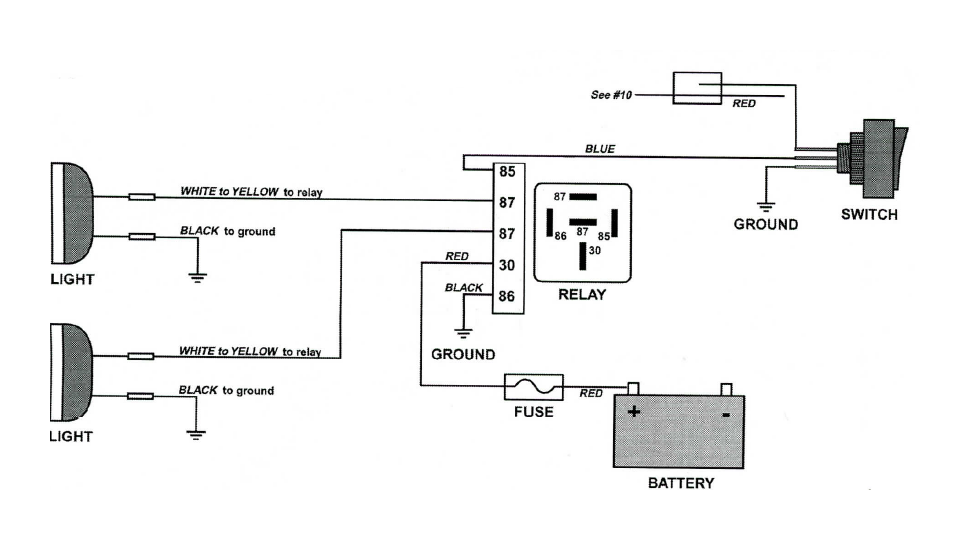
2. CONNECT WIRES TO RELAY:
Red Wire With Fuse to position 30. Remove the fuse until you are ready to test lights.
Short Black Wire to position 86.
Yellow Wires (2) to both positions 87.
Blue Wire to position 85.
3. INSTALL THE RELAY:
(use a sheet metal screw - not included) in close proximity to the battery so the Red Wire with Fuse can reach the battery's positive pole.
4. CONNECT YELLOW WIRE LEADS to each hot lead extending from the lights (white or yellow).
5. GROUND THE RELAY by attaching its short black wire lead to any metal surface using a sheet metal screw (not included).
6. FEED THE BLUE WIRE LEAD THROUGH THE FIREWALL (follow the factory main electrical loom through the rubber bushing in the firewall) and into the passenger compartment toward the switch.
7. INSTALL THE SWITCH in the dash or console.
8. CONNECT THE BLUE WIRE LEAD to the switch.
9. GROUND THE SWITCH with all or some of the 36" black wire to any metal surface (that isn't insulated from the chassis).
10. CONNECT LONG RED WIRE:
...to the factory high beam lead (with supplied snap lock connector) if you want the switched-on lights to come on and off with the high beams.
...to another ignition-hot lead if you want the auxiliary lights to work independently from factory lights but turn off with the key.
...to a constant hot if you want your lights to work always on demand.
11 . CONNECT RED WIRE WITH FUSE directly to the positive post on the battery (connecting to light gauge factory wiring can melt its wires).
12. CONNECT BLACK and RED LEADS on the LIGHTS: Black is to ground (be certain ground is not insulated from the frame).
Red is the 4W "city light" and can be connected to any factory marking light lead.
13. TEST, AIM, and TIGHTEN LIGHTS.


