
How to Install BBK 75mm Throttle Body on your F-150
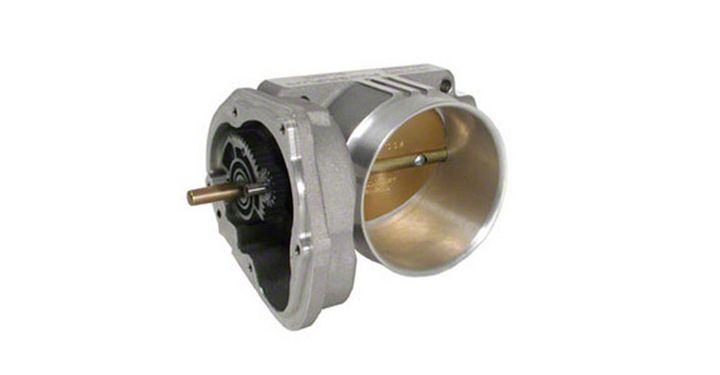
Shop Parts in this Guide
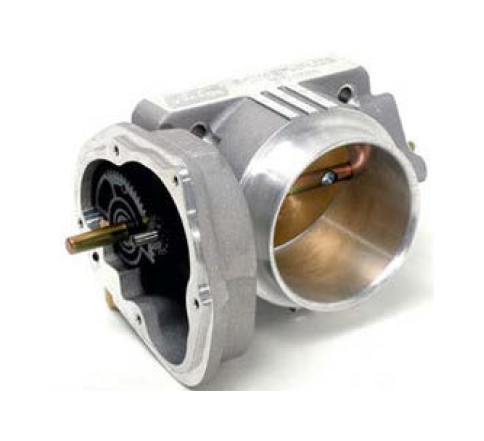
Installation of this throttle body requires a digital voltmeter to check and set the TPS sensor voltage of the stock throttle body to the BBK Throttle Body.
Follow these instructions carefully to ensure correct fitment and operation.
STEP 1: With a digital voltmeter set on DC volts, turn the ignition to the ON position, but don’t start the engine.
STEP 2
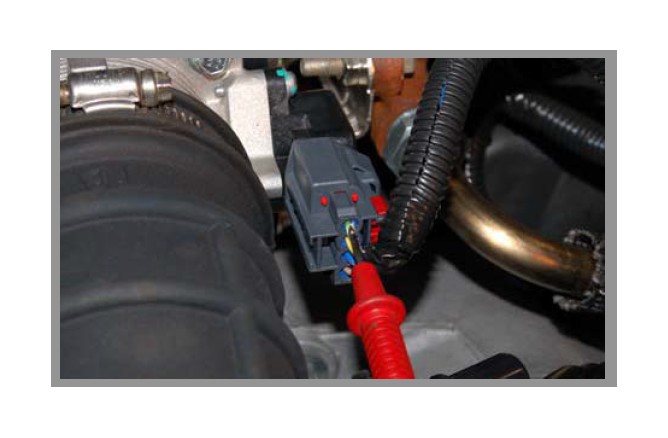
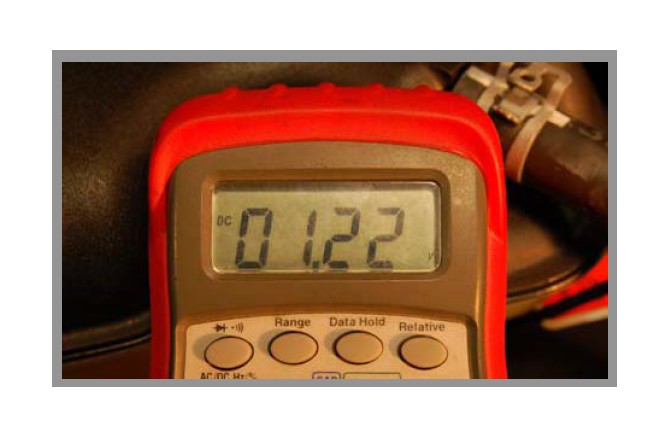
• MUSTANG: Probe the top wire of the TPS Sensor.
• F150: Probe the closest wire to you on the TPS.
• Record the voltage reading. You will be between 1.19 and 1.33V. Turn the key to the OFF position.
STEP 3: Disconnect the negative battery terminal.
STEP 4
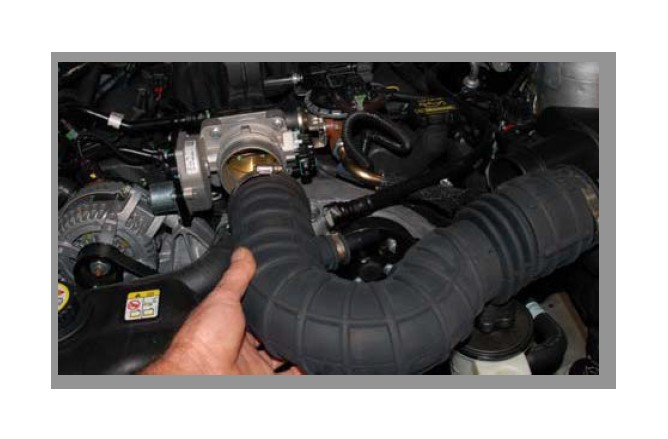
Disconnect the breather tube from the air intake tube. Loosen the clamps at the throttle body and at the air box then remove the air intake tube.
STEP 5: Unplug the TPS sensor and throttle body motor control wires. Unbolt the throttle body from the intake manifold and place on a workbench.
STEP 6
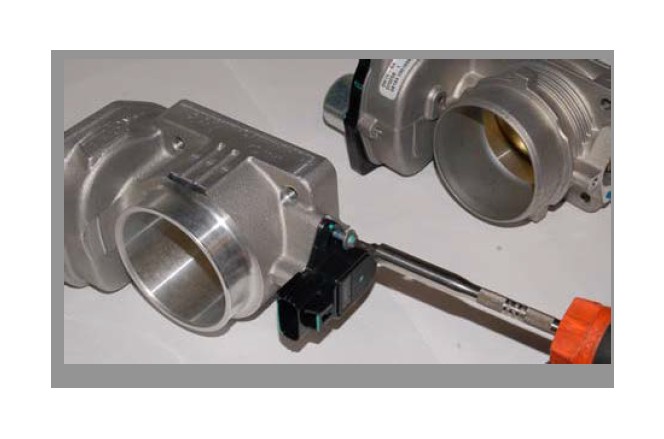
Remove the TPS sensor and re-install on the BBK Throttle Body using the stock screws.
STEP 7
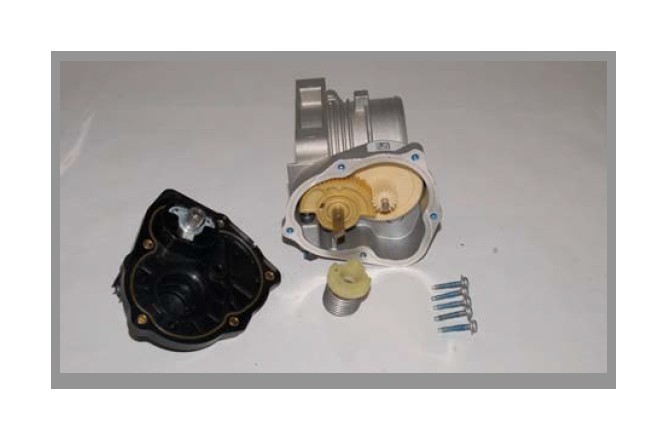
Remove the five Torq Head Screws and remove the motor cover and internal spring. Be aware that the cover will want to rotate as the screws are removed because of the internal spring being under some tension.
STEP 8
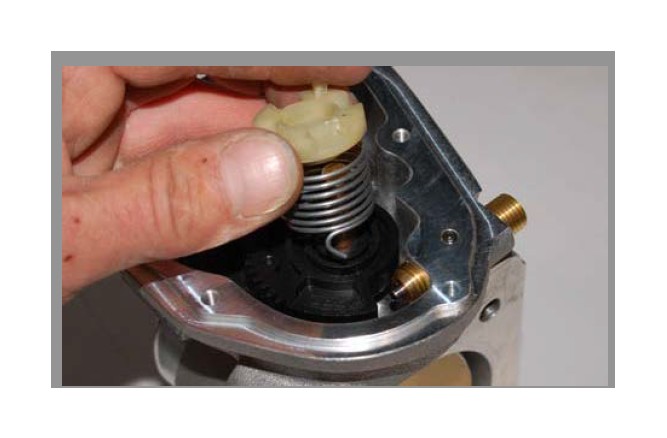
Install the internal spring on the gear in the BBK Throttle Body. Make sure the hook on the end of the spring is in its mounting hole in the gear.
STEP 9
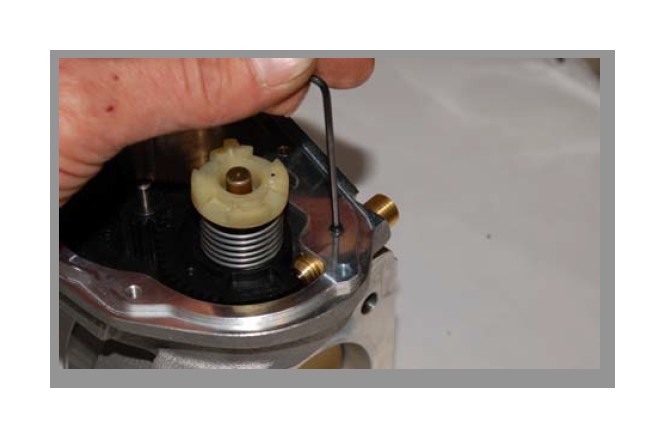
With a 2.5mm allen wrench, loosen the set screw for the brass adjuster stud.
STEP 10
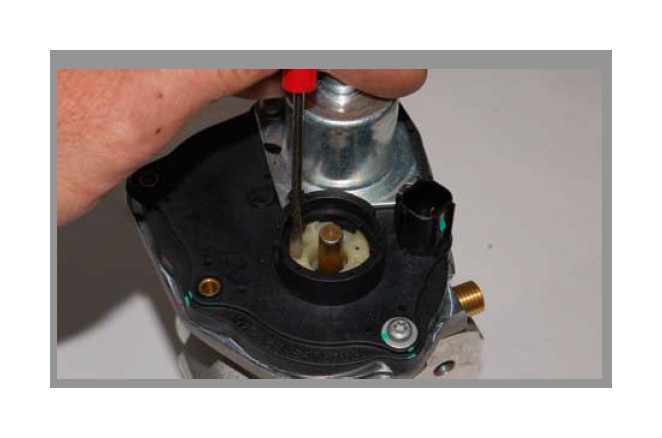
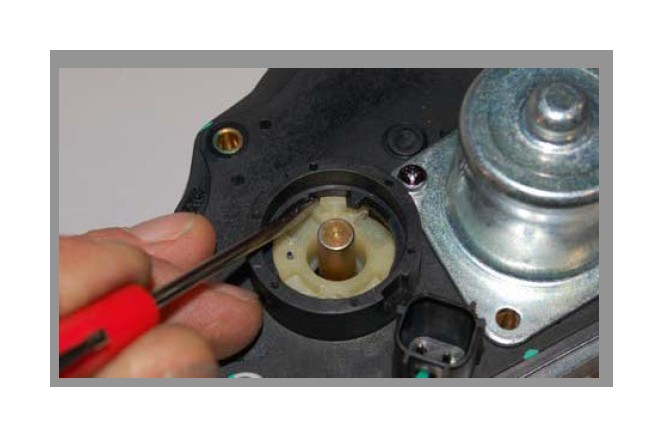
Pop off the round plastic cover on the motor cover. Install the cover on the throttle body. Using a small screwdriver, push the white spring retainer down while rotating it 160 degrees counter clockwise until the large and small tabs align with their slots. Release and allow the tabs to seat.
STEP 11: Give the rubber throttle body gasket a wipe with a rag to clean off any oil or debris and install the BBK Throttle Body onto the intake manifold and tighten the bolts.
STEP 12: Plug in the Motor Control and TPS sensor plugs. Reconnect the negative battery terminal and turn the ignition key to the ON position.
STEP 13
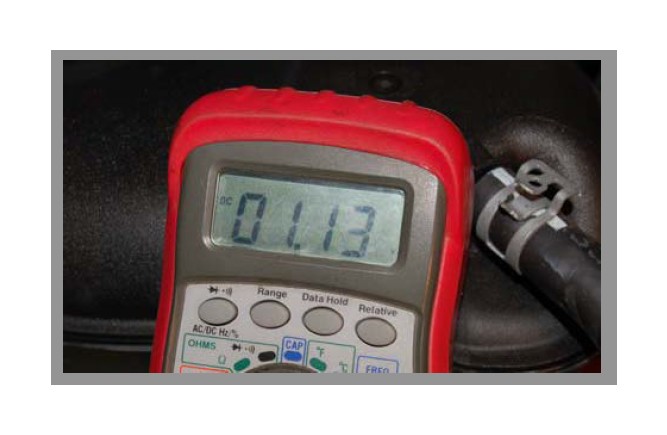
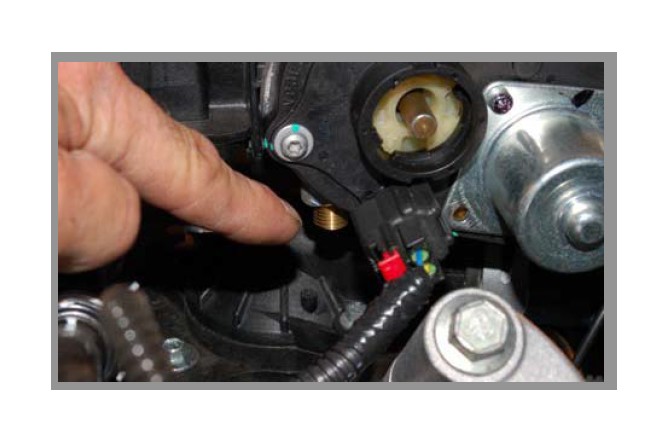
With your digital volt meter, recheck the voltage on the top wire. If the voltage is not the same as your first reading, then turn the brass adjuster stud to adjust the voltage reading until it is. Turn the ignition key to the OFF position. Disconnect the negative battery terminal.
STEP 14
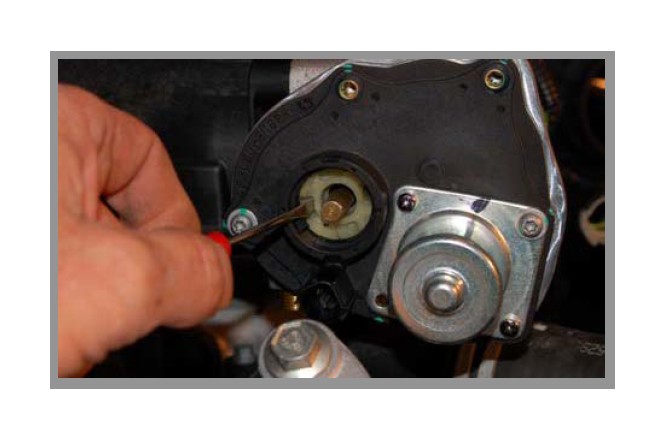
Using your small screwdriver, push in on the white spring retainer to release the spring. Unplug and remove the motor cover. Tighten the set screw for the brass adjuster stud. Reinstall the motor cover, reclock the internal spring counter-clockwise and lock the tabs into place. Reinstall the round plastic cover. Plug in the motor control wires.
STEP 15
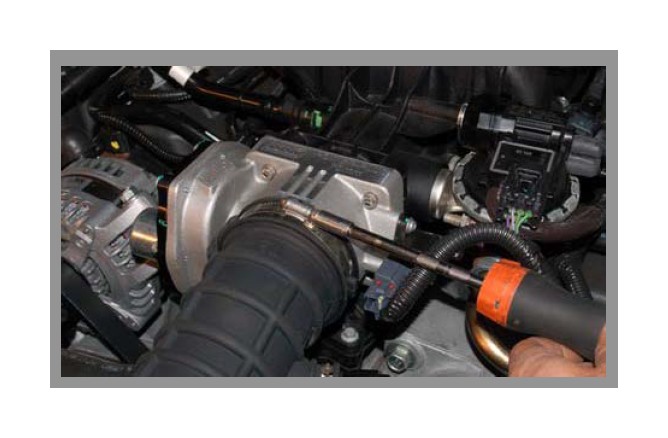
Re-install the air intake tube and connect the breather tube. Reconnect the negative battery terminal.

