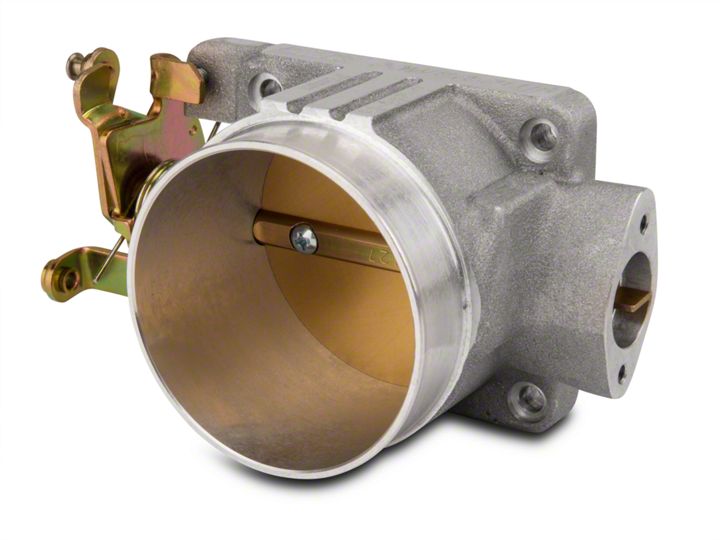
How to Install a BBK Power Plus Throttle Body - 75mm on your Ford F-150

Shop Parts in this Guide
Follow these instructions carefully to ensure correct fitment and operation.
STEP 1: Disconnect the negative battery terminal.
STEP 2: Loosen the 2 hose clamps and remove the inlet air tube connecting the throttle body and airbox. Disconnect the PCV, Idle Air Control (IAC) tube and Inlet Air Temperature Sensor connector if applicable.
STEP 3: Disconnect the return spring from the linkage and unhook the throttle cable by opening the throttle manually and slipping the cable from the cam groove. Disconnect the cruise control cable if applicable.
STEP 4: Disconnect the throttle position sensor. Remove the 4 bolts securing the throttle body to the intake, then remove it from the vehicle.
STEP 5: Remove the throttle position sensor from the stock throttle body. Install the throttle position sensor on to the new BBK Throttle Body using the supplied screws. Be sure the black plastic TPS bushing is in place before securing the TPS.
FOR OPTIMUM PERFORMANCE:
Match the intake opening to the new throttle body size. Although this is not mandatory, it will maximize intake flow.
On vehicles that do not require the large IAC porting hole between the throttle body bores simply install the supplied pipe plug from the backside of the throttle body, tighten very snug to prevent the plug from loosening.
STEP 6: Using the supplied screws and gaskets, install the new throttle body on to the intake manifold and tighten.
STEP 7: Re-attach the throttle cable, TPS sensor connector, return springs and cruise control cable if applicable.
STEP 8: Re-install the inlet tube between the airbox and throttle body. Be sure to reconnect the PCV tube, idle air control tube and inlet air temperature sensor if applicable.
STEP 9: Reconnect the negative battery terminal. Start the engine and run until it is at operating temperature, then turn the engine off.
STEP 10: Turn the idle screw counter-clockwise until you can see between the screw and the throttle linkage (.010” with a feeler gauge). Then turn clockwise exactly one full turn. Double check all fasteners and clamps to ensure they are all secure.

