Guaranteed Free Delivery by 12/24! available on most items - Details
Talk to a F-150 Sales Tech
1-610-990-4561
M-F 8:30A-11P ET, Sat-Sun 8:30A-9P ET
How to Install Barricade Raptor Style Front Bumper on your F-150
Installation Time
2 hours
Tools Required
- Ratchet,
- 18mm Deep Socket,
- 10mm socket,
- 8mm Socket
Step 1:
- Removal of hood latch release bracket
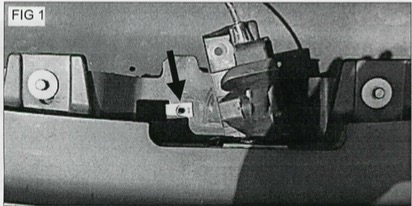
- Remove 1 center factory bolt and move the hood release out of the way of the installation. Fig 1
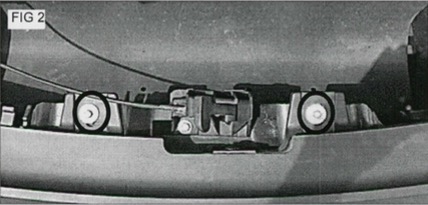
- Remove 2 outside factory bolts on hood release latch. Fig 2
Step 2:
- Removal of bumper
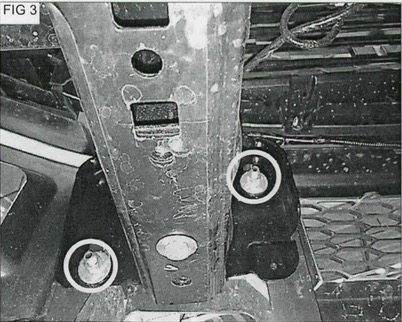
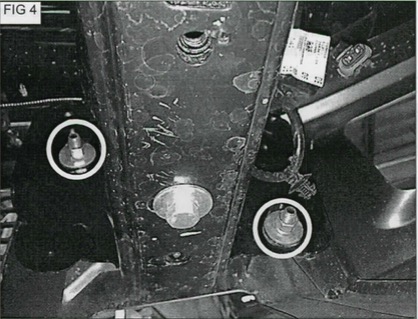
- Working under the truck remove four 18mm nuts from frame where bumper attaches (two bolts per side). Fig 3 & 4
- With the help of an assistant pull the bumper off the truck frame. Set aside all factory hardware.
Step 3:
Remove hood latch release bracket from bumper
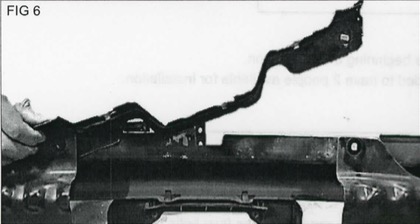
- Remove 2 factory outside bolts and lift bracket away from bumper. Fig 5 & 6
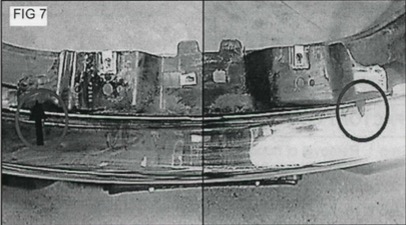
- Remove the 2 speed clips from the top edge of the bumper and save for later use. Fig 7
Installation of New Bumper
Step 1: Re—install Factory Hood release bracket
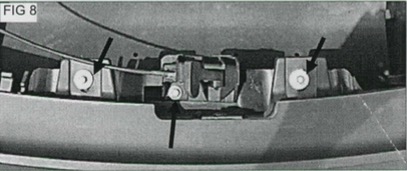
- Place Factory Hood release bracket back into the truck. Line up the holes in the Bumper Cap with the holes in the Hood release bracket. Fig 8
- Re-use factory bolts set aside above to install bracket
Step 2: Installation of New Bumper
- With the aid of an assistant place new bumper up to frame. Line up holes in the bumper with holes in the frame.
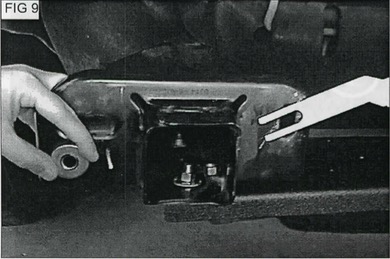
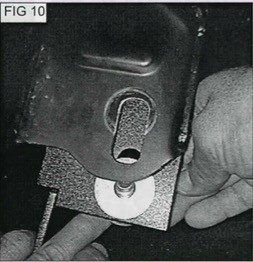
- Sandwich a provided washer on the outermost hole in between the bumper and the frame. Fig 9
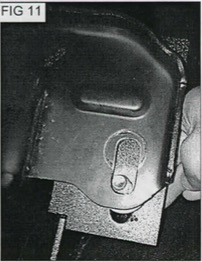
- Install the factory bolts removed above and start the factory nuts but DO NOT tighten any nuts at this time. Fig 10 & 11

Step 3:
Install Bumper Cap Brackets
|
