How to Install Baer Extreme Front Brake Kit - Black (07-18 Silverado 1500) on your Chevy Silverado
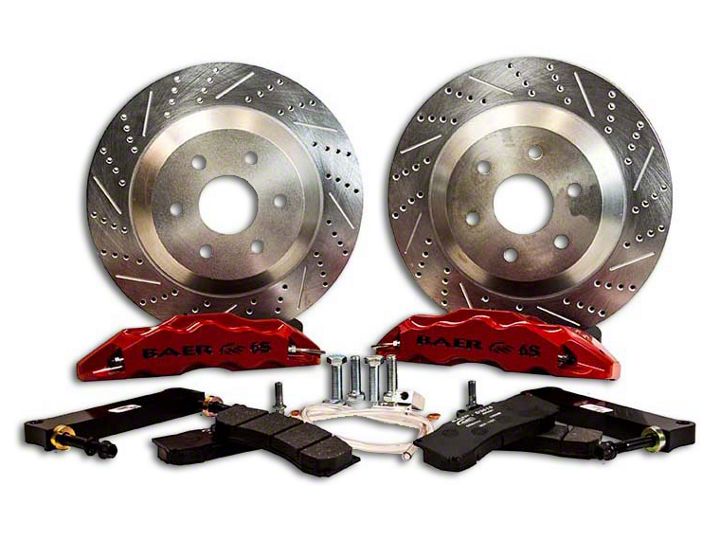
Shop Parts in this Guide
- Baer Extreme Front Big Brake Kit with 15-Inch Rotors; Black Calipers (99-25 Silverado 1500)
- Baer Extreme+ Front Big Brake Kit with 15-Inch Rotors; Silver Calipers (99-25 Silverado 1500)
- Baer Extreme+ Front Big Brake Kit with 15-Inch Rotors; Red Calipers (99-25 Silverado 1500)
- Baer Extreme+ Front Big Brake Kit with 15-Inch Rotors; Black Calipers (99-25 Silverado 1500)
- Baer Extreme Front Big Brake Kit with 15-Inch Rotors; Silver Calipers (99-25 Silverado 1500)
- Baer Extreme Front Big Brake Kit with 15-Inch Rotors; Red Calipers (99-25 Silverado 1500)
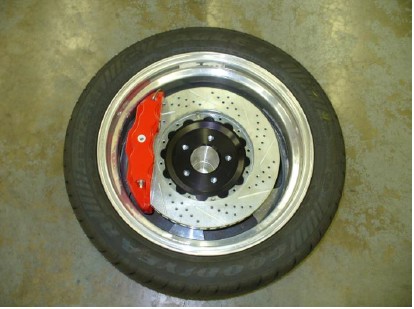
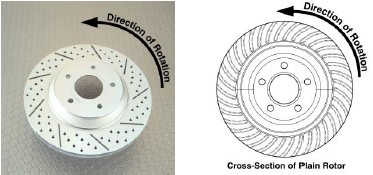
When installing rotors on any Baer Products be sure to follow the direction of rotation indicated on the rotor hat area with either an arrow, or an “L” for left, or an “R” for right, or both. “L” or left always indicates the driver’s side of US spec vehicles. Images shown are “L” left rotors:
INSTALLATION:
IMPORTANT NOTE: These systems are designed around the Original Equipment spindles with all hardware in place, including debris shield. If aftermarket spindles are used it is imperative to keep the debris shield in place between the spindle and hub as this affects the caliper centering over the rotor. Modifications may be needed to aftermarket spindles and or alternate hardware for installation of a Baer Brake System. Call Baer for assistance.
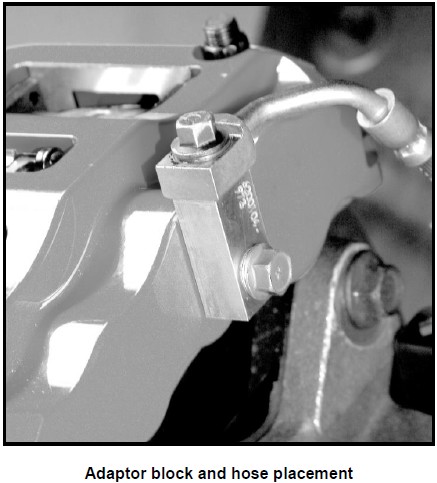
1. Disconnect the fluid hose from the caliper and remove the copper washers from the banjo bolt (these are a one-time use item). New copper washers are provided for the installation.
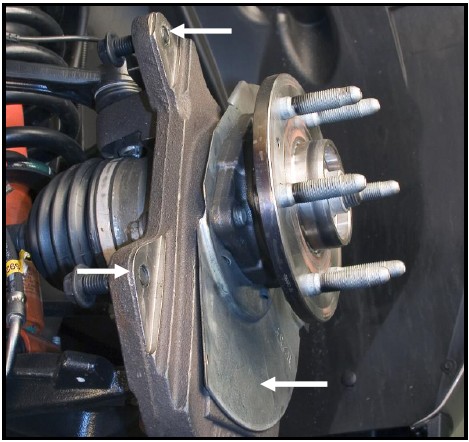
**Note: The photo above shows an aftermarket drop spindle. The upper arrows indicate areas which may require grinding to clear the bracket. The lower arrow shows points to the debris shield which MUST remain in place.
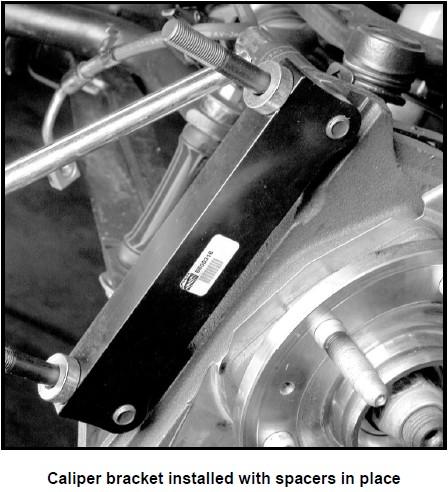
4. Remove the intermediate bracket from the new caliper (installed for ease of shipping). Test fit this to the spindle to check for any interference with the spindle casting.
