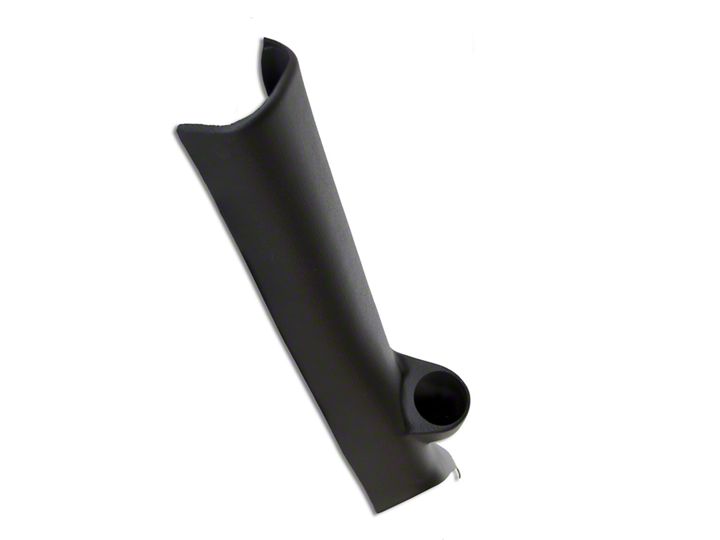
How to Install Auto Meter Full A-Pillar Gauge Pod - Single 2-1/16 in. (07-13 Silverado 1500) on your Chevy Silverado
Shop Parts in this Guide
Prior to installing the pillar mount, it is recommended that the gauge wiring/tubing be routed at this time. Make sure to leave enough wiring/tubing to allow for the gauges to be connected later, and then push the gauges into the pillar.
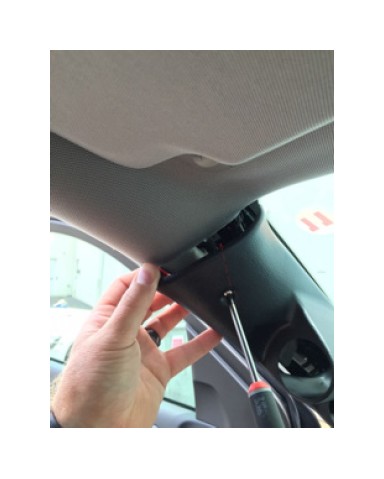
1. Pull door weather strip down and away from trim.
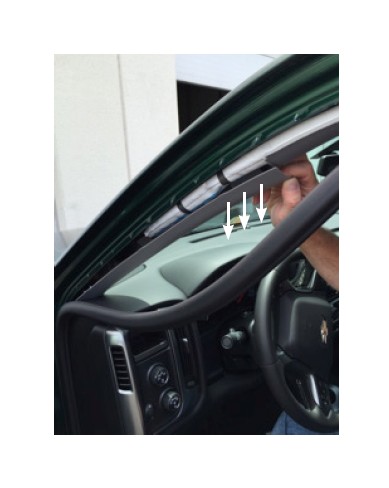
2. Release clip by pressing down, then forward.
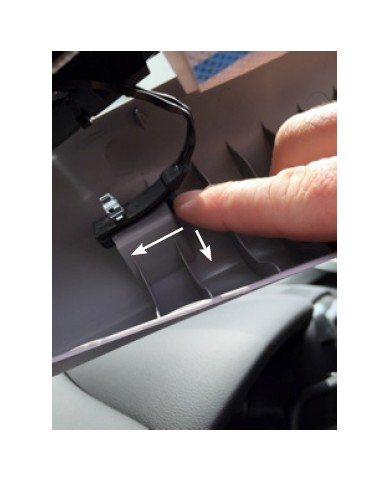
3. Clip will slide off of pillar, allowing pillar to be removed.
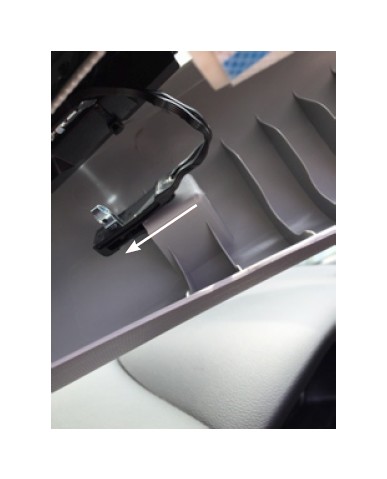
4. Insert the supplied well nut into the slot as shown.
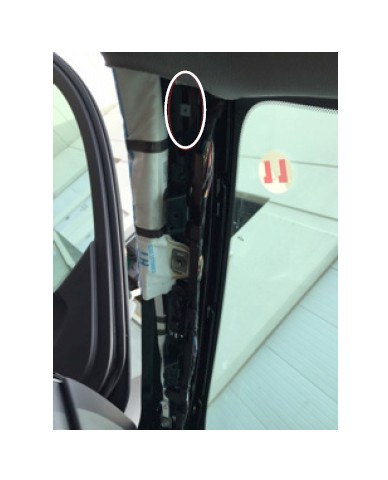
5. Be sure to fully seat and center the nut.
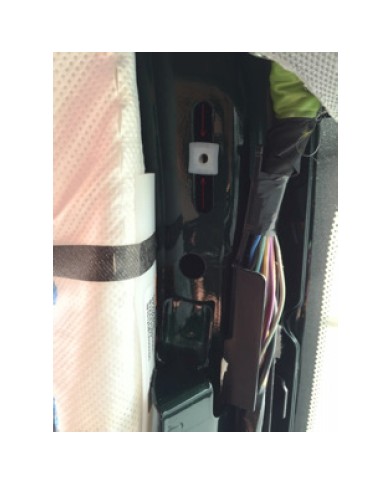
6. Install the bottom portion of the pillar. Thread screw into well nut about 2 turns.
7. Reinstall door weather strip.
8. Finish tightening the mounting screw.
9. At this time the gauges can be connected and pushed into the gauge holes. Please note that the gauges are pressure fit and will not use the standard in dash mounting brackets that were likely included with your gauges.
