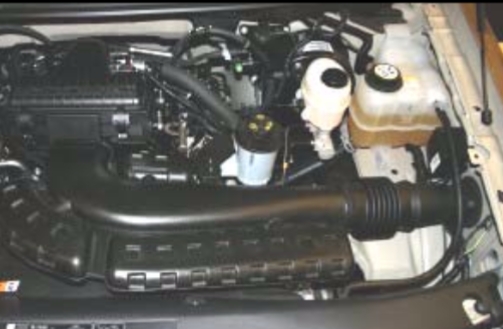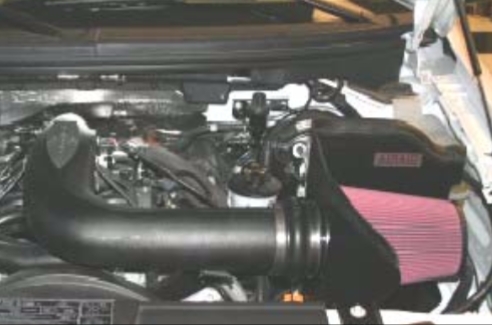
How to Install Airaid Cold Air Dam Intake - SynthaFlow Oiled Filter on your F-150
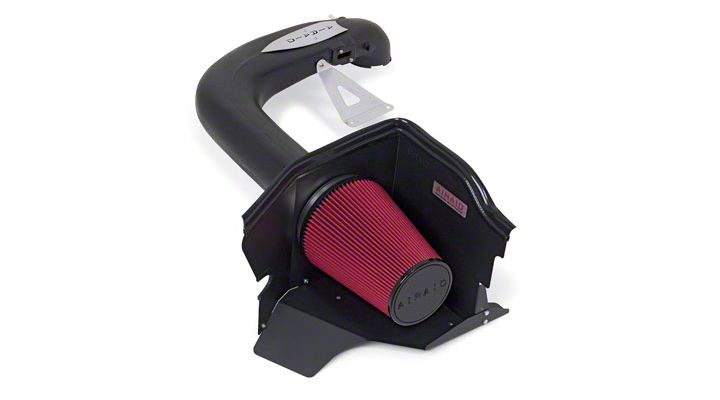
Shop Parts in this Guide
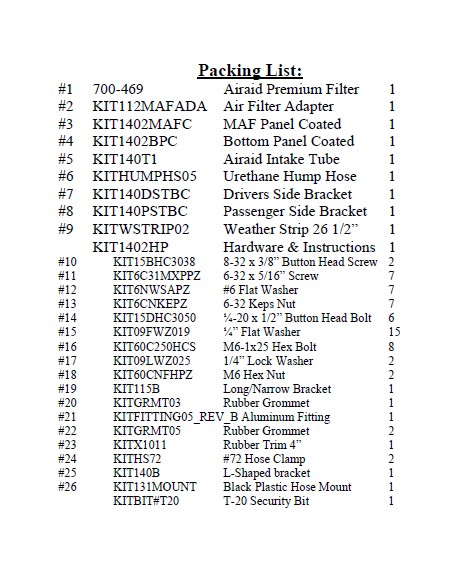
1. Disconnect the negative battery cable.
Push the green tab, and disconnect the factory breather line
from the intake tube. Slide the red tab, and disconnect the Mass
Air Flow (MAF) sensor wiring harness from the sensor. Unclip
the battery cable from the front of the factory airbox.
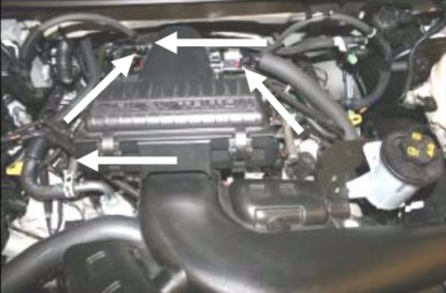
2. Using a 10mm deep socket, remove the 4 tower bolts, two
on each side of the factory airbox. Remove one bolt holding
the factory intake tube to the mounting bracket. Remove the
complete factory intake system.
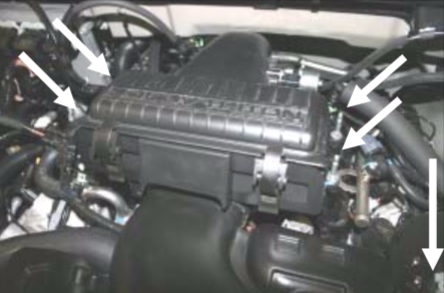
3. Remove the rubber seal from the factory airbox and save
it for re-installation in step #6.
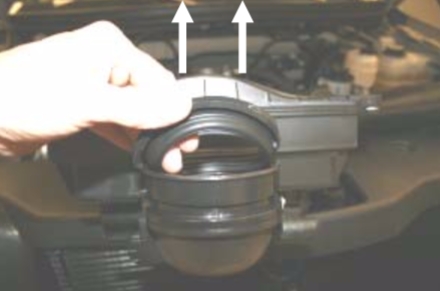
4. Using the provided T-20 Security Bit, remove the two
screws, and remove the MAF sensor from the factory intake
tube. Save the sensor for re-installation in the next step.
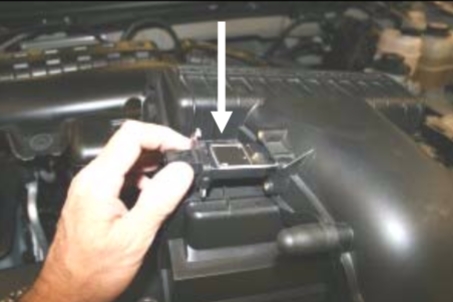
5. Re-install the MAF sensor into the Airaid Intake Tube
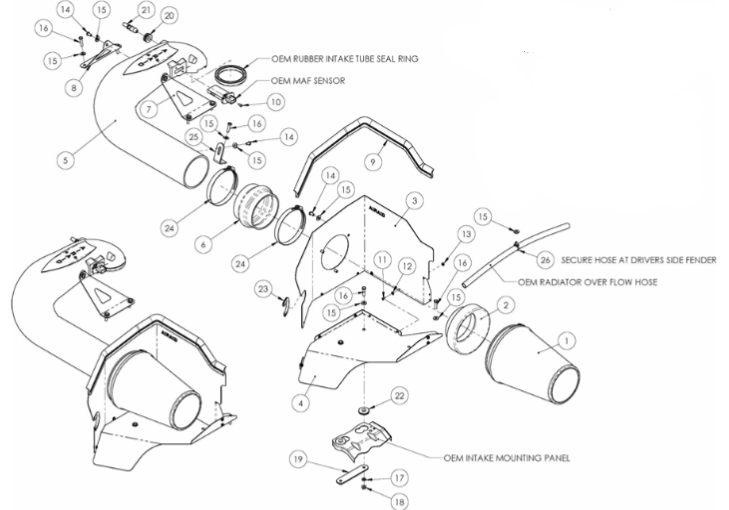
(#5) using two 8-32 x 3/8” button head screws (#10). Do not
over tighten! Do Not Use The Factory Screws!!
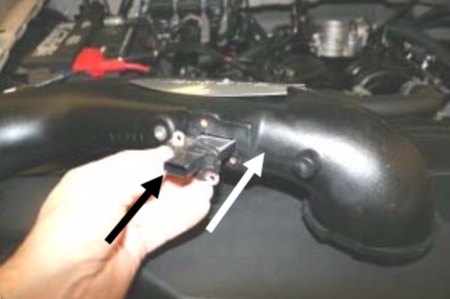
6. Re-install the rubber seal removed in step #3 onto the Airaid
Intake Tube. Use caution to align the notch in the tube with the
notch in the seal.
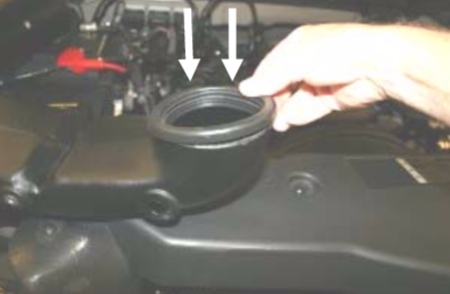
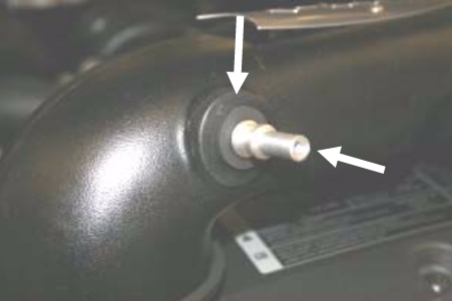
7. Install the rubber grommet (#20) into the Airaid Intake Tube,
and then install the aluminum fitting (#21) into the grommet,
tapered end first.
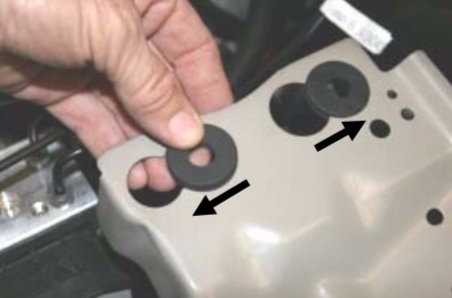
8. Slip two rubber grommets (#22) into the large holes in the
bracket on the drivers side fender, then slide them sideways
into the smaller holes as shown.
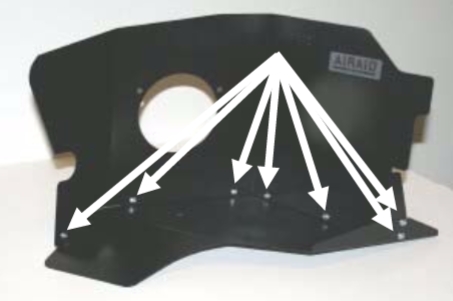
9. Assemble the two Cool Air Dam (CAD) panels (#3, #4)
using seven 6-32 x 5/16” screws (#11), #6 flat washers (#12),
and 6-32 keps nuts (#13).
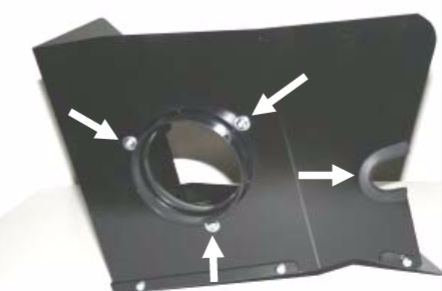
10. Install the air filter adapter (#2) into the CAD using three ¼ -
20 x 1/2” button head bolts (#14) and ¼” flat washers (#15).
Next, install the 4” rubber trim (#23), as shown.
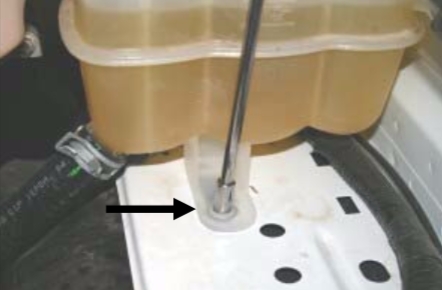
11. Using a 5/16” socket, remove one bolt from the factory
coolant reservoir mount.
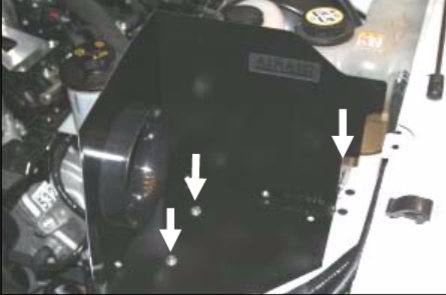
12. Install the CAD into the vehicle with one 6mm bolt (#16)
and 1/4” flat washer (#15) through the panel, through the coolant
reservoir mount and into the speed nut below it. Using two
6mm bolts (#16) two ¼” flat washers (#15), two ¼” lock
washers (#17), and two M6 hex nuts (#18), insert the two bolts
thru the CAD, thru the grommets, and thru the long/narrow
bracket (#19). Use the line drawing above for reference.
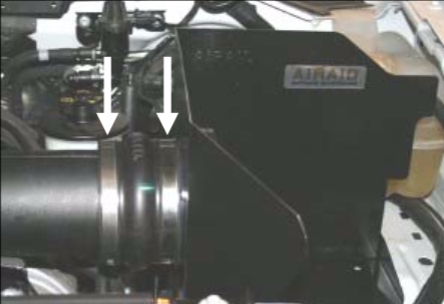
13. Install the urethane hump hose (#6) onto the air filter
adapter (#2) with two #72 hose clamps (#24), leave the
clamps loose for now. Slide the Airaid Intake Tube into the
hump hose first and then onto the throttle body.
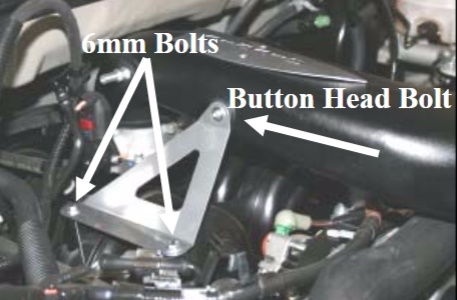
14. Install the two brackets (#7, #8) from the Airaid Intake
tube onto the intake manifold using two ¼ -20 x 1/2” button
head bolts (#14), and ¼” flat washers (#15) on the tube, and
four 6mm bolts (#16), and ¼” flat washers (#15) on the bottom.
Leave the button head bolts loose for now.
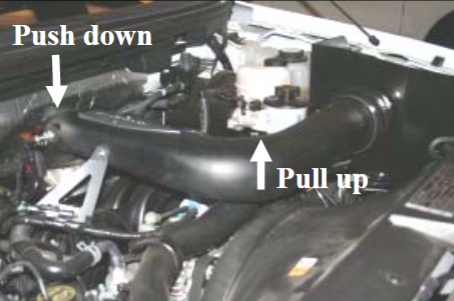
15. While gently lifting on the tube next to the radiator, and
pushing down on the tube over the throttle body, tighten the
two button head bolts on top of the mounting brackets. This
will help make sure the Airaid Intake Tube is sealing on the
throttle body.
16. Install the L-shaped bracket (#25) using one ¼ -20 x
1/2” button head bolt (#14) and ¼” flat washer (#15) thru
the oval slot into the backside of the tube. Next, install one
6mm bolt (#16) and ¼” flat washer (#15) thru the round
hole into the factory bracket. Tighten the hose clamps on
the hump hose. Some adjustment of the factory bracket
may be necessary for a proper fit, see step #17.
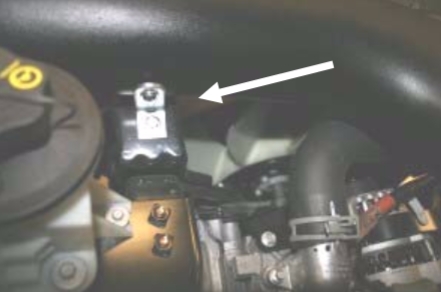
17. Factory tolerances may require adjusting the factory
bracket to align the tube and hump hose with the filter
adapter. Therefore, it may be necessary to loosen the two
mounting nuts with a 13mm deep socket, and adjust it.
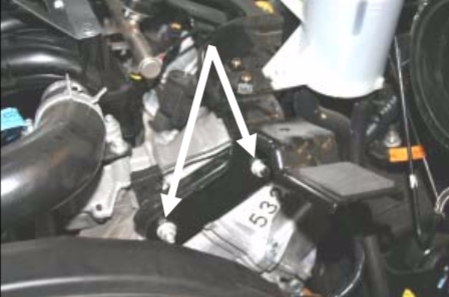
18. Slip the black plastic hose mount (#26) over the radiator
overflow hose. Next, place one ¼” flat washer (#15) over the
hole on the inner drivers side fender. Slide the hose mount
prongs thru the fender and thru the washer.
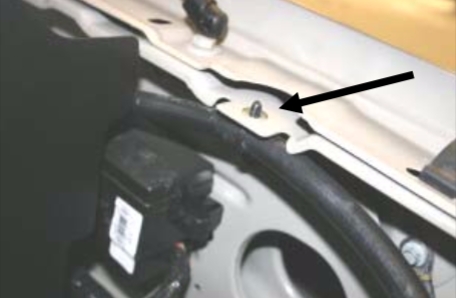
19. Install the Airaid Premium Filter (#1) onto the air filter
adapter (#2), and tighten the clamp. Next install the weather
strip (#9) onto the top of the CAD as shown. (Hint: start at
one end of the CAD and work towards the other end).
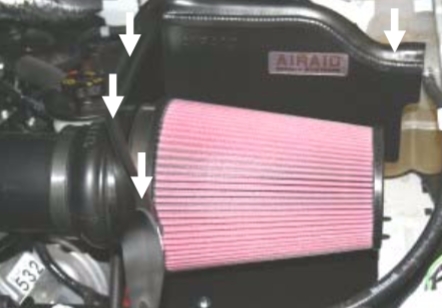
20. Re-connect the breather hose to the Airaid Intake Tube,
and the MAF sensor wiring harness to the sensor. Refer to
step #1.
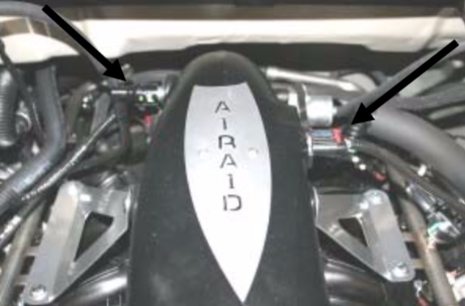
21. Double check your work!
Make sure there is no foreign material in the
intake path. Make sure all clamps, hoses,
bolts, and screws are tight.
22. Reconnect the negative battery
cable!
