
How to Install Airaid Black Classic Performance Cold Air Intake - SynthaMax Dry Filter on your F-150
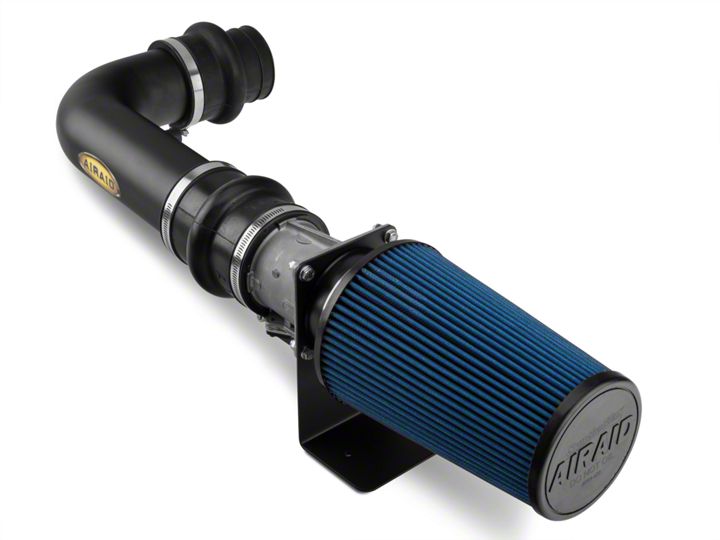
Shop Parts in this Guide
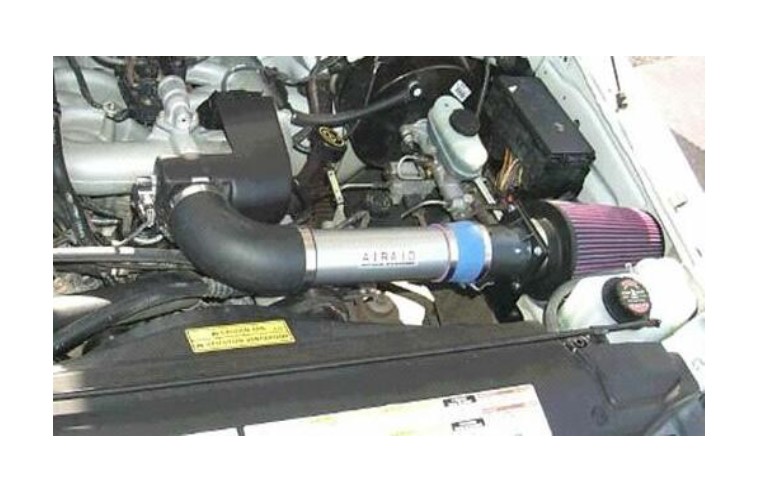
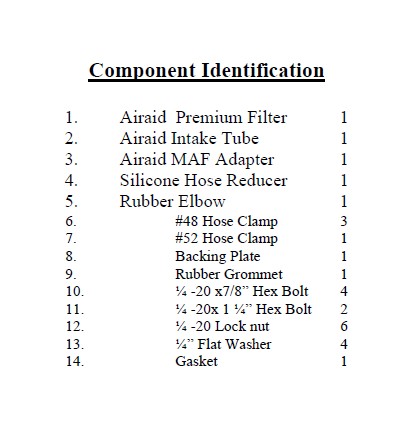
Full color instructions can be viewed on our web site at Airaid.com. Use the Product Search function to find your part number, and click View Details.
1. DISCONNECT NEGATIVE (-) BATTERY CABLE.
2. Remove the Factory Air Intake Assembly.
A) Loosen the clamp at the throttle body with a screwdriver.
B) Loosen the clamp at the factory air filter housing.
C) Remove the crankcase breather hose from the air cleaner assembly.
D) Disconnect the air intake temperature sensor wire from the sensor in the factory air tube.
E) Lift the factory air intake tube out of vehicle.
3. Remove the Factory Air Cleaner Assembly
A) Un-plug the Mass Air Flow (MAF) meter harness from the engine harness.
B) Remove the factory air cleaner assembly from the engine compartment. Simply “pull up” to release.
C) Remove and set aside the rubber grommets for the air cleaner mounts.
4. Disassemble Factory Air Box
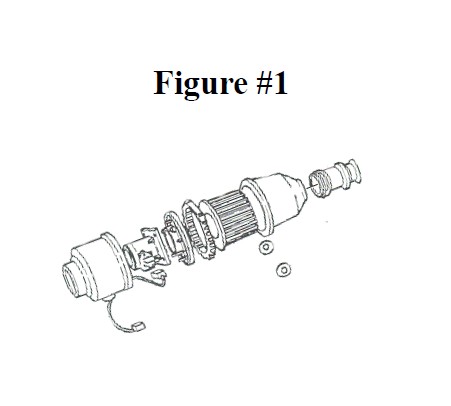
A) Remove the factory wire loom first, then slide back the grommet on the MAF sensor wires. See Fig#1
B) Locate the notch on the flat side of the factory air cleaner and pry the flat side out. Reach in and unplug the MAF harness.
C) Carefully remove the MAF from the flat lid – four 10mm nuts. See Fig#1
D) The MAF sensor is located inside the factory air box. See Fig#1
5. Assemble & Install the Airaid MAF/Filter Adapter
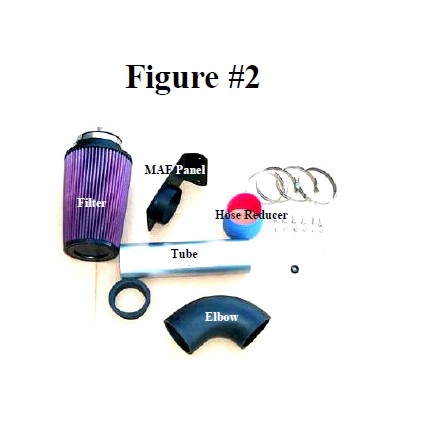
A) Mount the factory MAF to the black Airaid filter adapter panel with four nuts, bolts, and washers provided.
B) Plug the MAF wire harness back into place and slide down rubber weather seal to connector.
C) Mount the black Airaid filter adapter in place of the factory air cleaner. Use supplied backing plate and two long bolts with two nuts and four washers.
D) Plug MAF harness back into engine harness.
6. Install the Airaid Intake Tube.
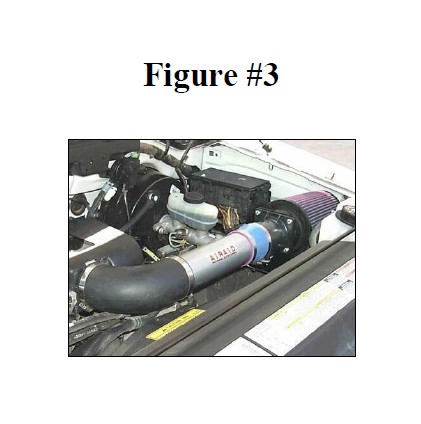
A) Mount the rubber elbow onto the throttle body using the rubber elbow. See Fig#3
B) Mount the black silicone hose onto the MAF Adapter. See Fig#3
C) Install the 7/16 rubber grommet supplied into the Airaid tube. Then insert the saved Air Intake Temperature sensor into the grommet.
D) Slip the Airaid tube into the hose ends and secure using the four hose clamps provided. See Fig#3
E) Install the factory crankcase breather hose into the hole in the rubber Airaid hose/elbow.
F) Mount the Airaid Premium Filter and tighten clamp. See Fig#3
7. Finishing Up
A) Check for any foreign objects or debris in the intake path.
B) Reconnect the negative battery cable & double-check your work.
Thank you for purchasing the Airaid Intake System. Contact Airaid @ (800) 498-6951 8:00 AM - 5:00 PM MST weekdays for questions regarding fit or instructions that are not clear to you. Your Airaid Intake System was carefully inspected and packaged. Check that no parts are missing, or were damaged during shipping. If any parts are missing, contact Airaid. The air filter element is protected from direct exposure to wa-ter and debris; care should be taken not to drive through deep water. WATER INGESTION IS THE DRIVERS RESPONSIBILITY! The air filter is reusable and should be cleaned periodically.
FILTER IDENTIFICATION
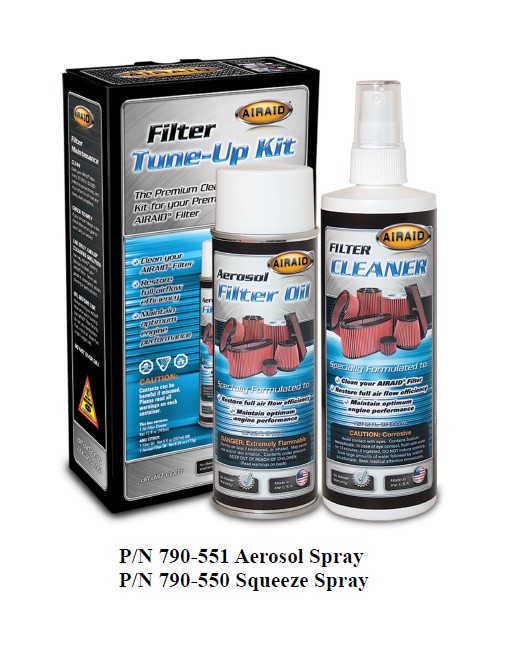
For your Oiled media filter we suggest using the AIRAID Filter Tune-Up Kit!
DO NOT OIL
Synthamax Air Filters do not require oil. Ser-vice air filter as needed by cleaning with com-mon non-petroleum all-purpose household cleaner and water. Simple Green®, Formula 409® or equivalent works great. Apply cleaner to outside of air filter and allow to soak. Then flush filter clean from the inside out with a gar-den hose and repeat steps if necessary. Do not apply high pressure water or air to clean filter. Allow filter to air dry and reinstall.

